How to connect Keystone with the ArConnect extension
Step 1: Preparation
Before you begin, make sure you have the following:
- Firmware version 1.4.4 or later running on Keystone 3 Pro.
- The ArConnect browser extension is installed. You can download it from ArConnect's official website.
Step 2: Connecting Your Keystone with ArConnect Wallet
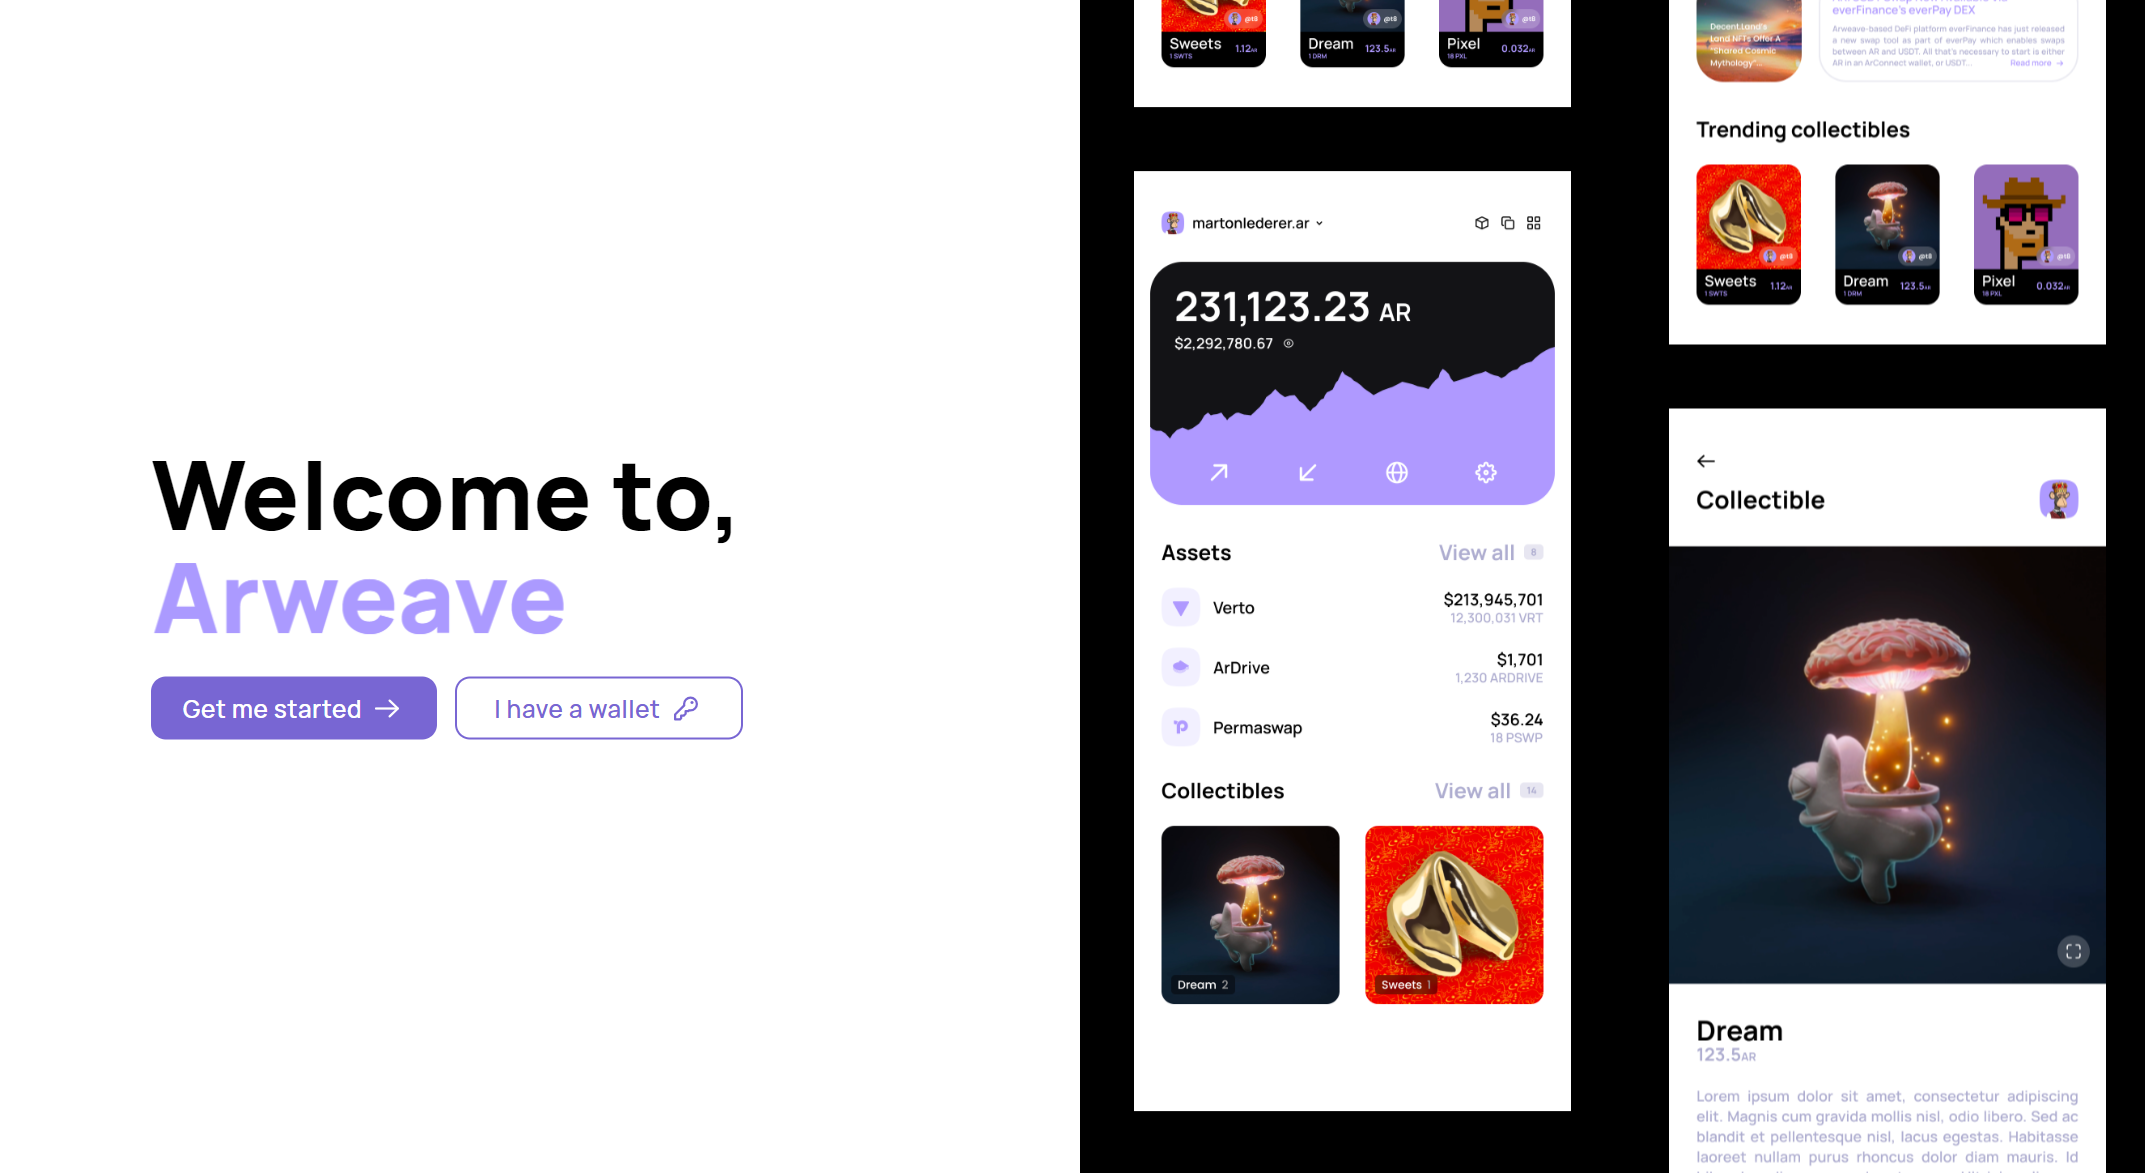
1. Launch the ArConnect extension
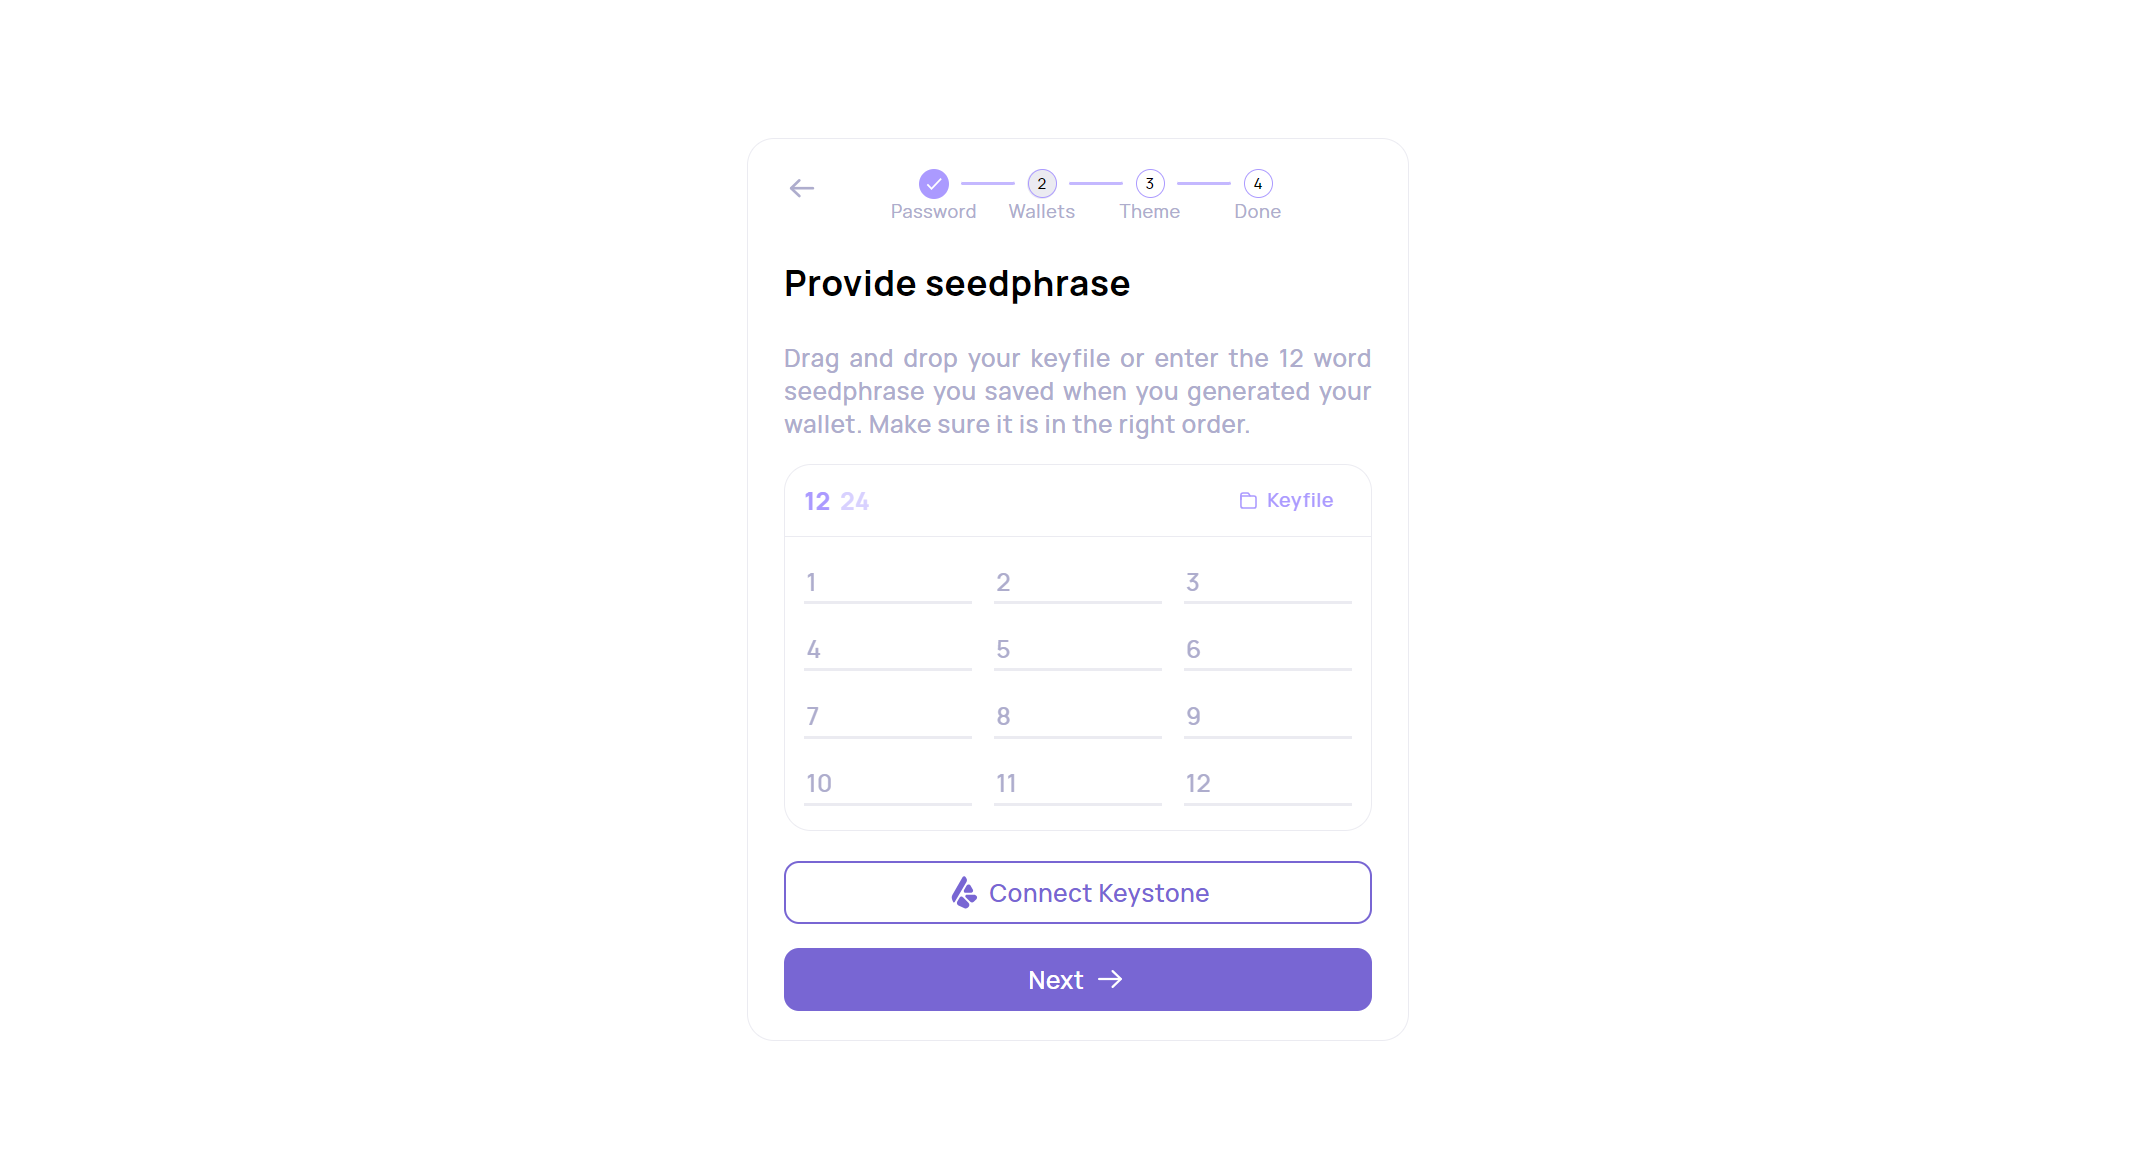
- Choose [I have a wallet] on the homepage
- Create a password

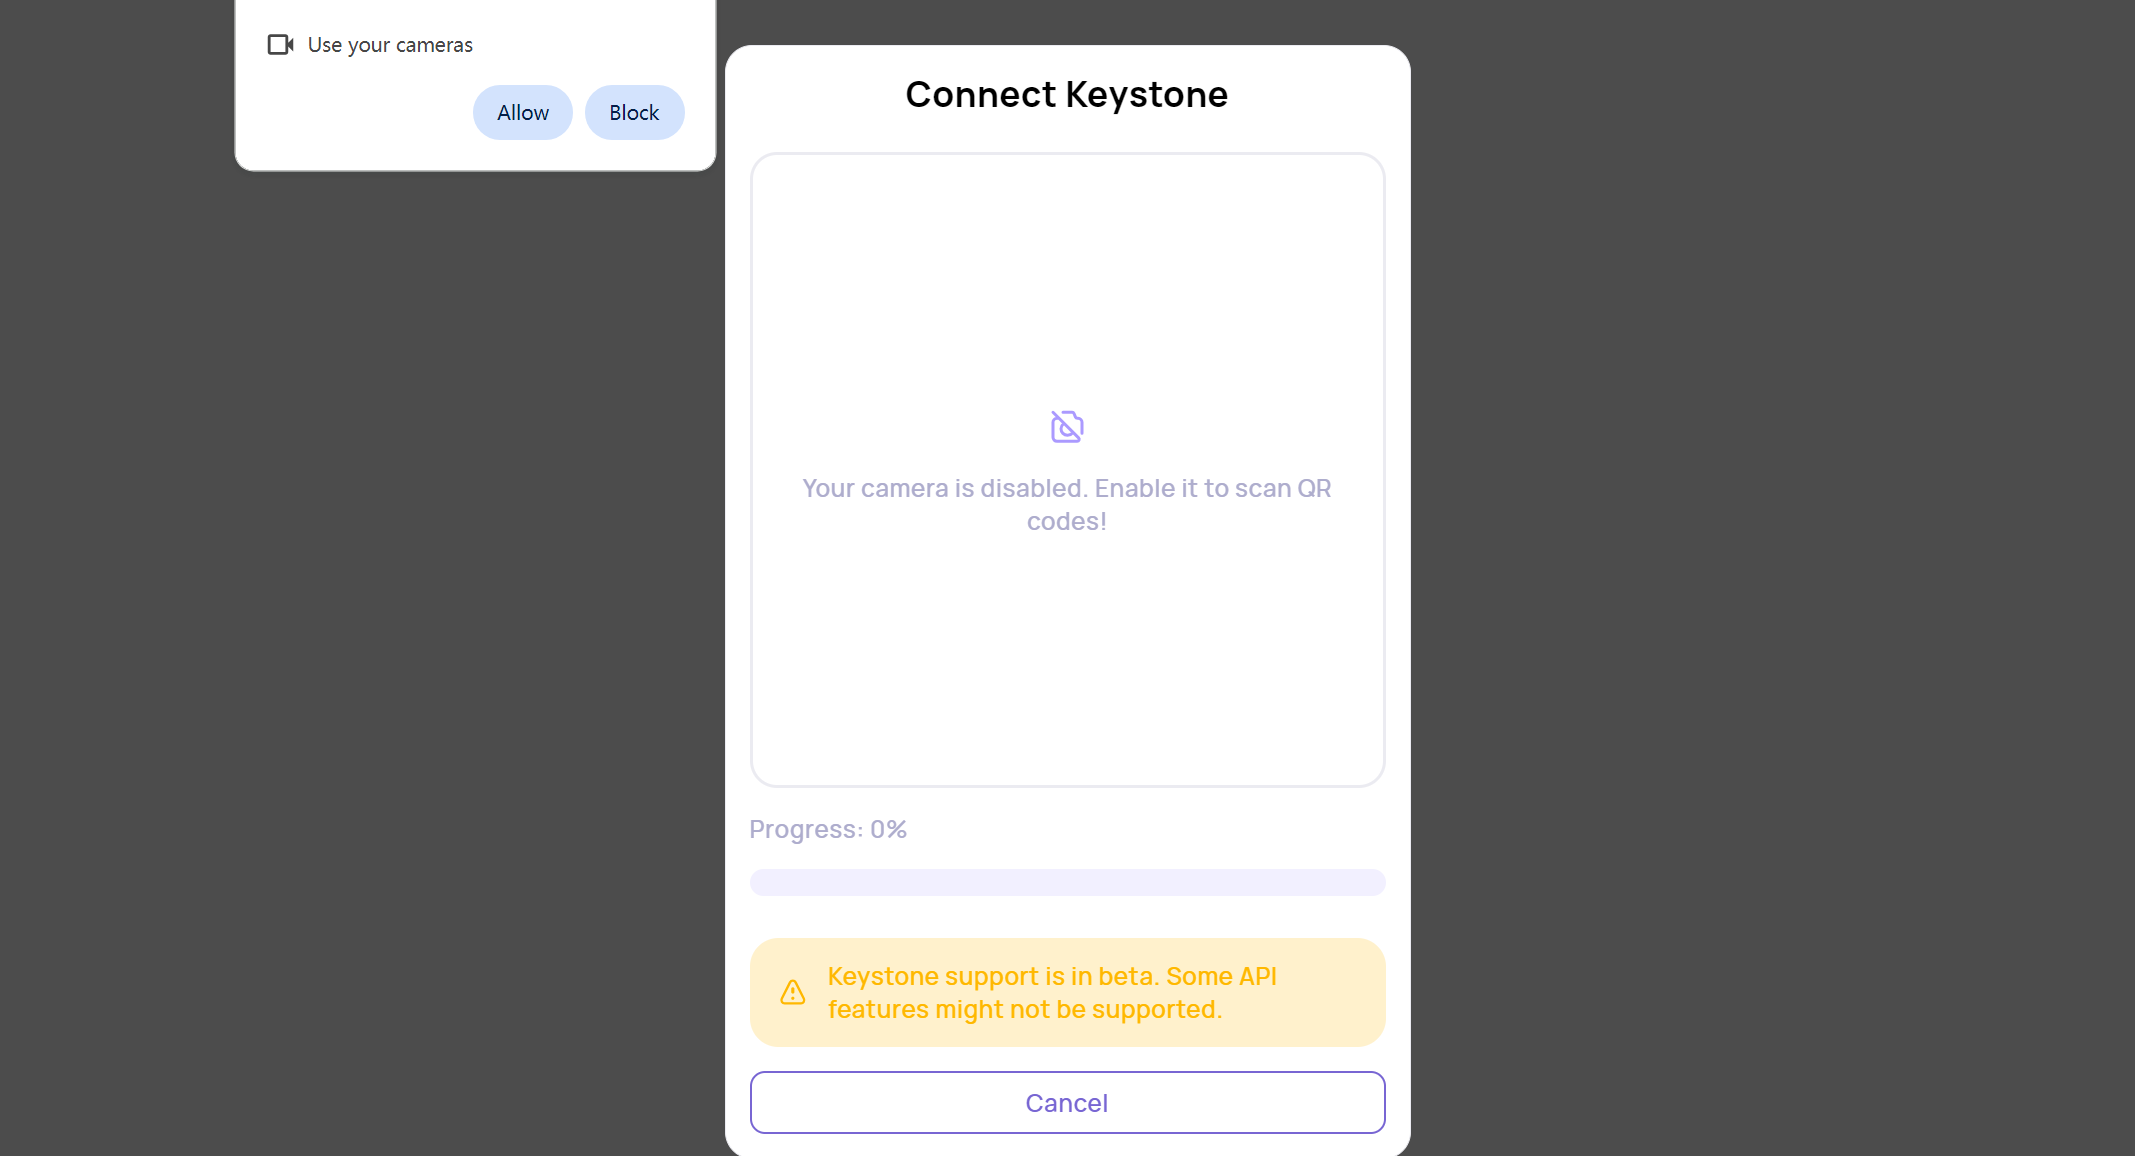
- Choose [Connect Keystone]
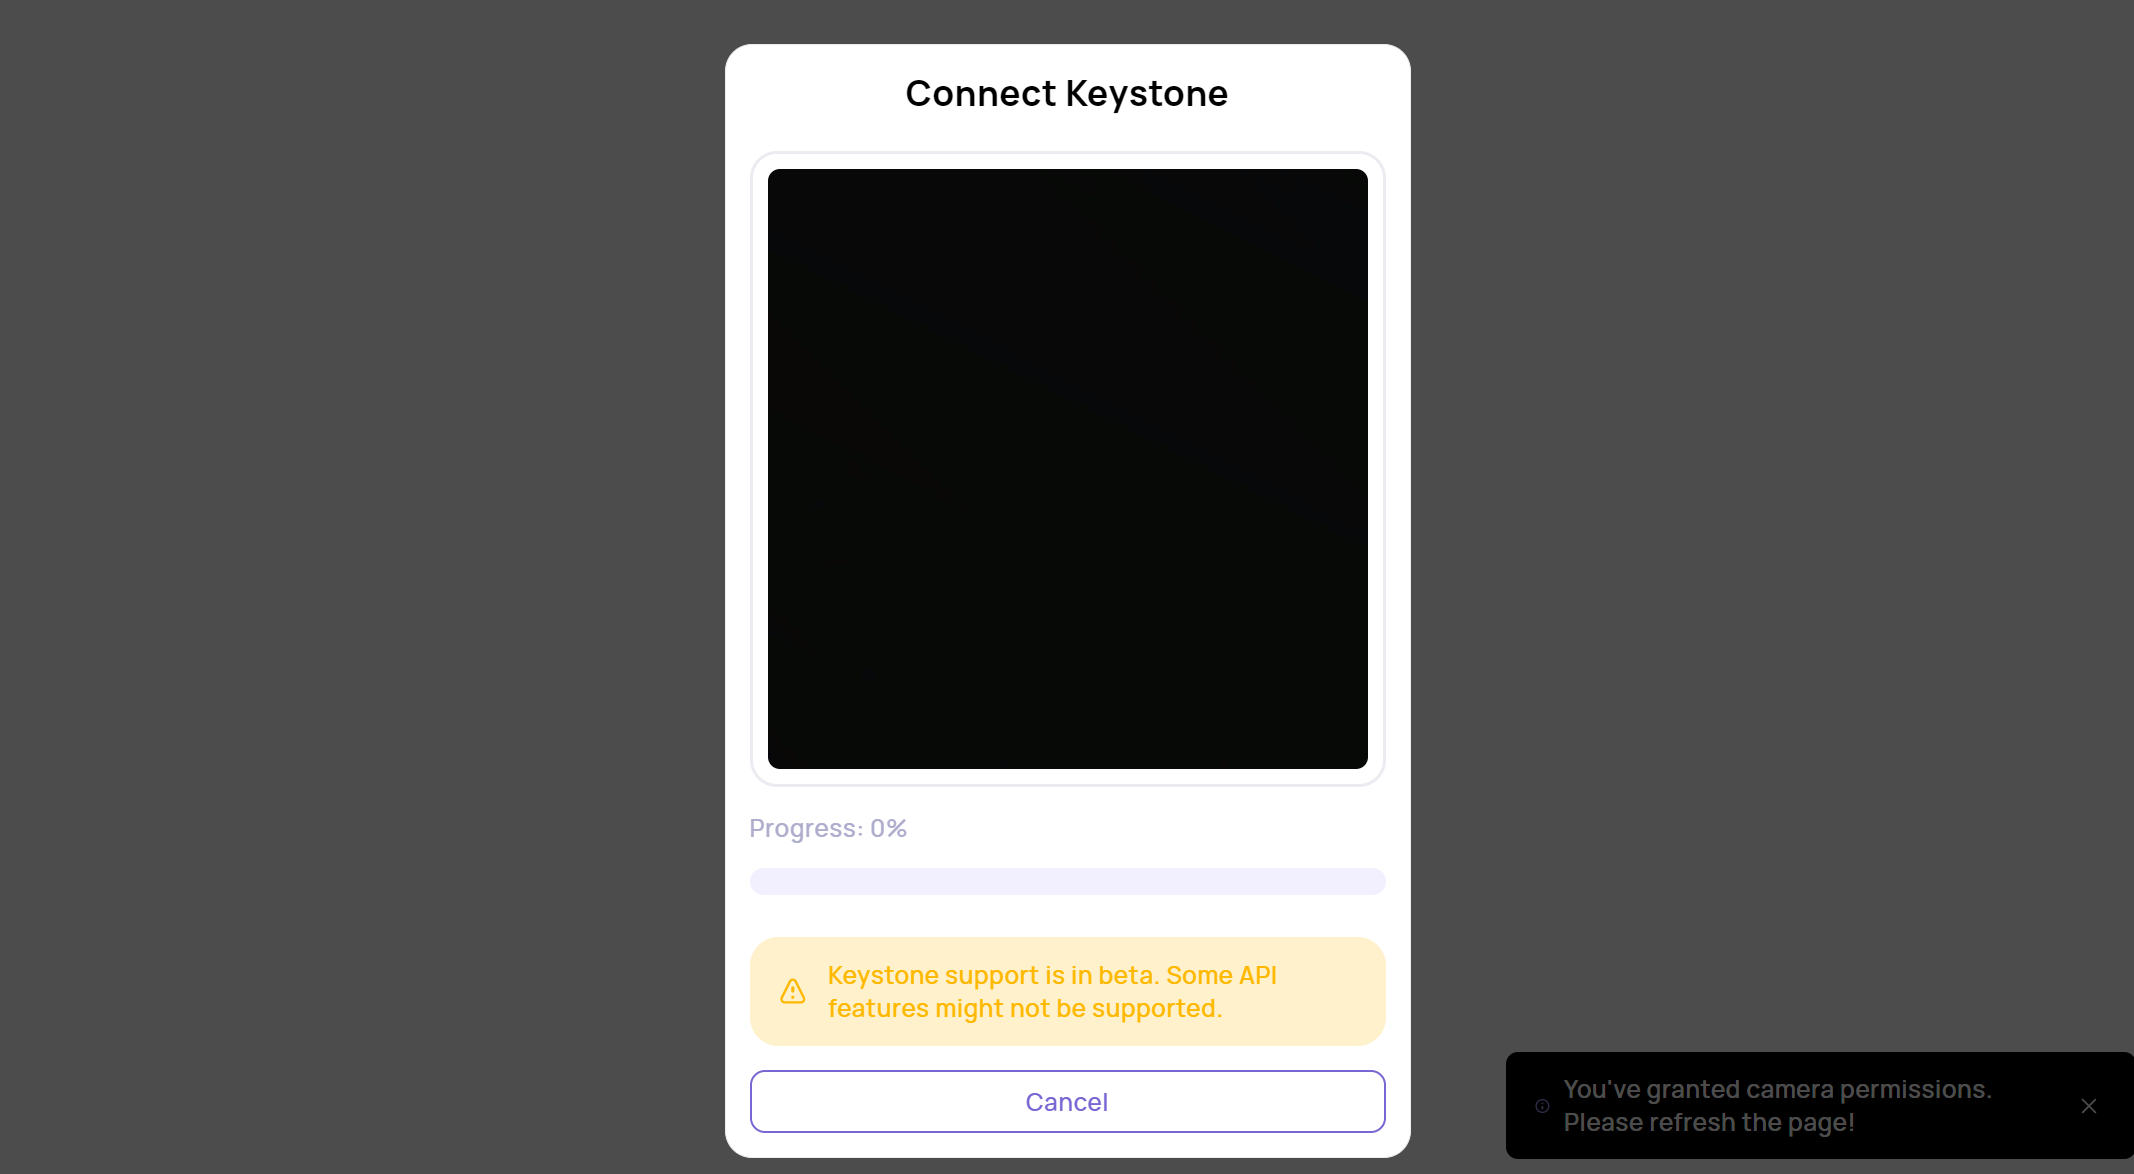
- Click [Allow] to grant access to computer webcam requests, then wait for scan.
2. Connecting Keystone with ArConnect
Follow these steps to connect your Keystone hardware wallet with ArConnect:
- On your Keystone hardware wallet, select the "..." in the top right corner of the main interface.
- Choose the [Connect Software Wallet] option.
- Select [ArConnect], and a QR code will be displayed.
- In the ArConnect extension, scan the QR code displayed on your Keystone.
- Select the display theme after a successful connection by scanning the code, and then click [Next] to complete the connection.
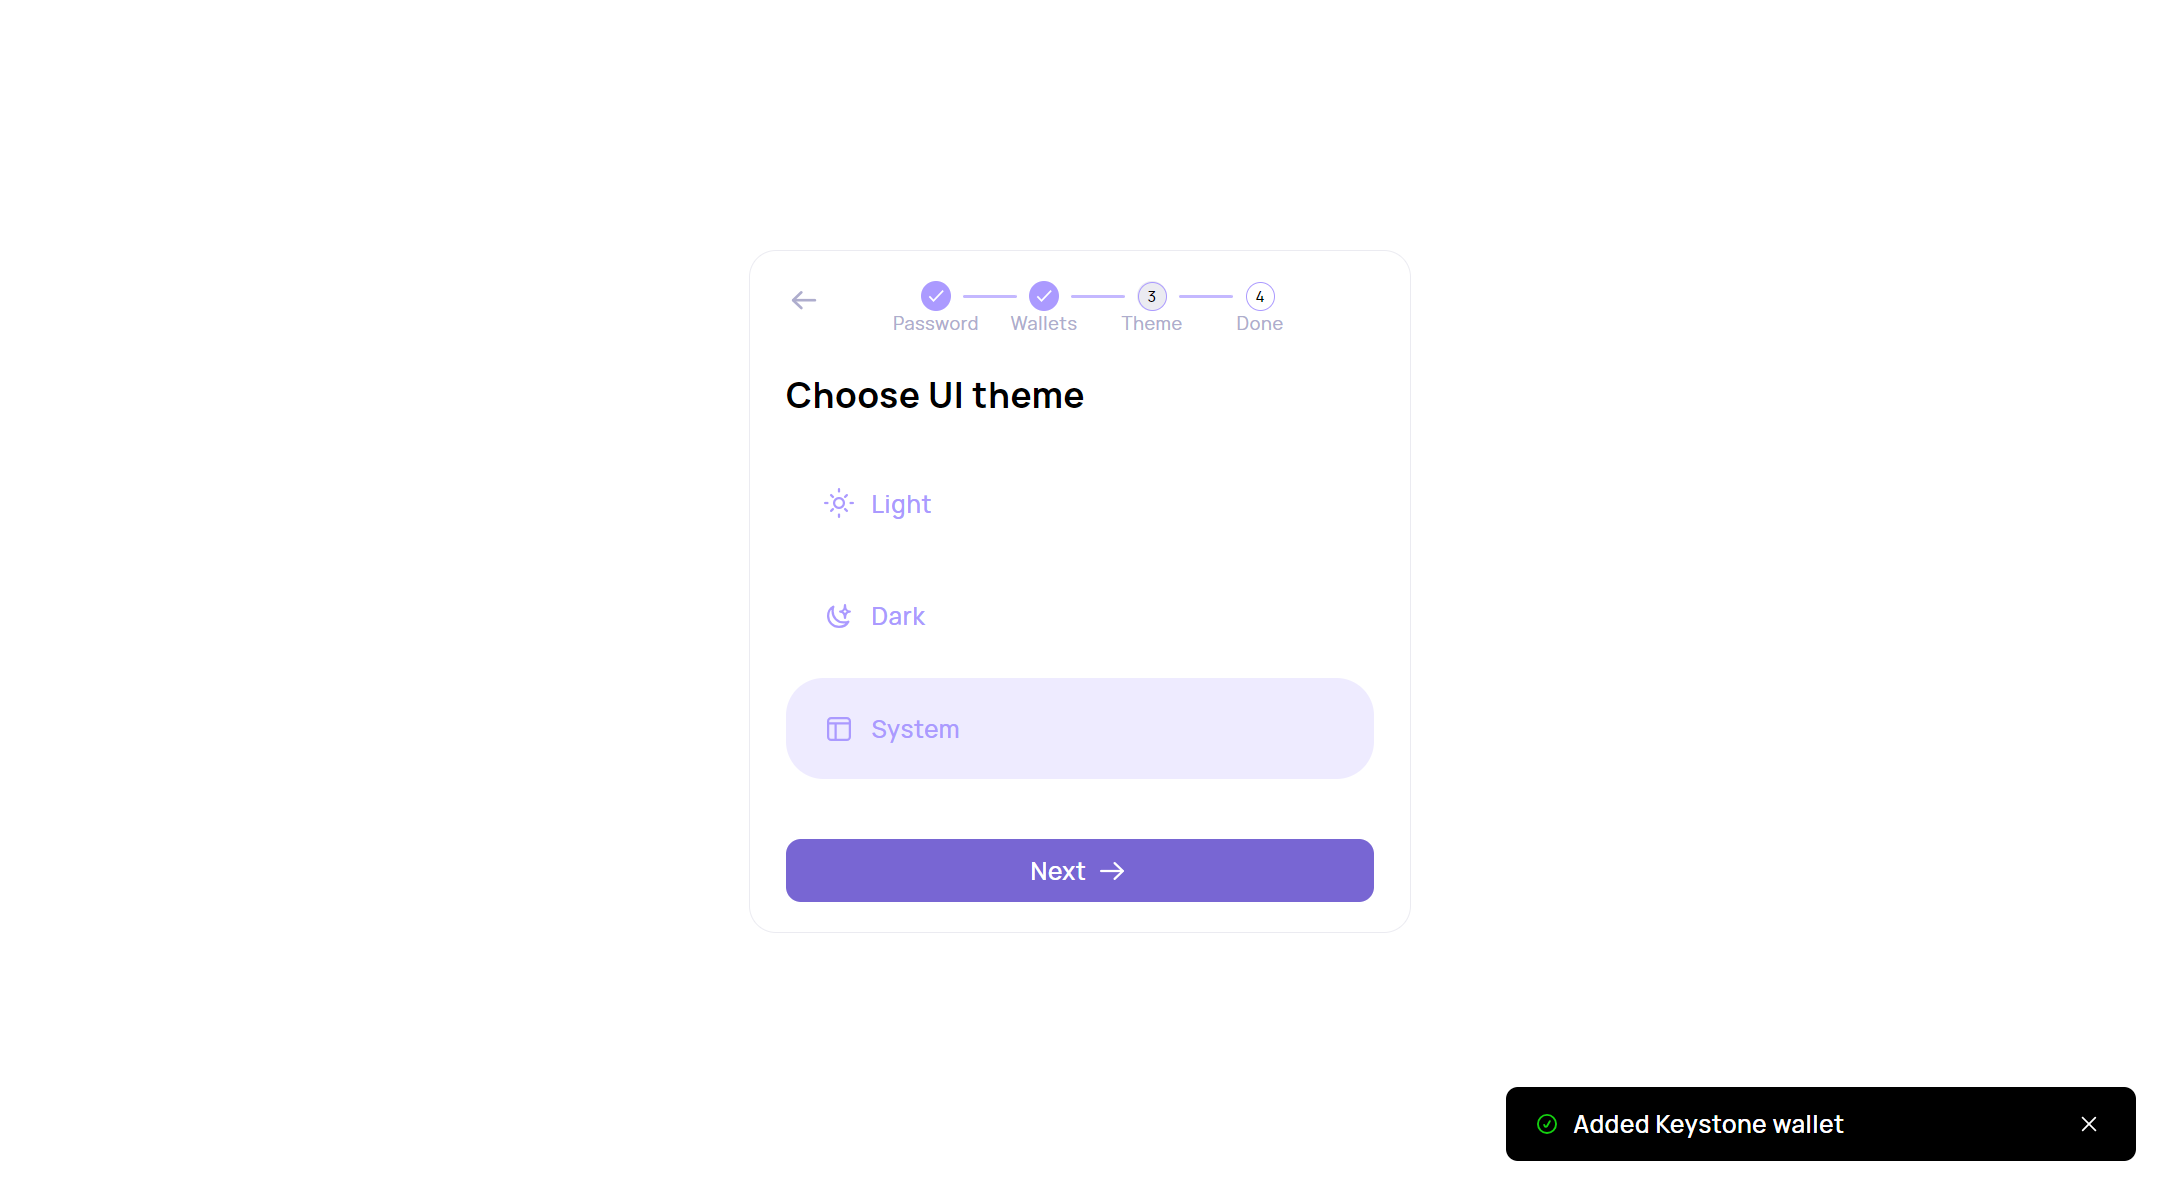
If you are a new user, you have now unlocked your first account.
Step 3: Send AR with your Keystone Hardware Wallet
On the ArConnect Extension:
- Initiate an AR transaction.
- Select transaction type, Import the recipient address and amount, then click [Next].
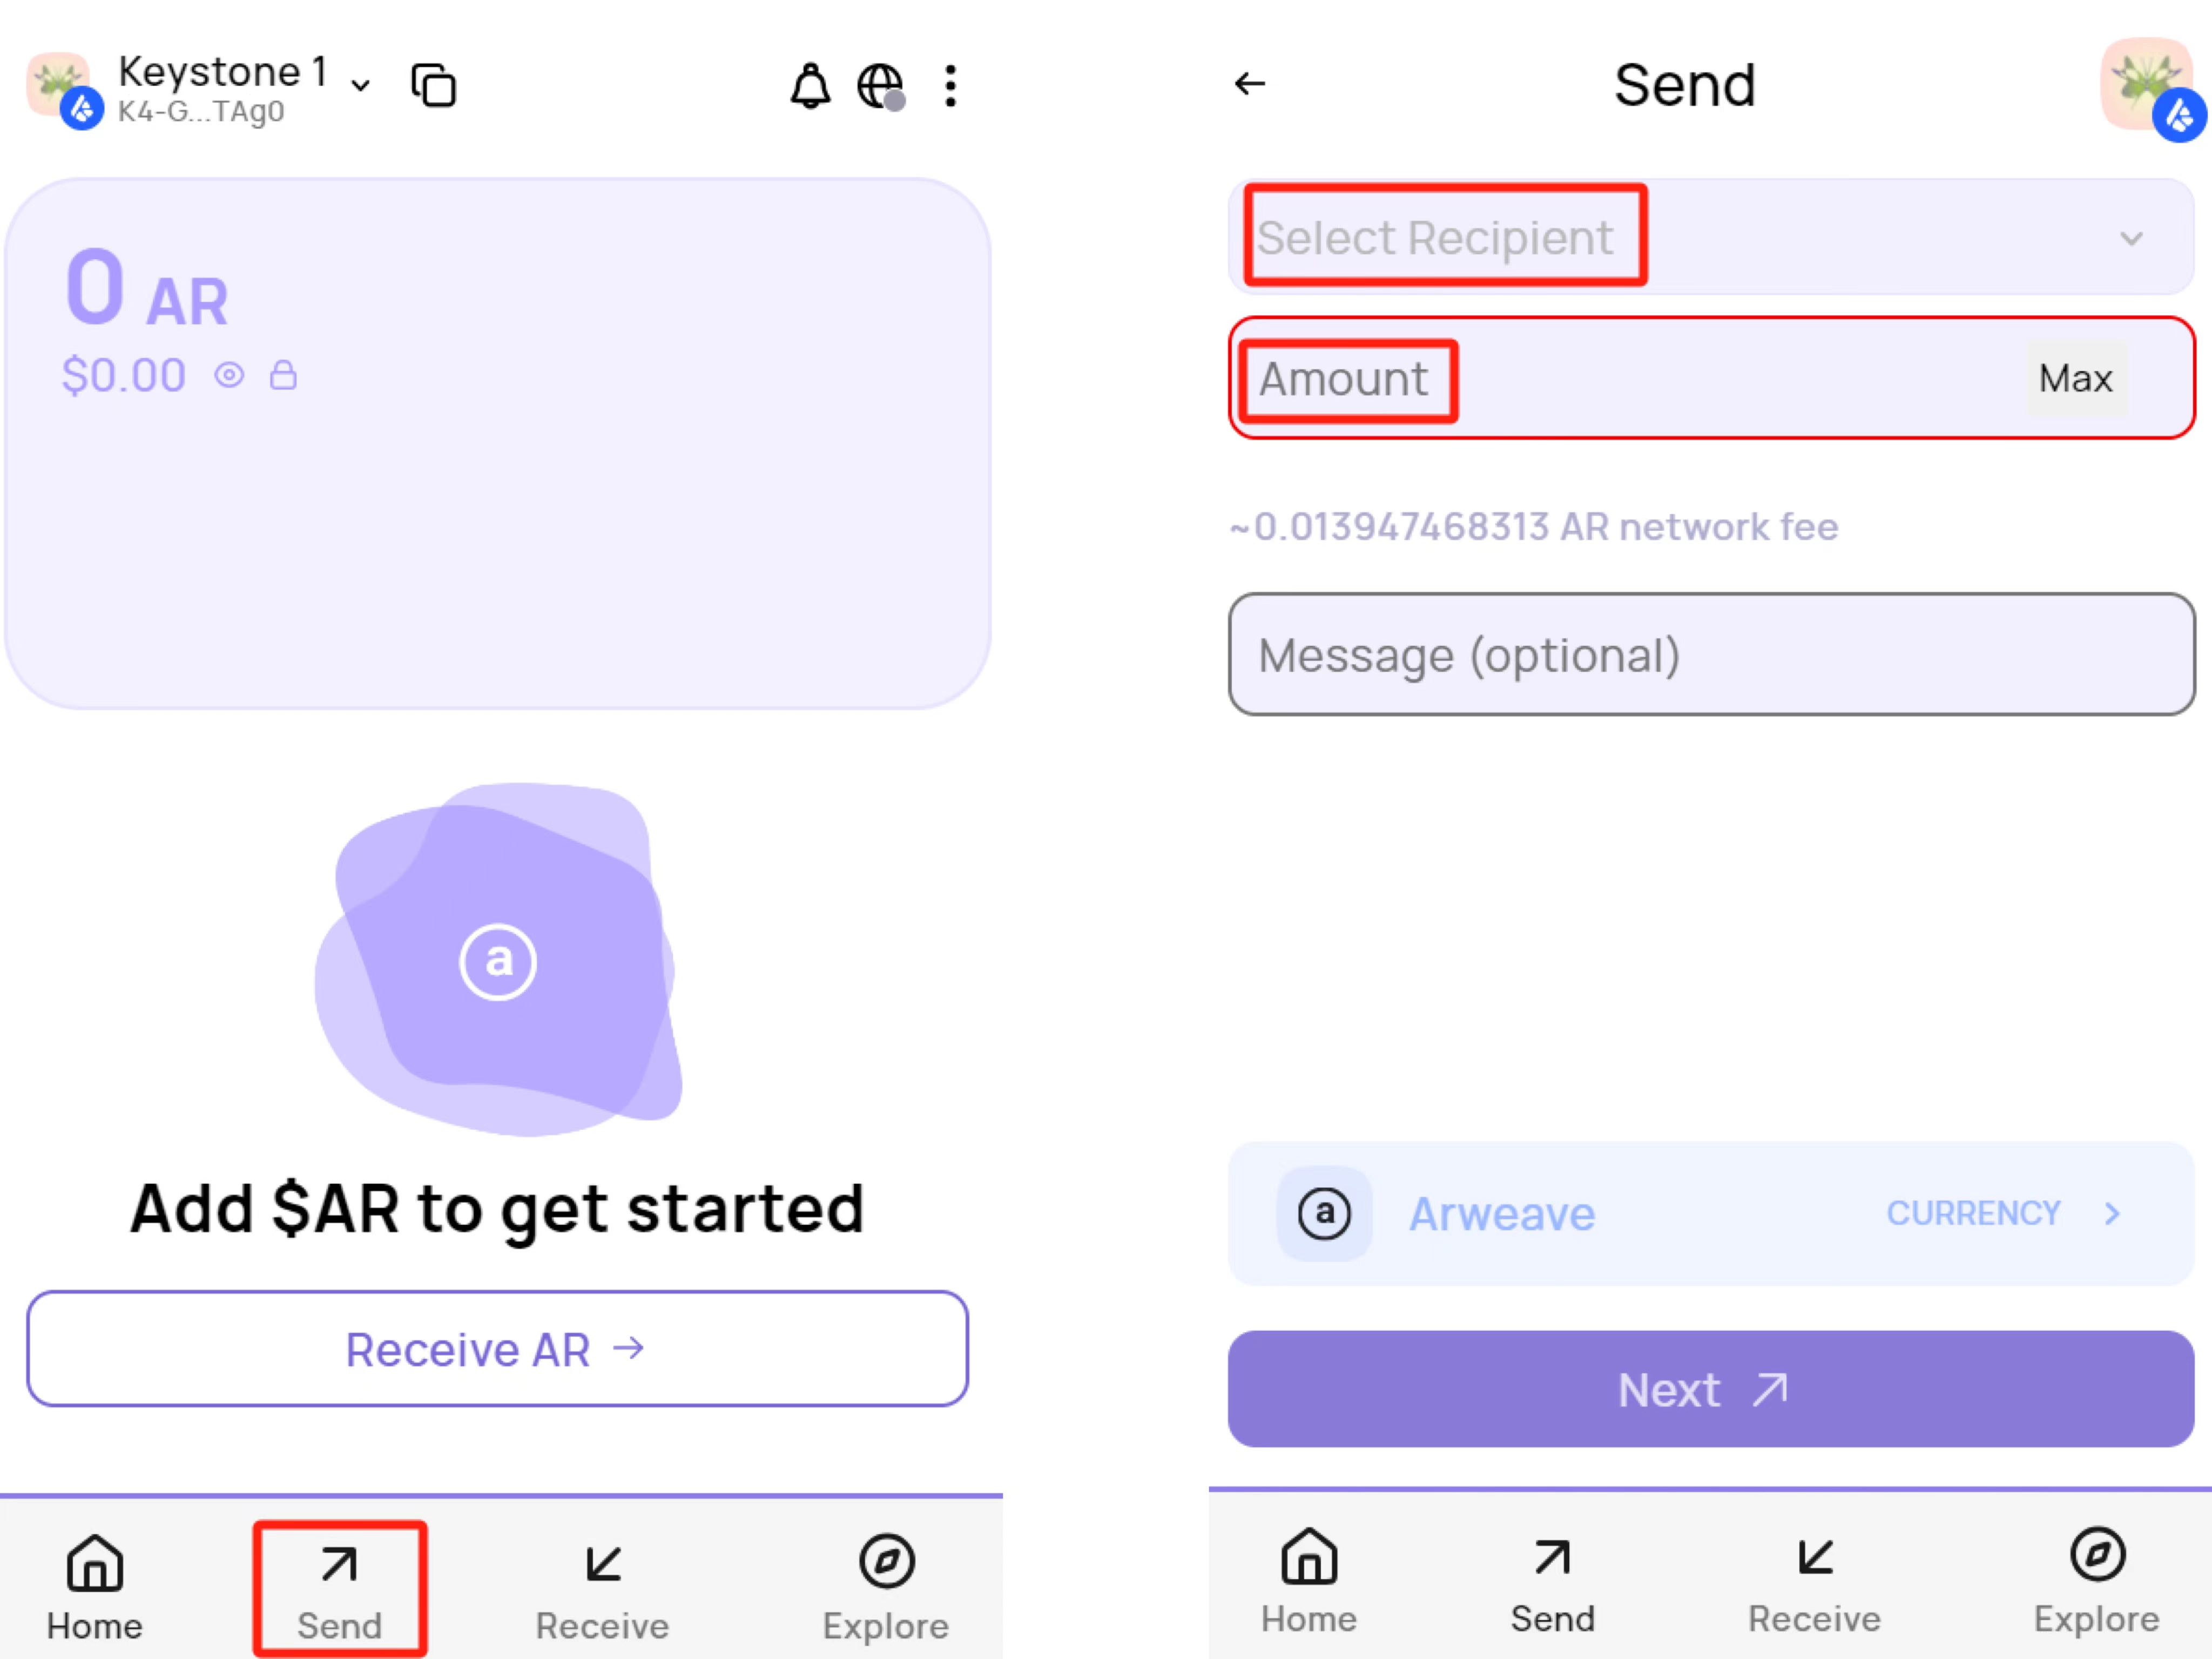
- Then will display a “Get Signature QR Code”
On the Keystone device:
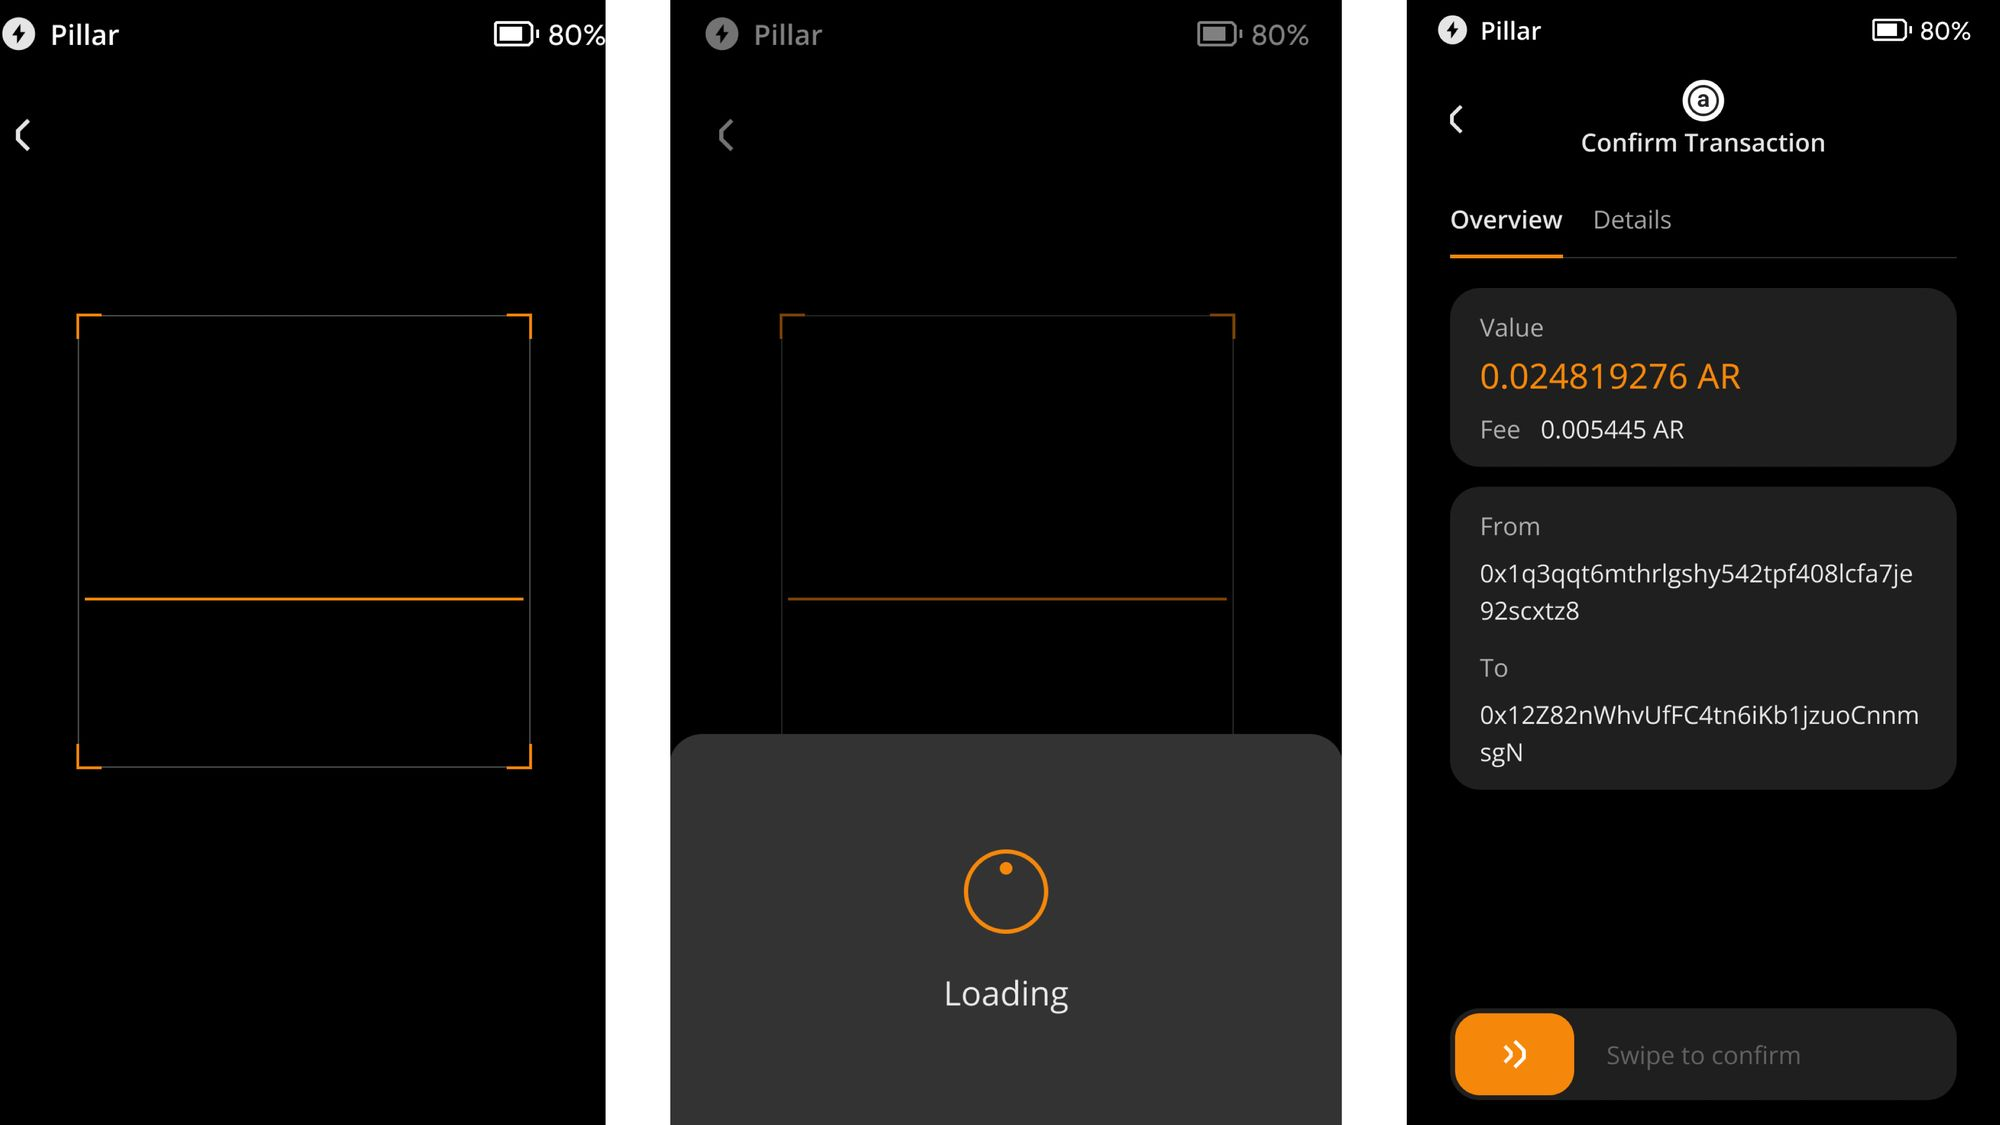
- Select the QR code code scanning icon at the bottom right of the home page.
- Scan the QR code displayed by the ArConnect Extension of requesting a signature > Confirm Transaction Information > [Swipe to confirm]> Keystone Hardware Wallet will display a QR code again.
Back to ArConnect Extension
- The ArConnect Extension will display a scan page to obtain a signature. Use your computer's webcam to scan the signature QR code displayed on the Keystone device.
- The transaction was successful!