How to connect Keystone with Typhon Extension
Step1: Preparation
Before you begin, make sure you have the following:
- Firmware version 1.4.0 or later running on Keystone 3 Pro.
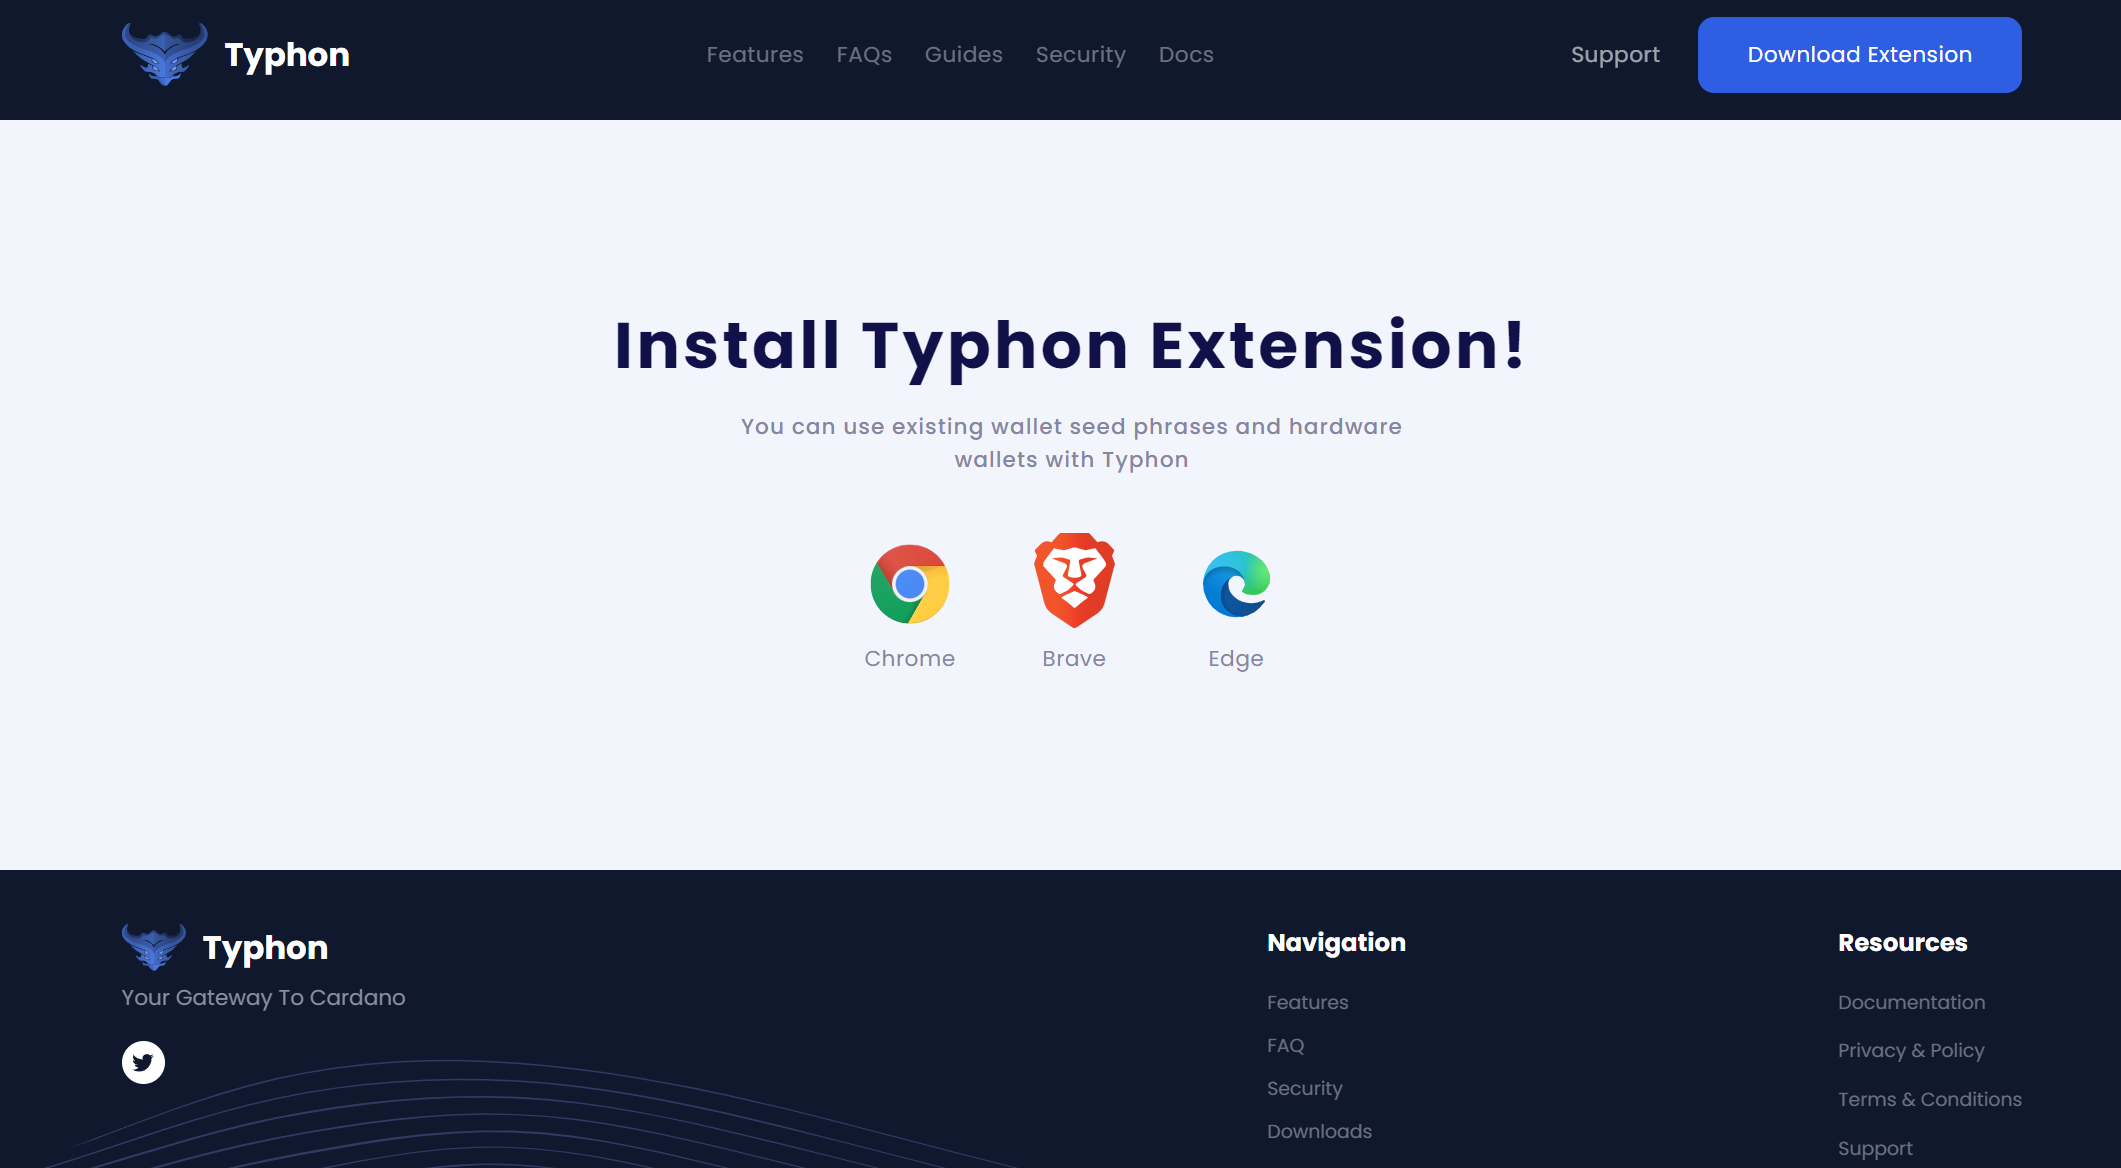
- The Thphon browser extension is installed. You can download it from Typhon's official website.
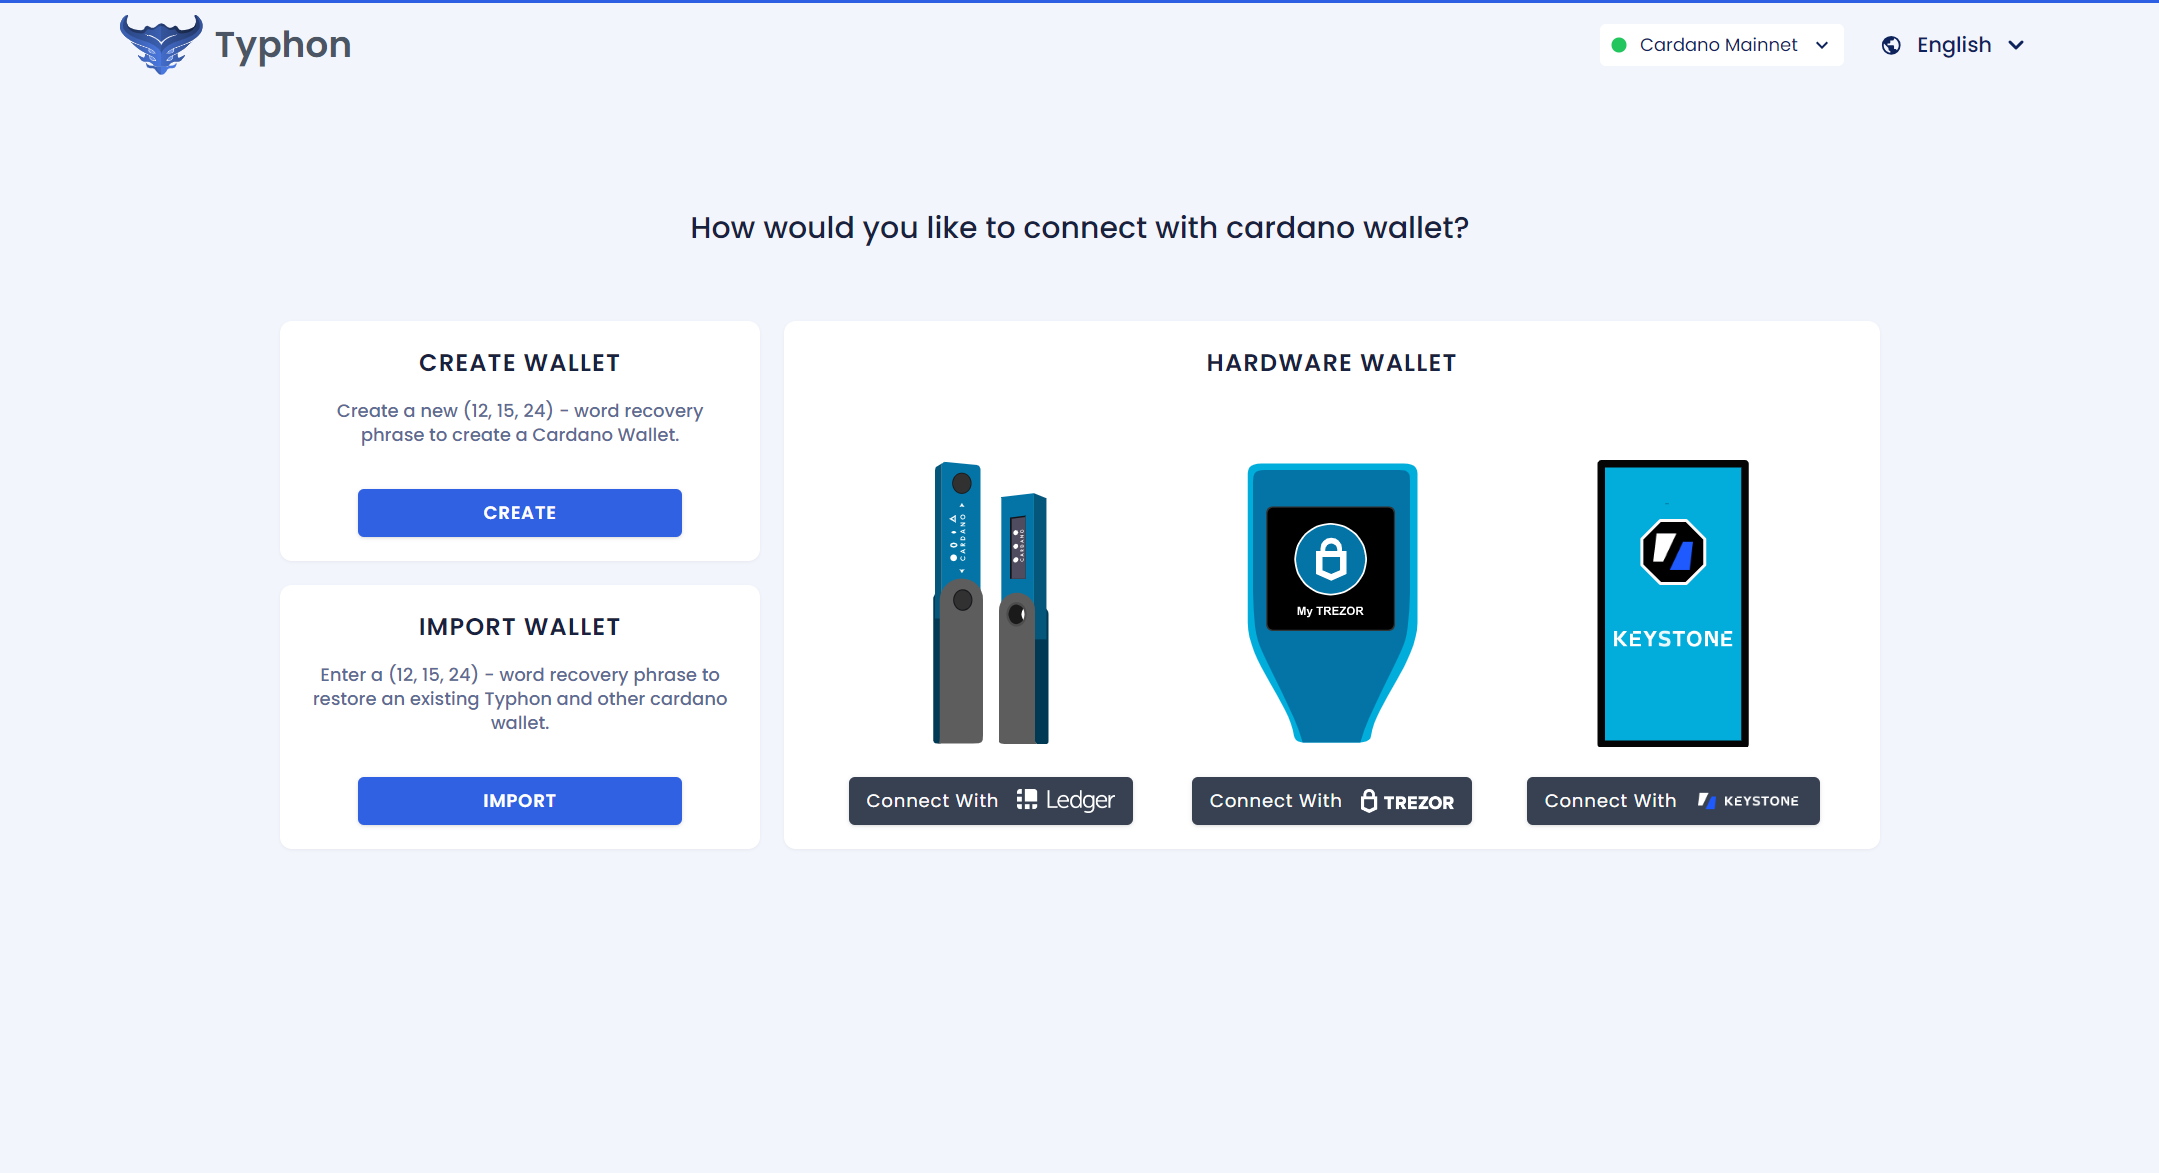
Step2: Connect Keystone to Typhon
1. Run the Typhon Extension
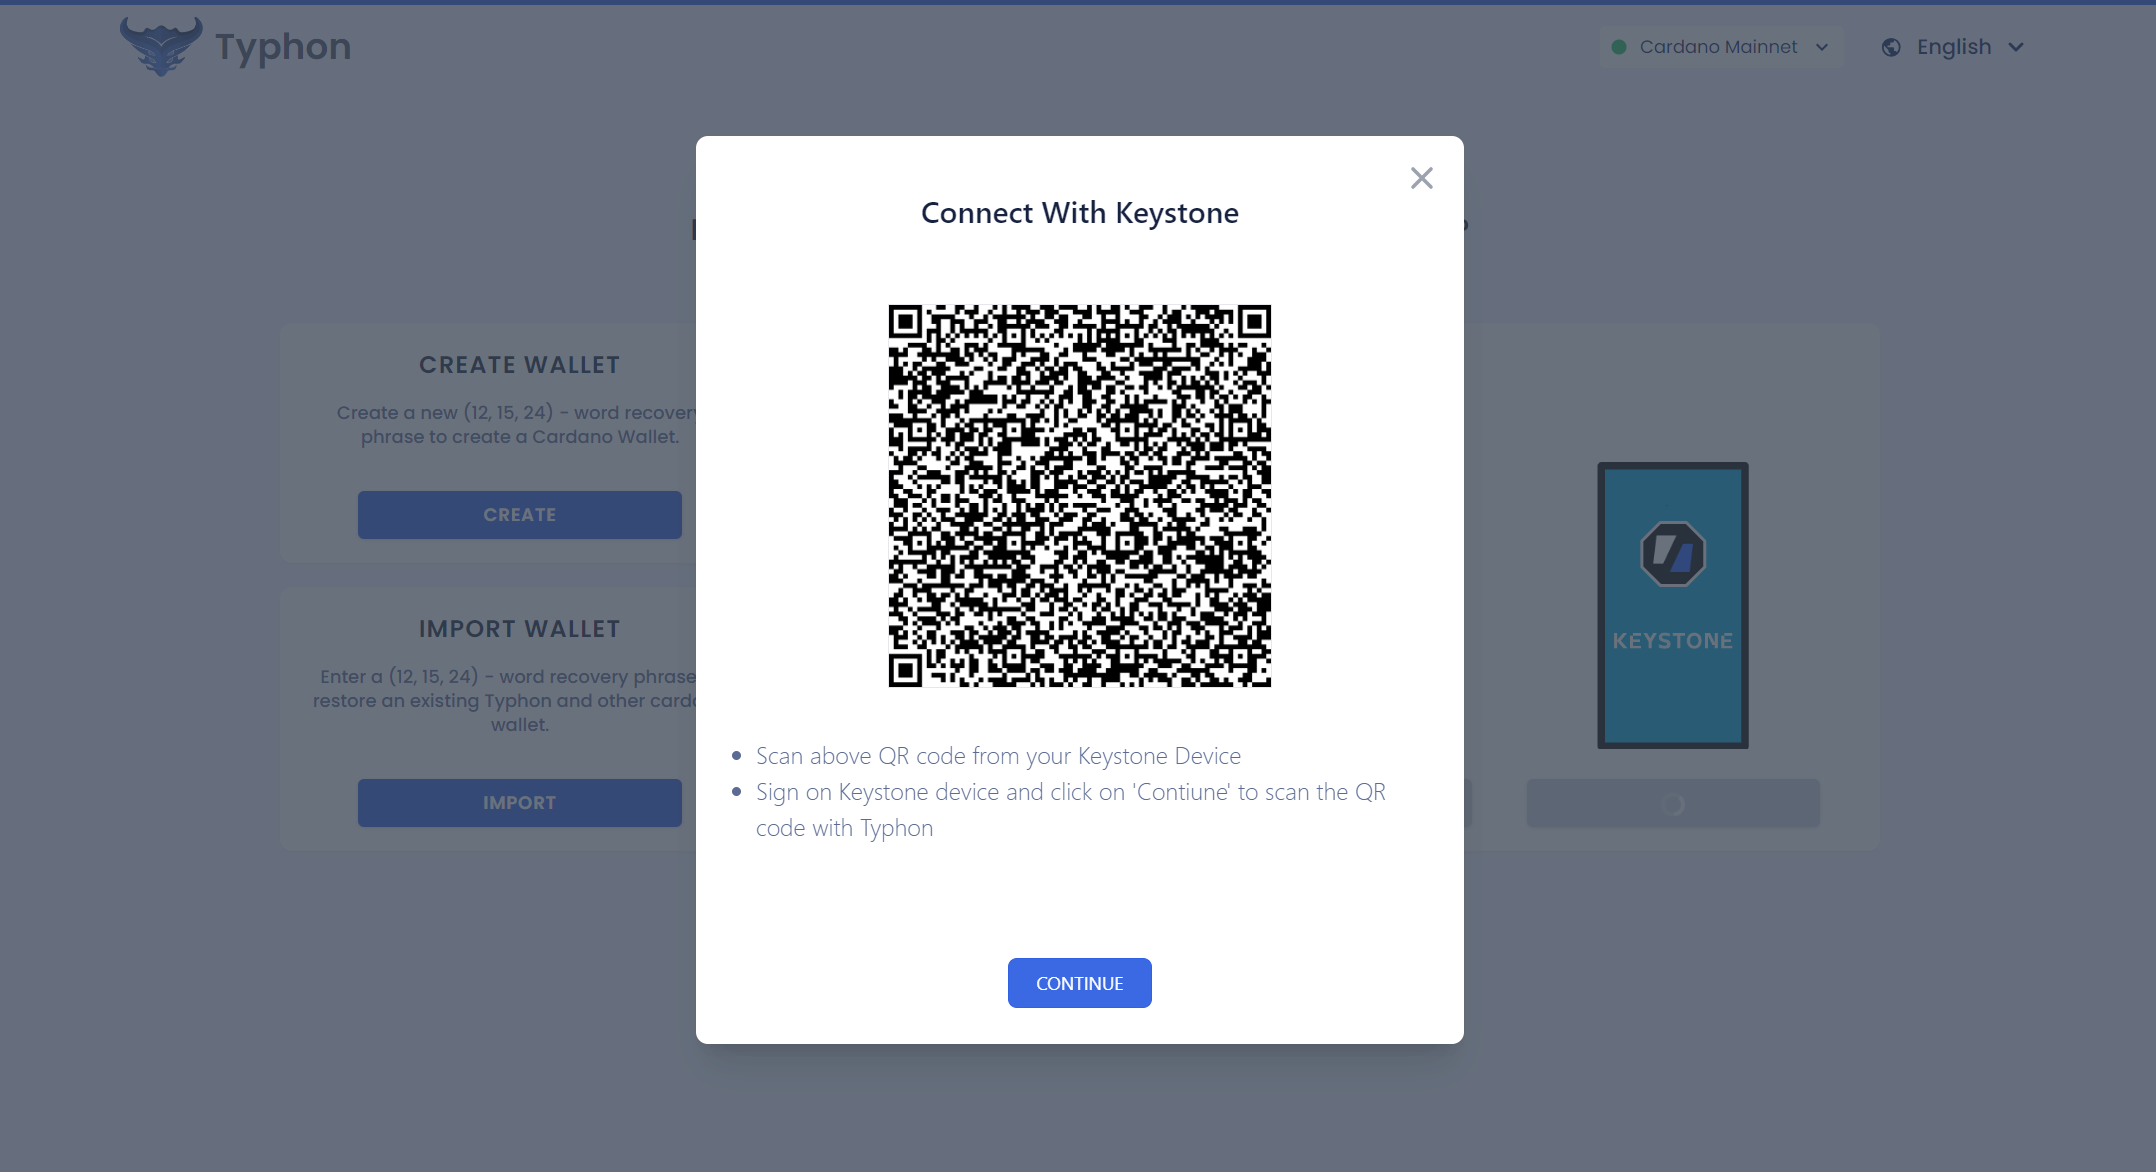
- Click on the [Connect with Keystone] icon on the homepage.
- Typhon Extension will display a QR code, then be ready to let your Keystone Device scan the above QR code.
2. Connecting Keystone to Typhon
On the Keystone Hardware Wallet:
Select the QR-code scan icon at the bottom right of the homepage.
Scan the QR code of Typhon Extension displayed, click [Approve], and the Keystone device will display a QR code.
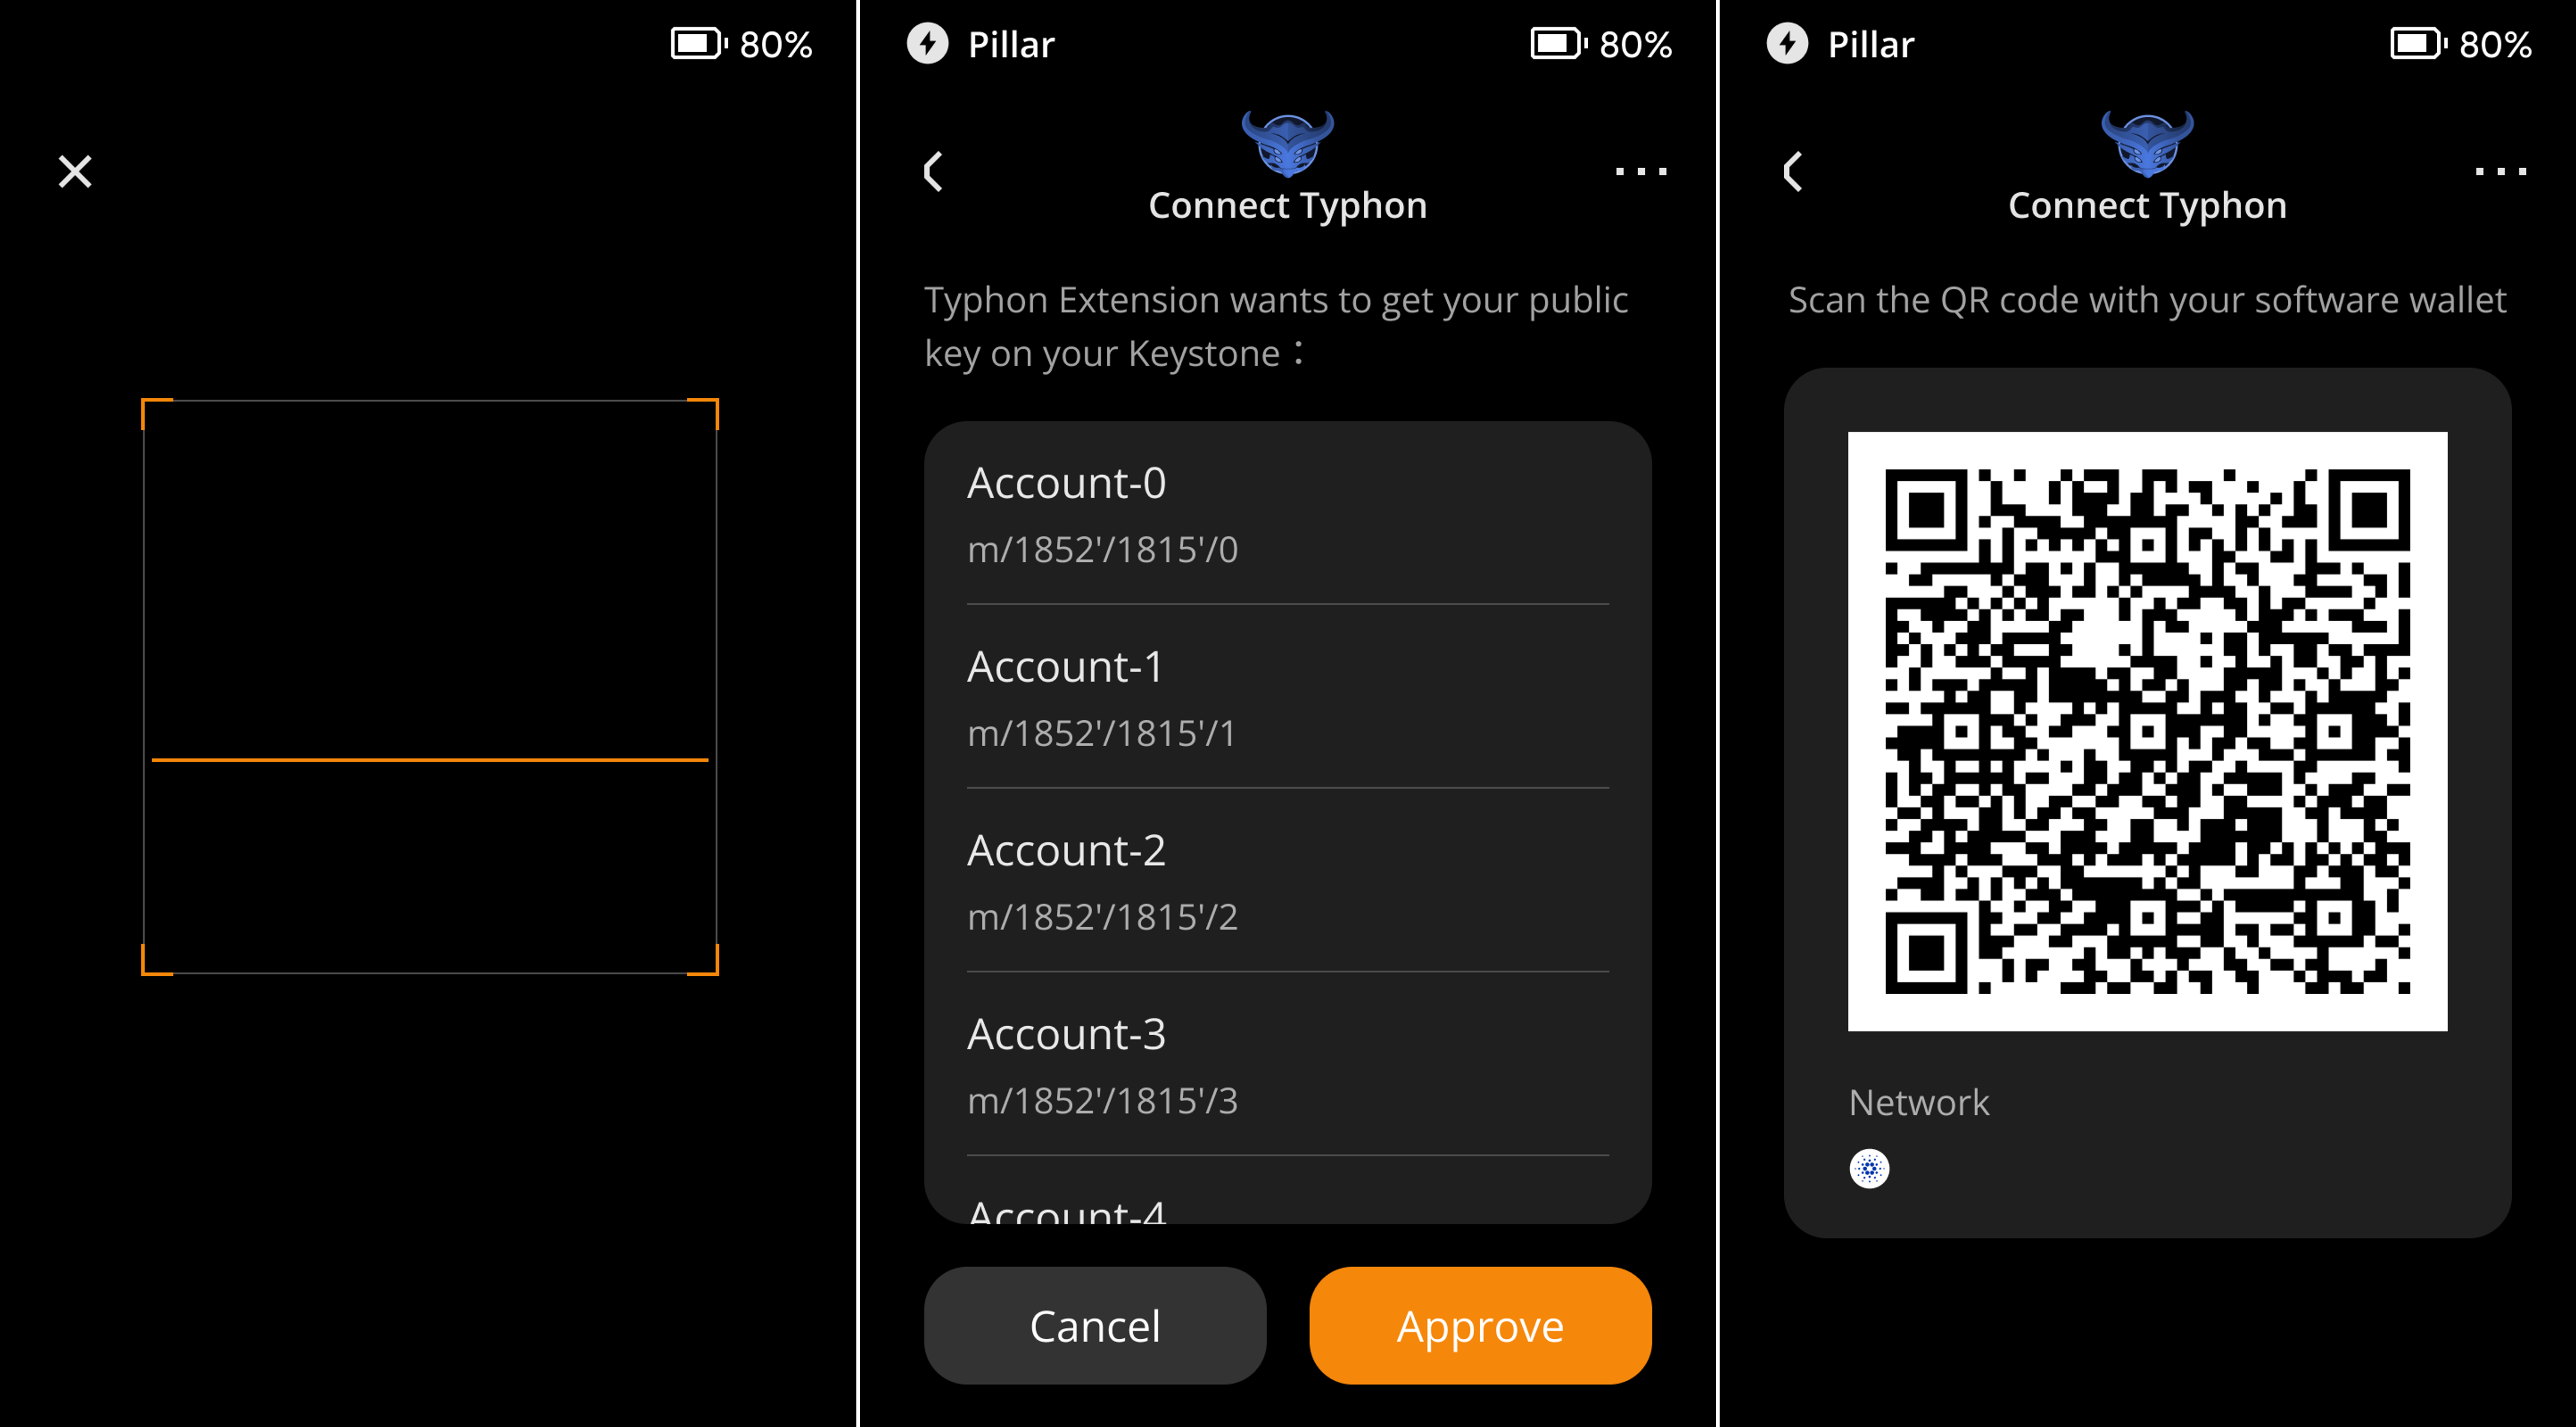
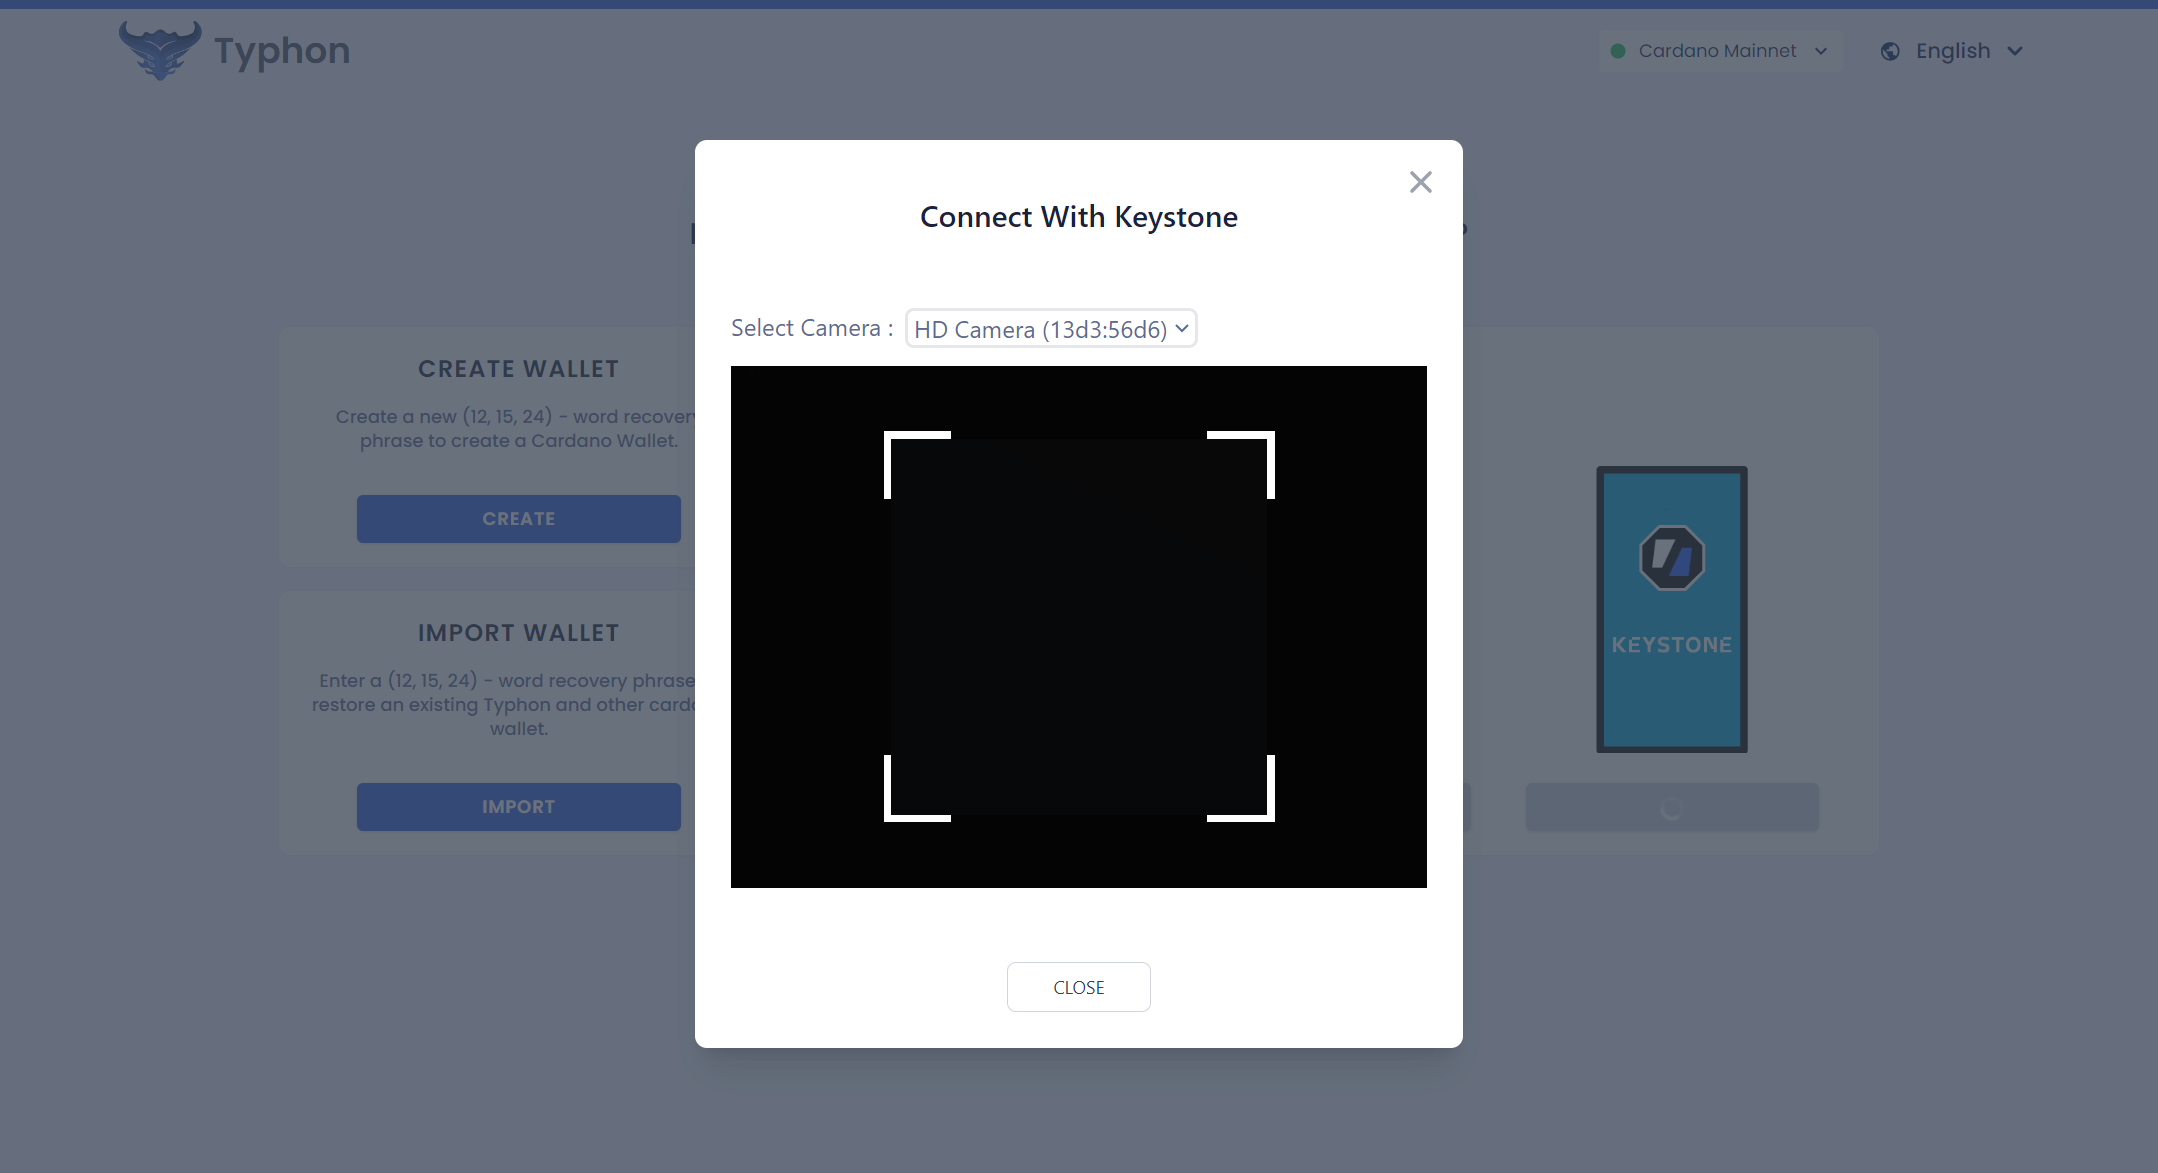
On the Typhon Extenison:
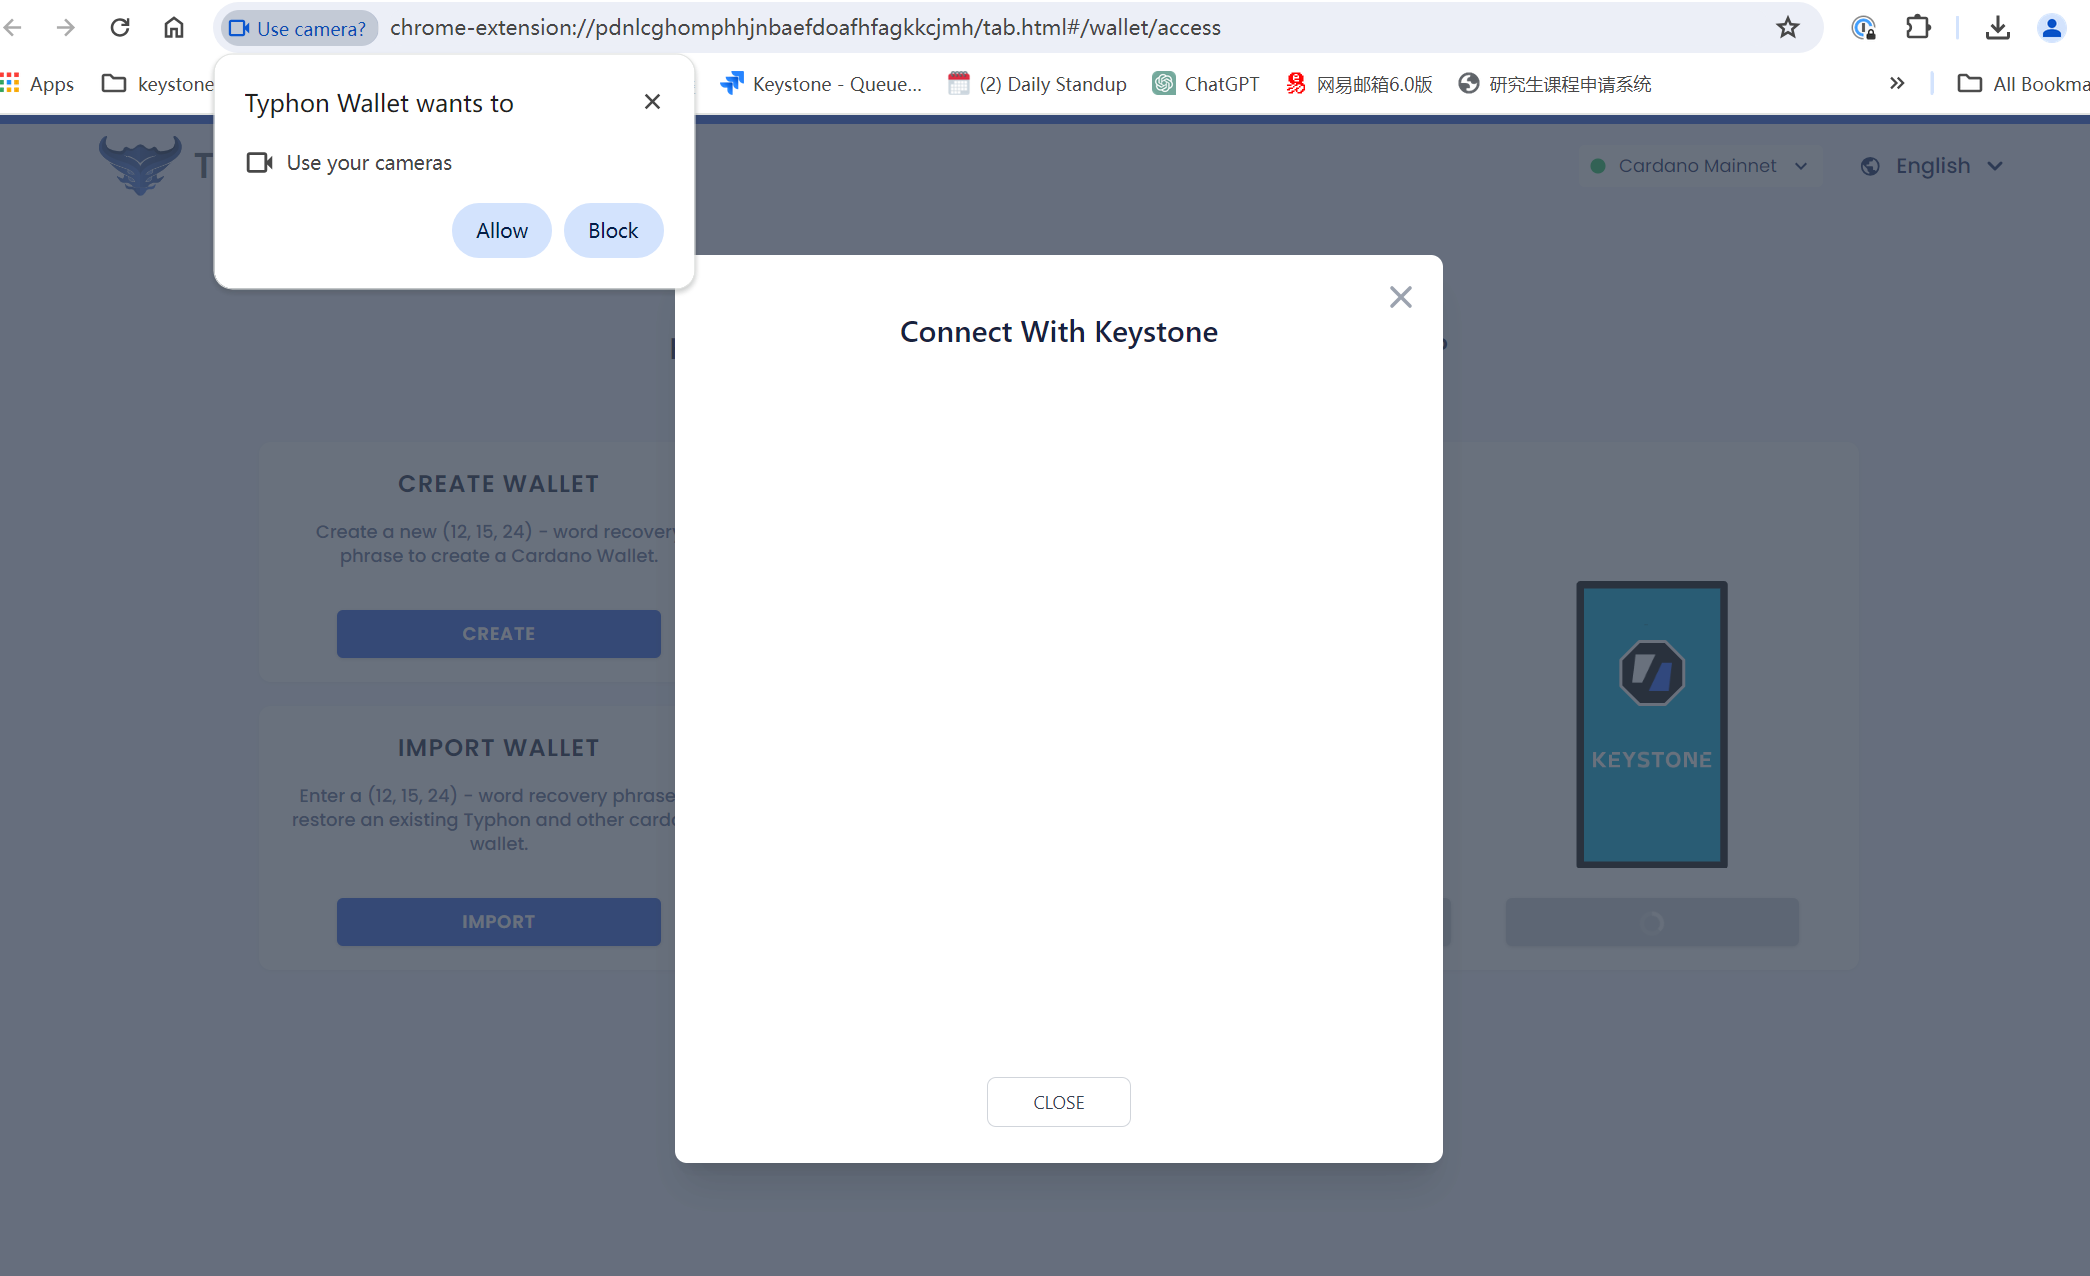
- Click [Allow] to grant access to computer webcam requests.
- Then use your computer's webcam to scan the QR which Keystone displayed on the device in the former step.
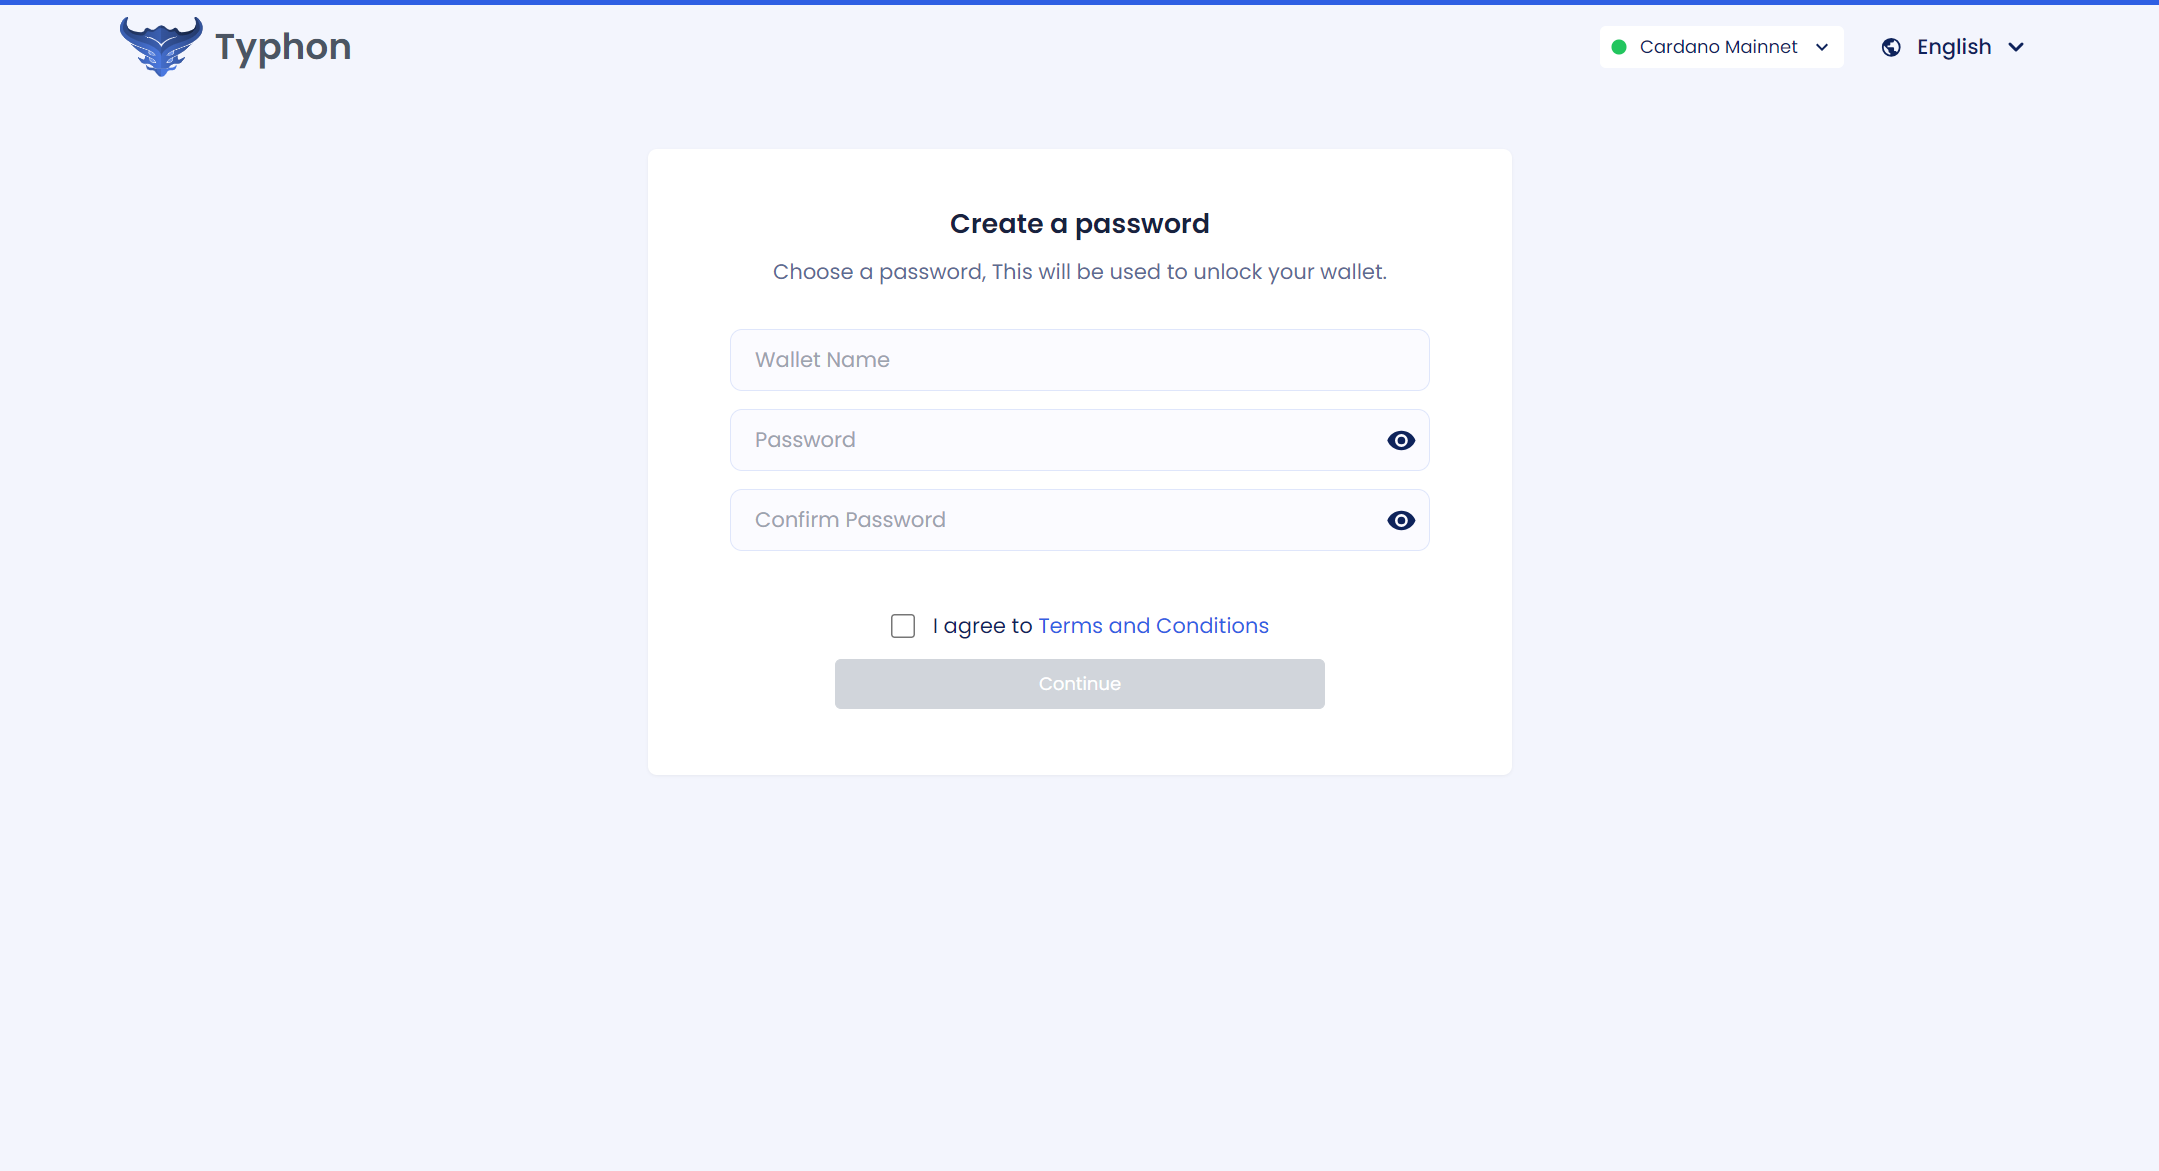
- Create your own password
- Then you can unlock your first account.
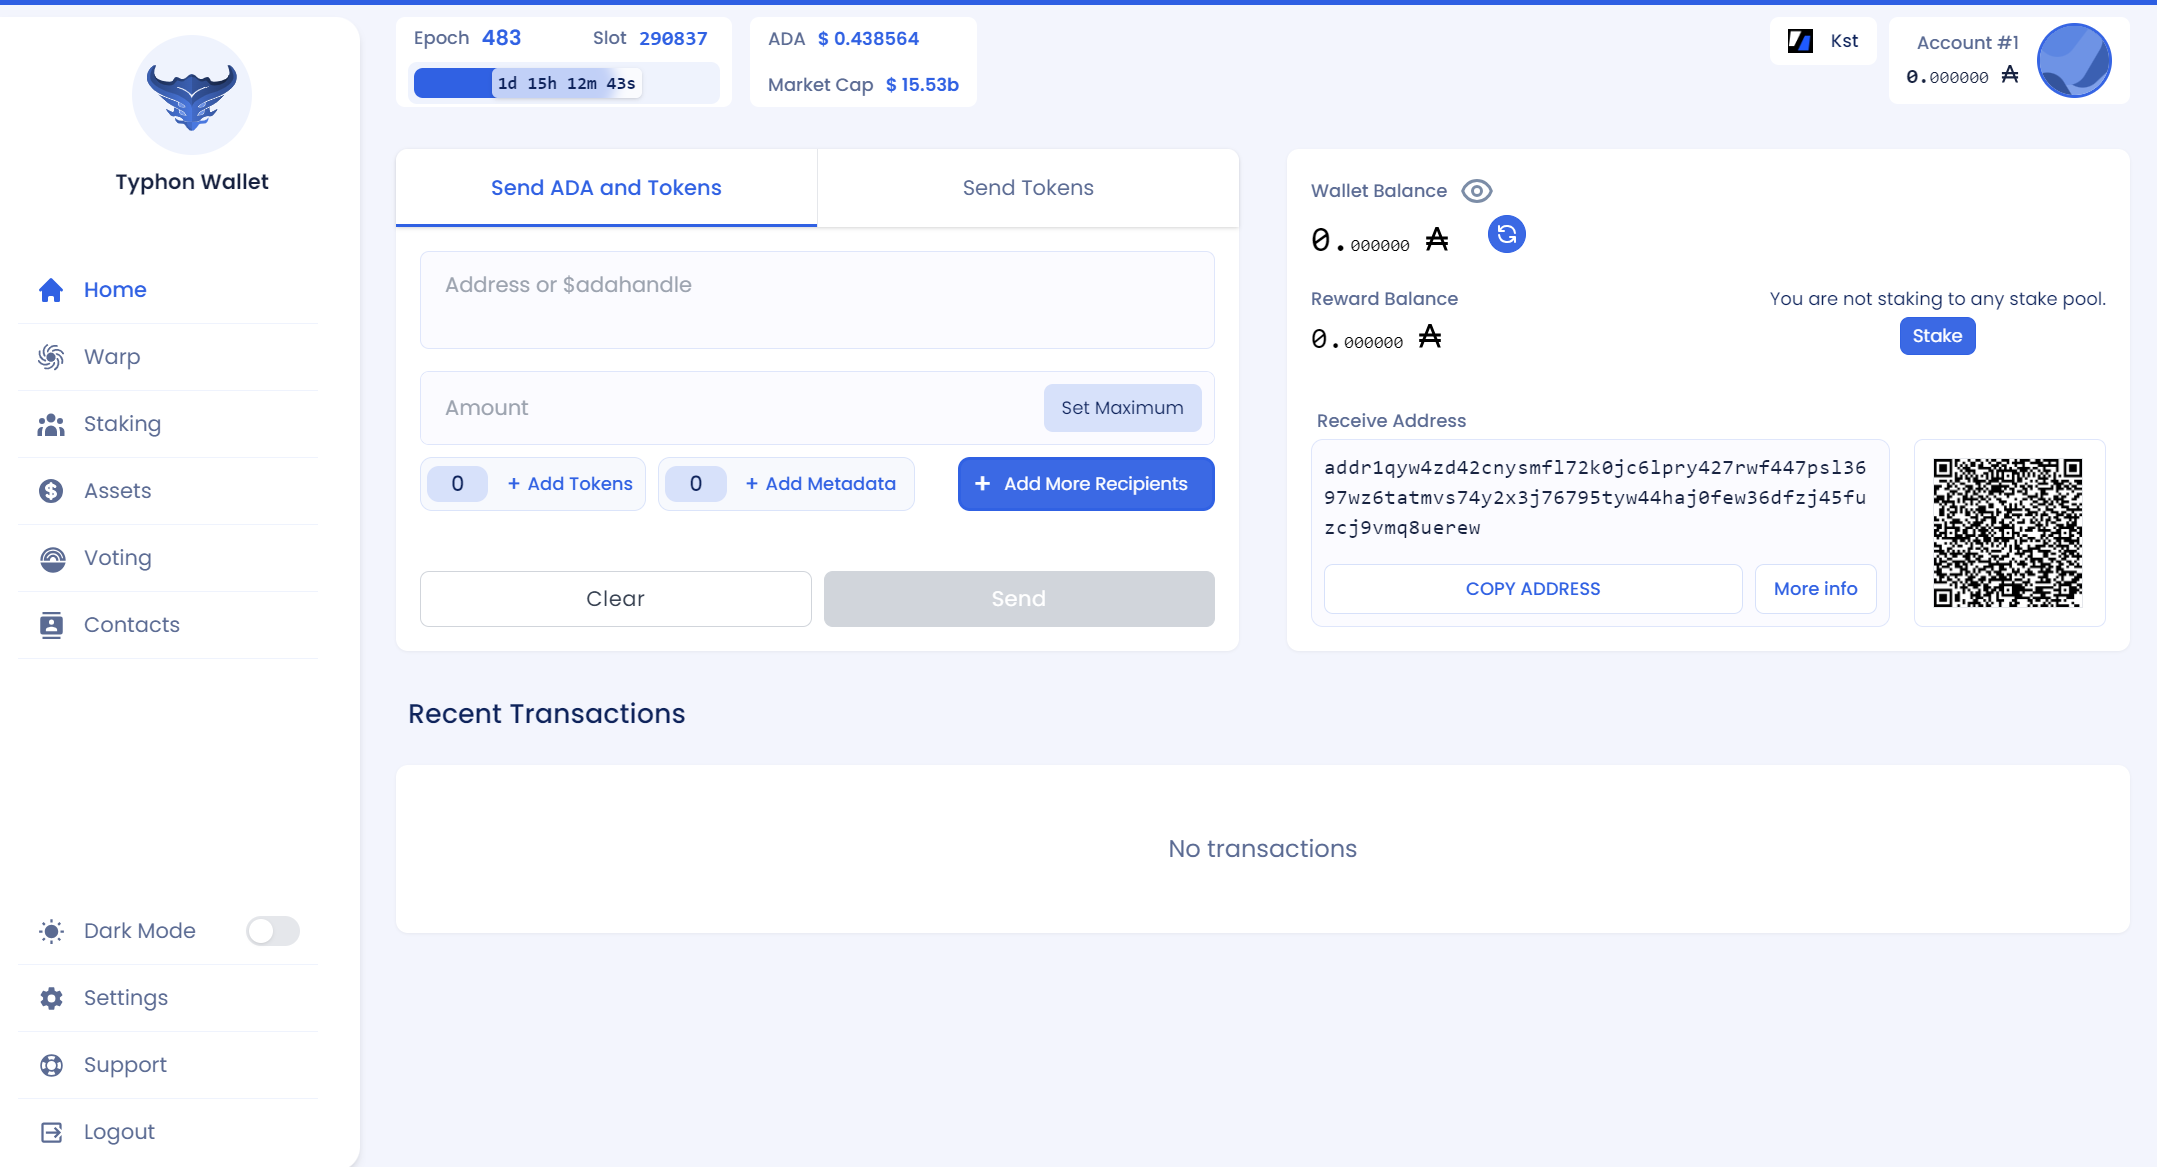
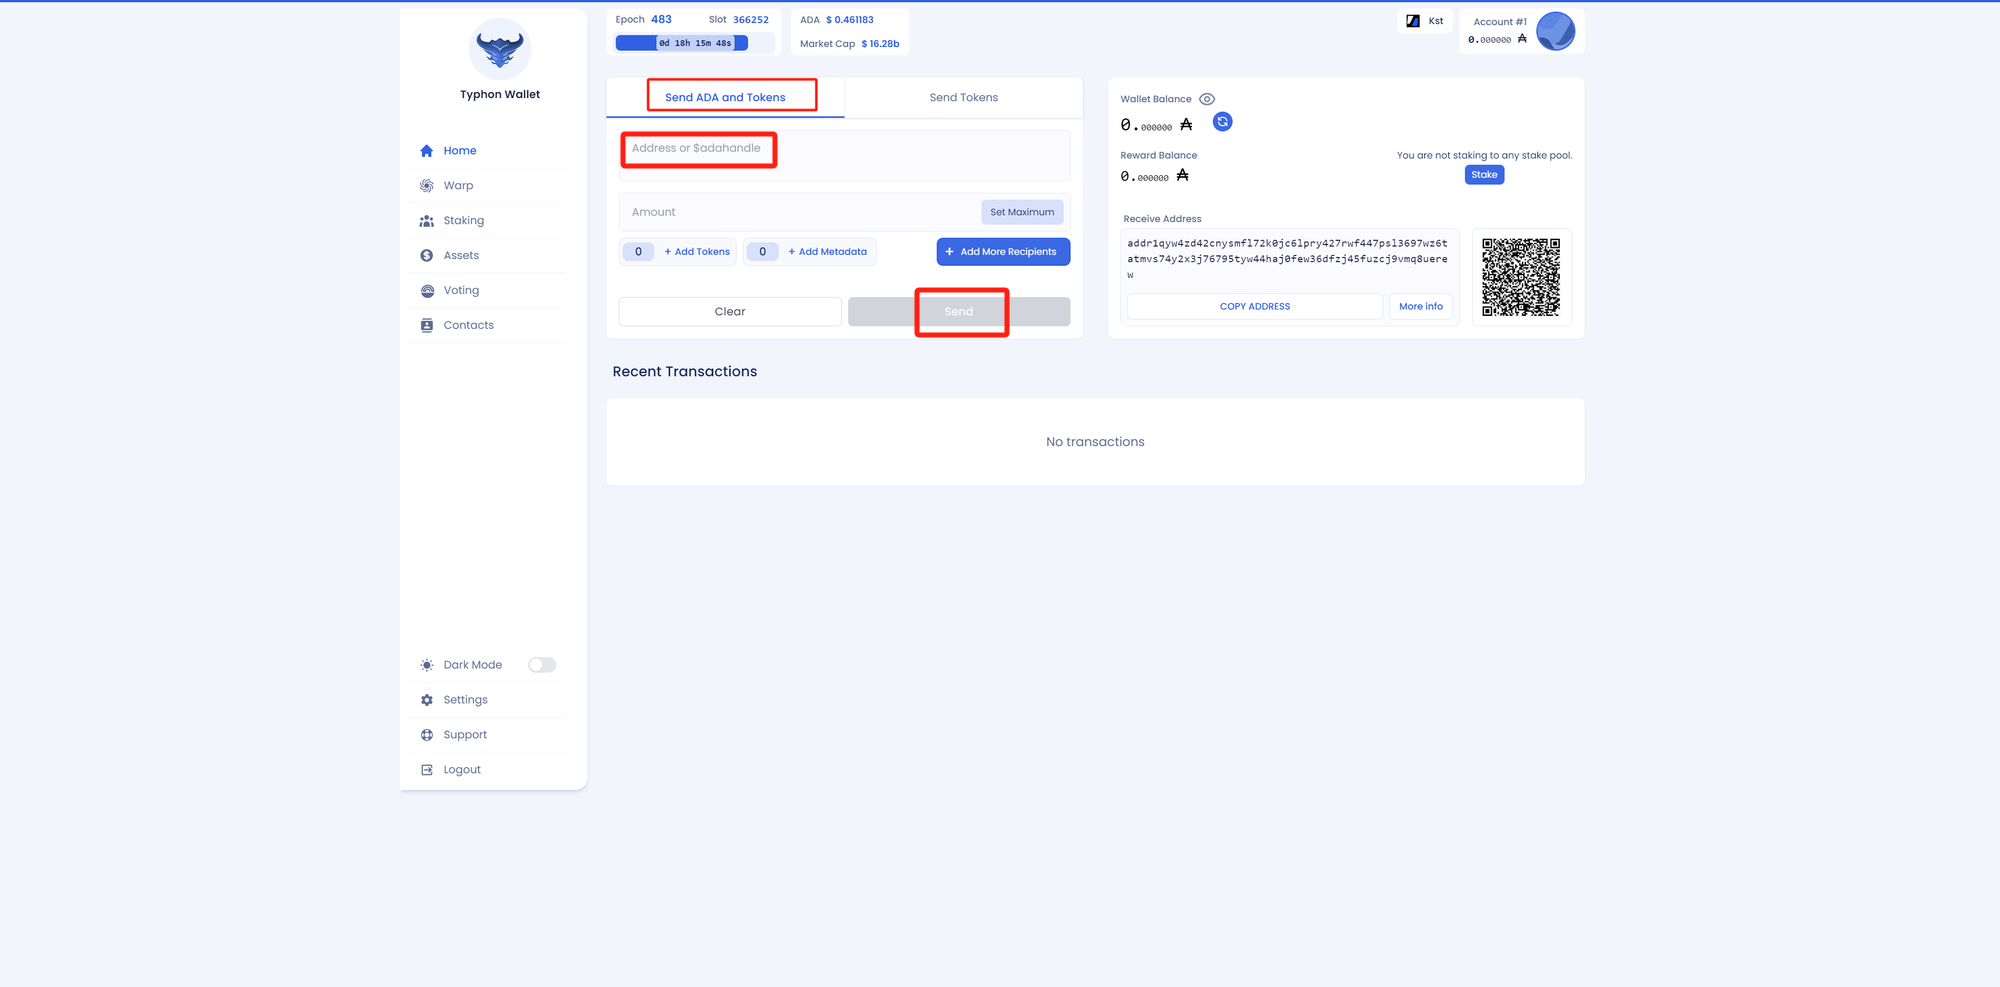
Step3: Send ADA with your Keystone Hardware Wallet
On the Typhon Extenison:
- Initiate an ADA transaction.
- Import recipient address, then click [send], then will display a “Get Signature QR Code”
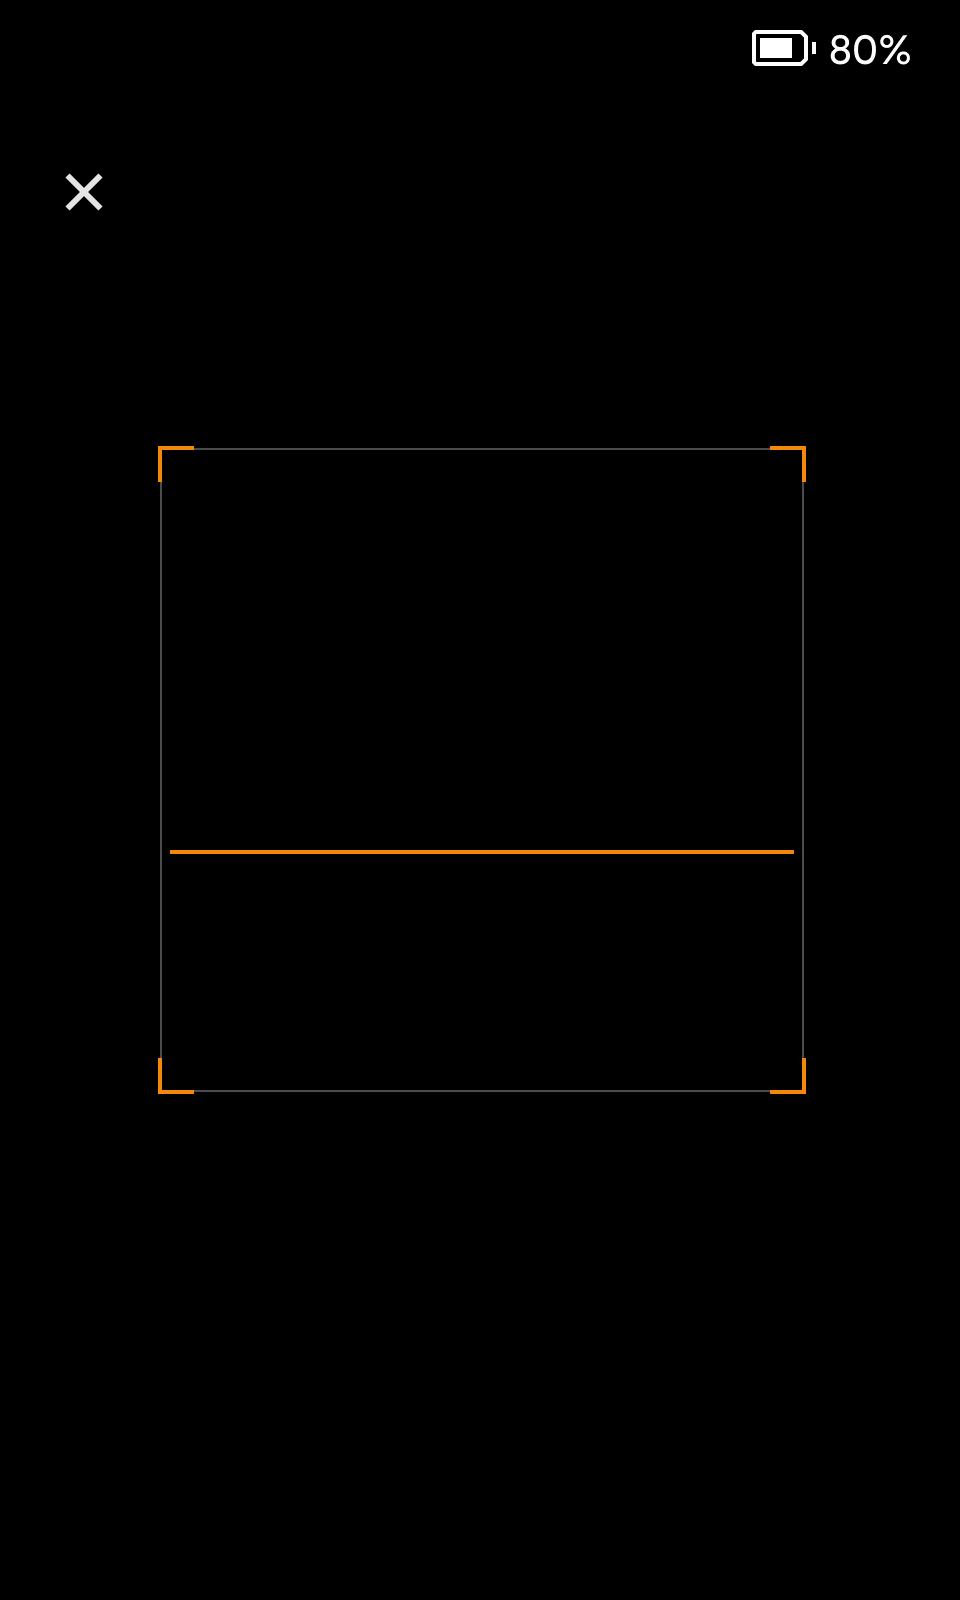
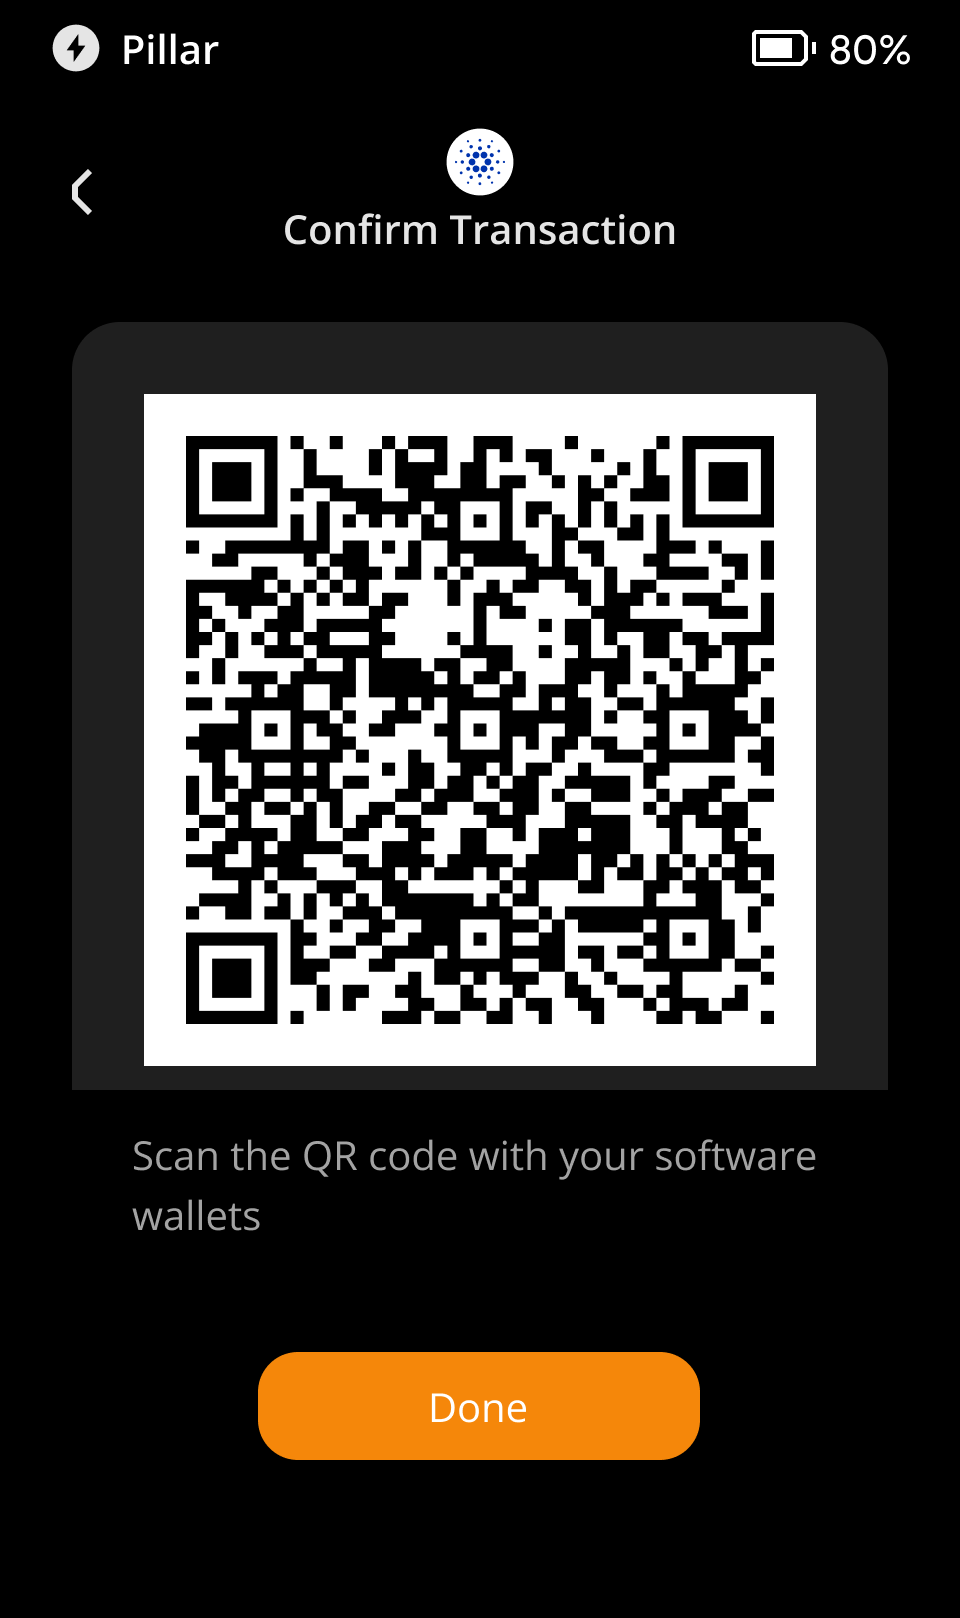
On the Keystone Hardware Wallet:
- Scan the signature QR code
- Swipe the bottom bar to confirm the Transaction.
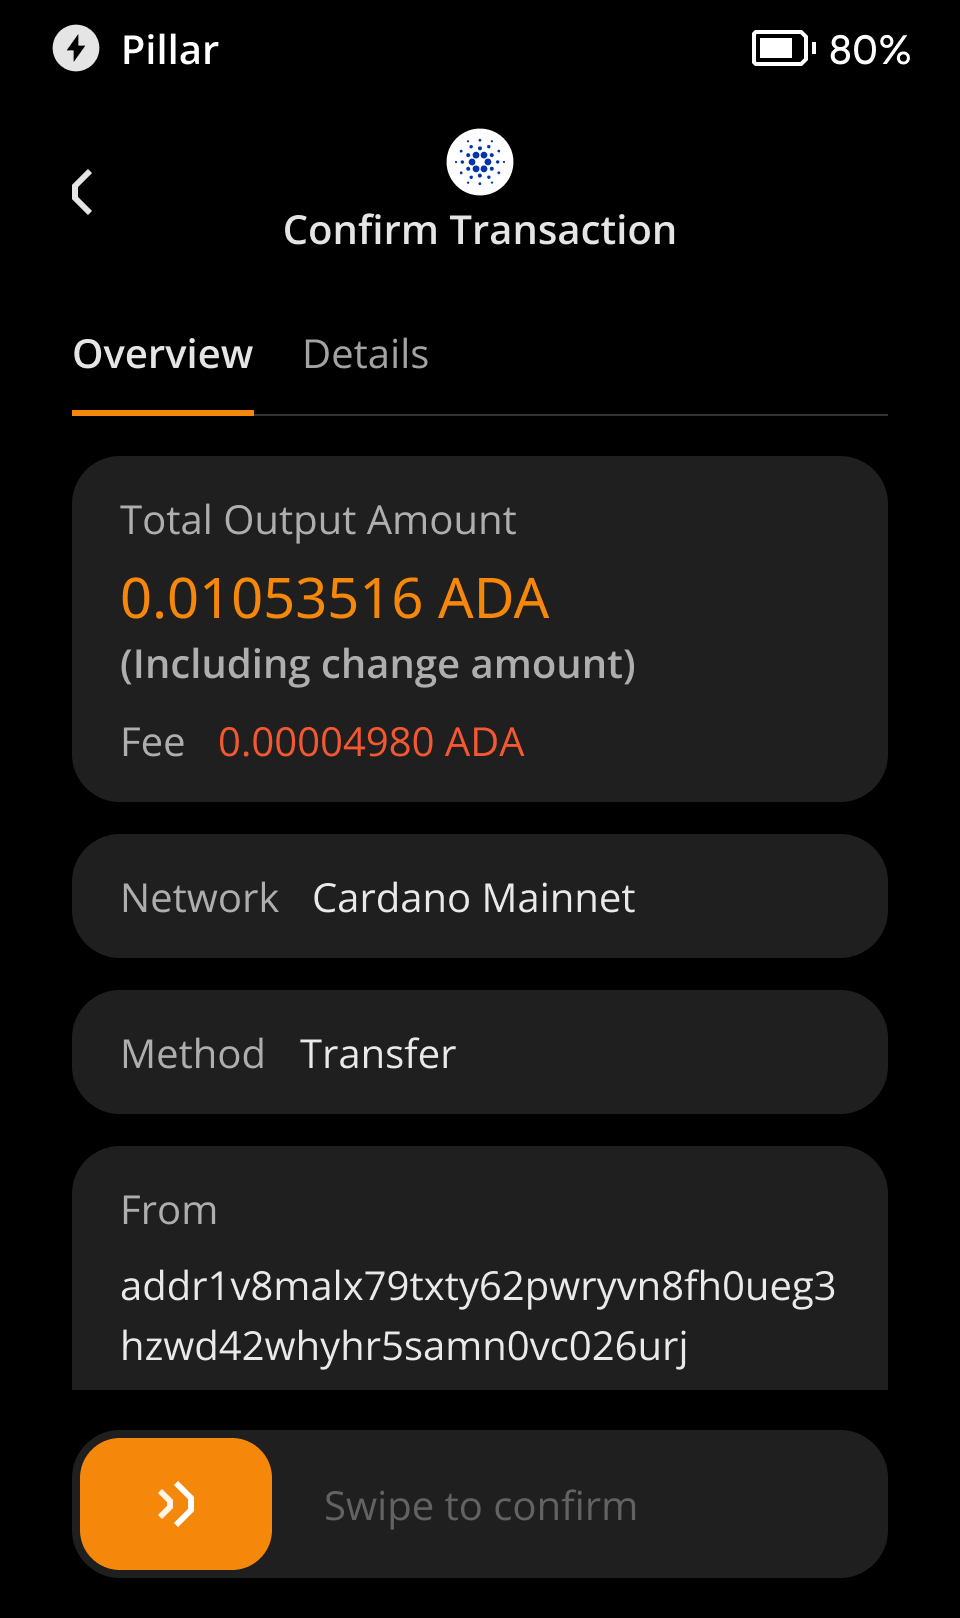
- Get the signature
Back to Typhon Extension:
- Typhon Extension will show the scan page to get the signature.
- Using the webcam to scan the signature QR code displayed on the Keystone Device's side.
- Successful Transaction Broadcast
Done! You have successfully sent your ADA to another address.
Security Note: To protect your assets, we recommend comparing the address displayed in Typhon with the address generated on your Keystone 3 Pro device after the connection is complete, and making sure the two addresses match exactly. Also, do not scan any external QR codes that were not generated by your Keystone device.