UniSat (Extension)
Welcome to the tutorial that will guide you through the process of connecting your Keystone hardware wallet with the UniSat Extension to manage your Bitcoin assets.
Preperation
- Firmware version v1.7.4 or newer running on Keystone 3 Pro. (For firmware upgrade, please refer to this tutorial.)
- Run UniSat Extension on the web page.
Connecting Keystone with UniSat
On Keystone 3 Pro:
- Click the […] icon on the top right of the main page > [Connect Software Wallet].
- Choose [UniSat] to generate the QR code.
On UniSat Extension:
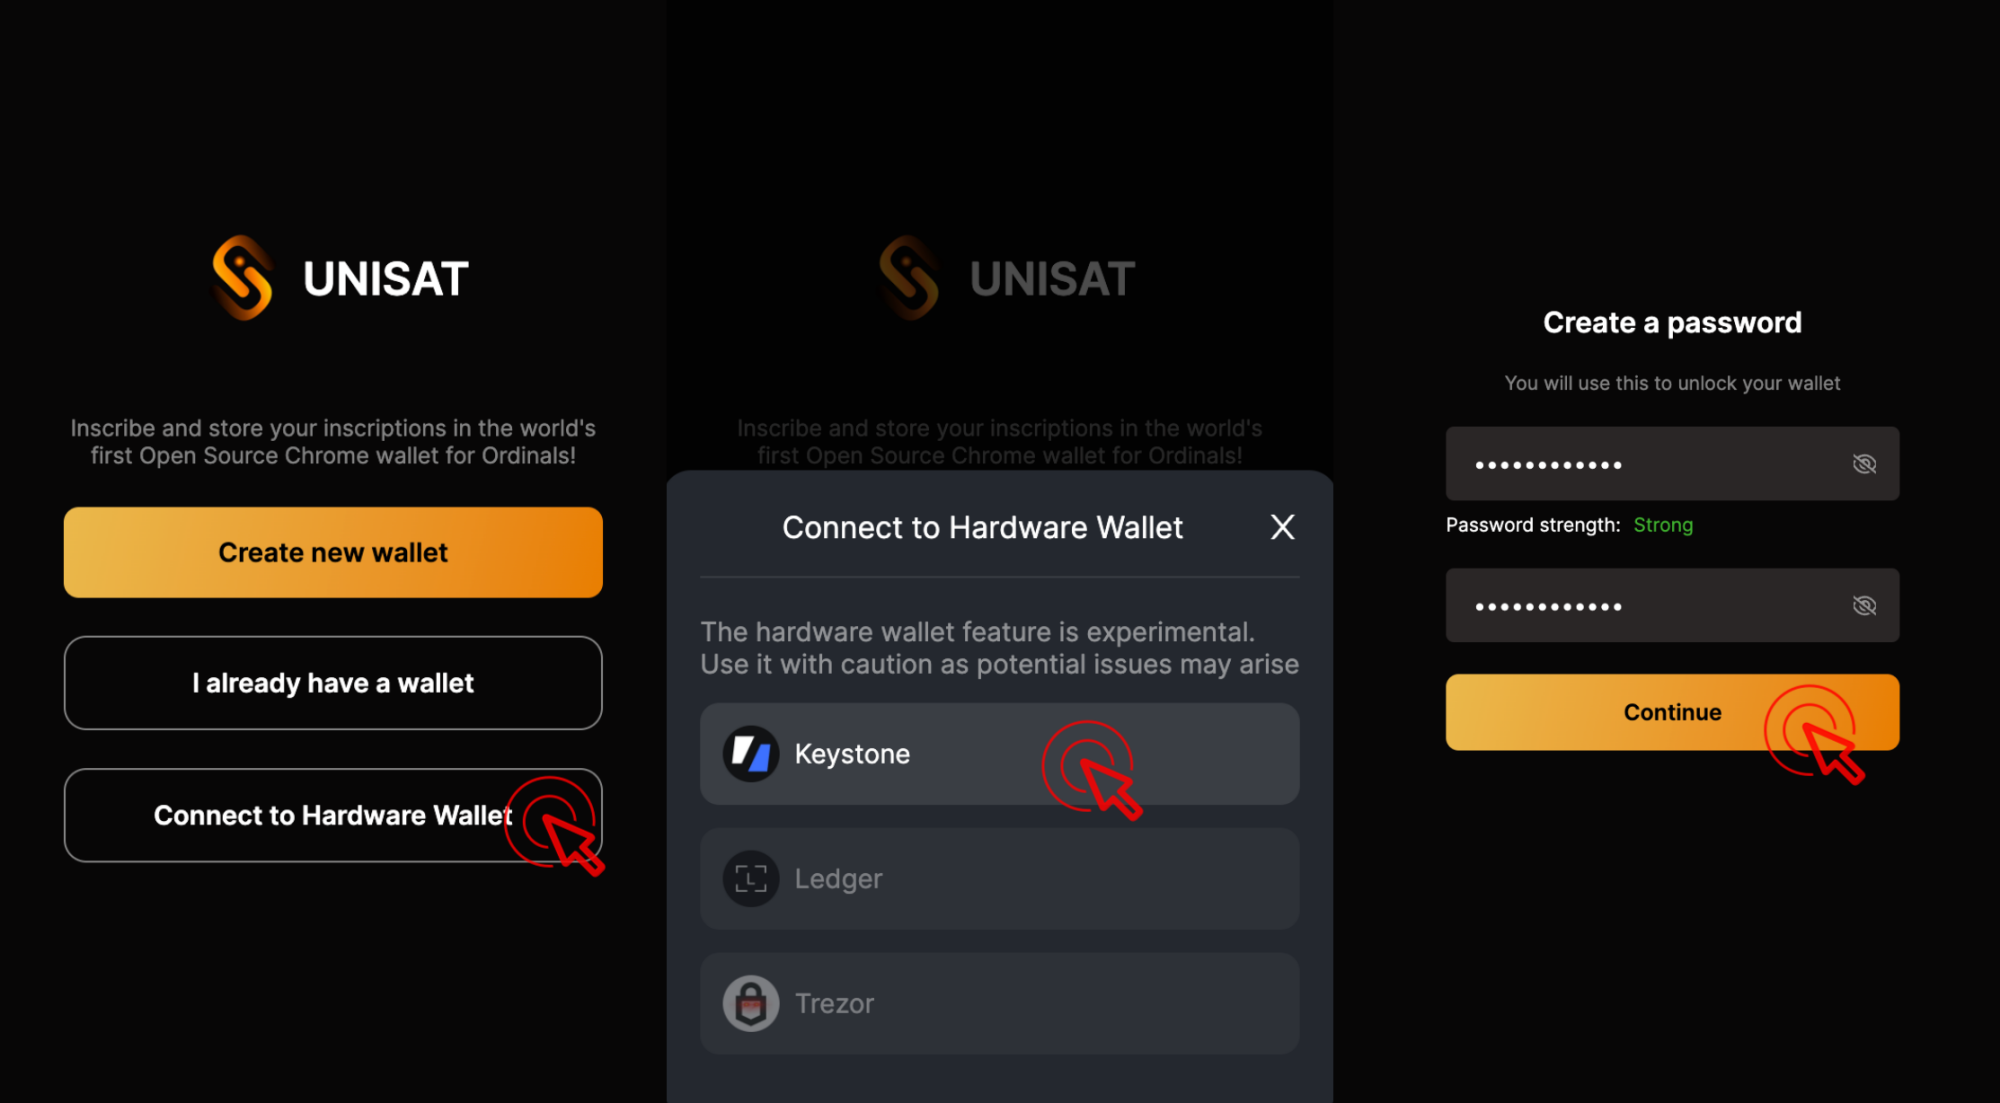
Click [Connnect to Hardware Wallet] > [Keystone]. Create password and click [Continue].
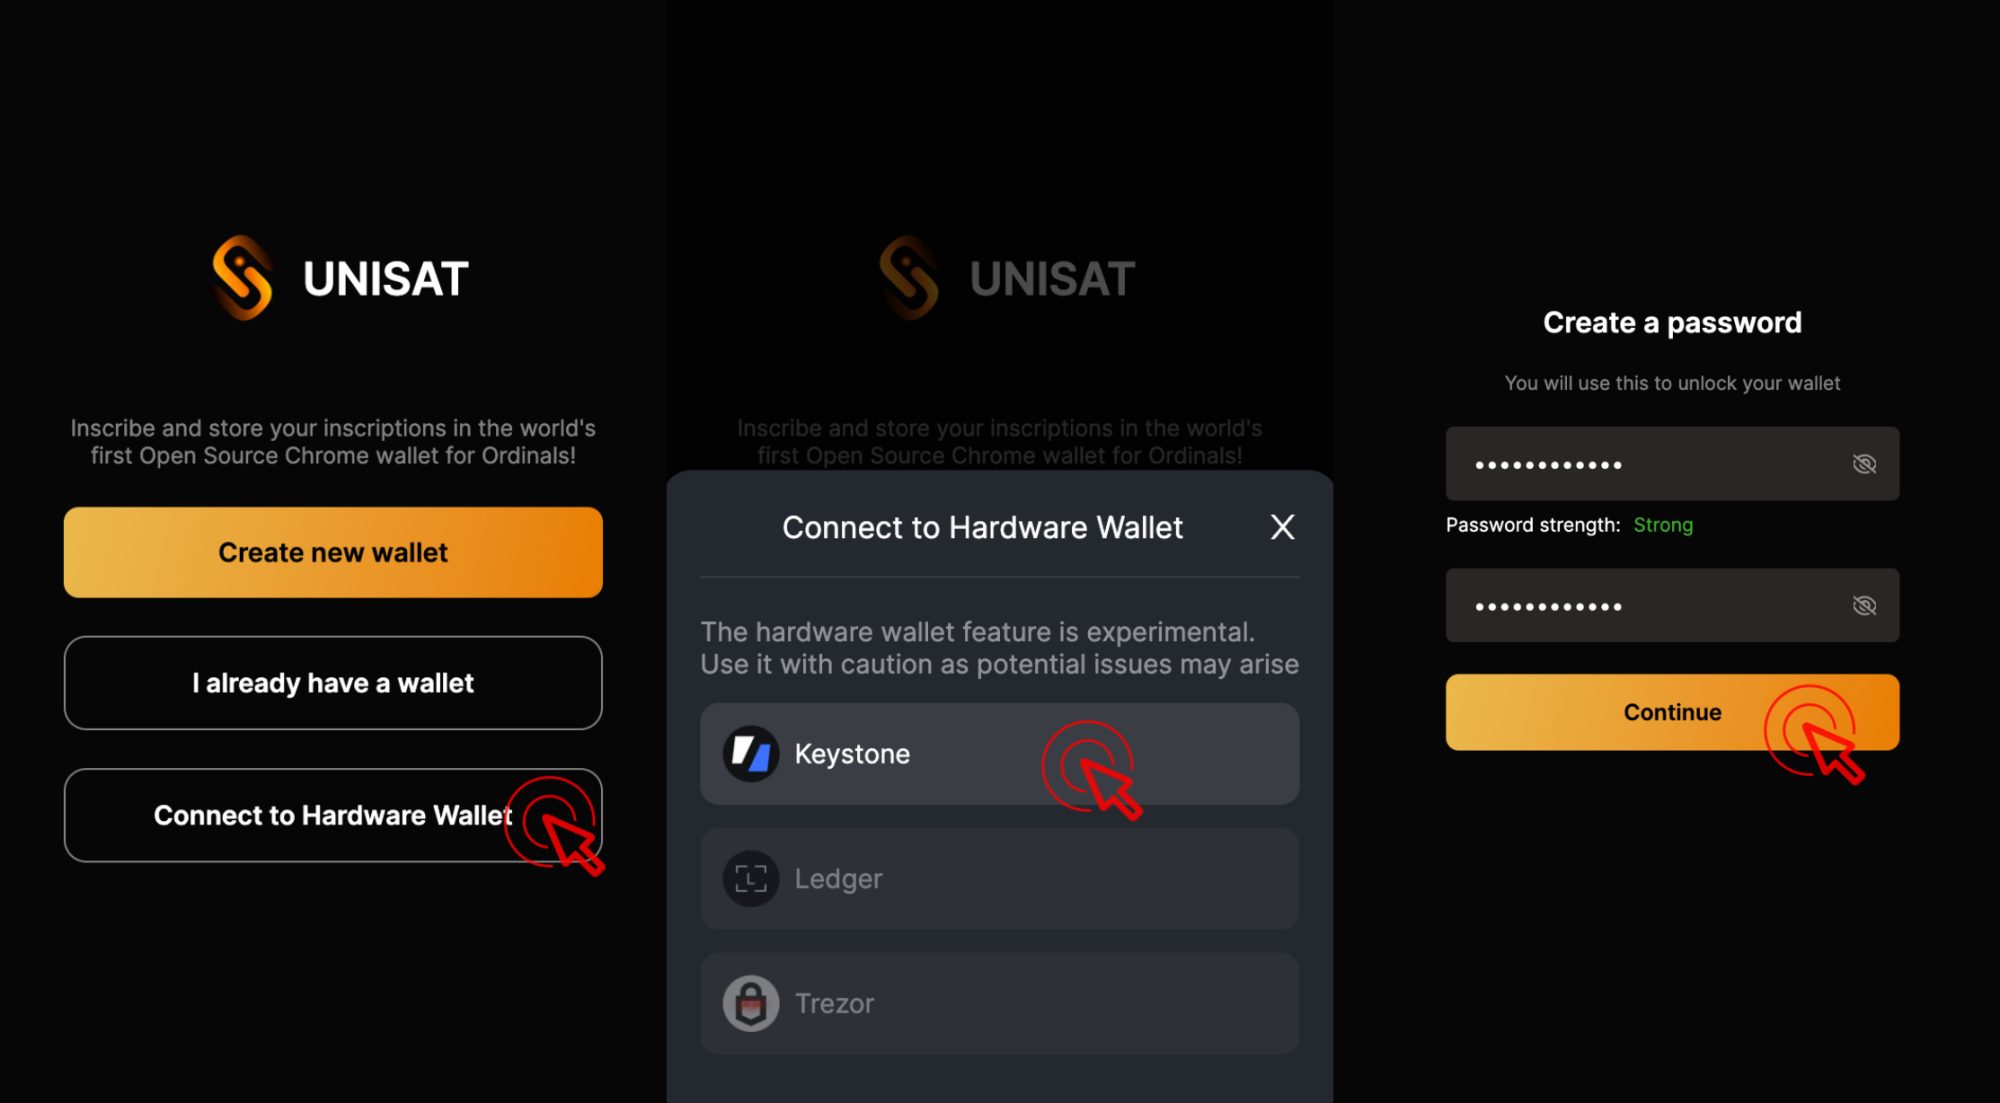
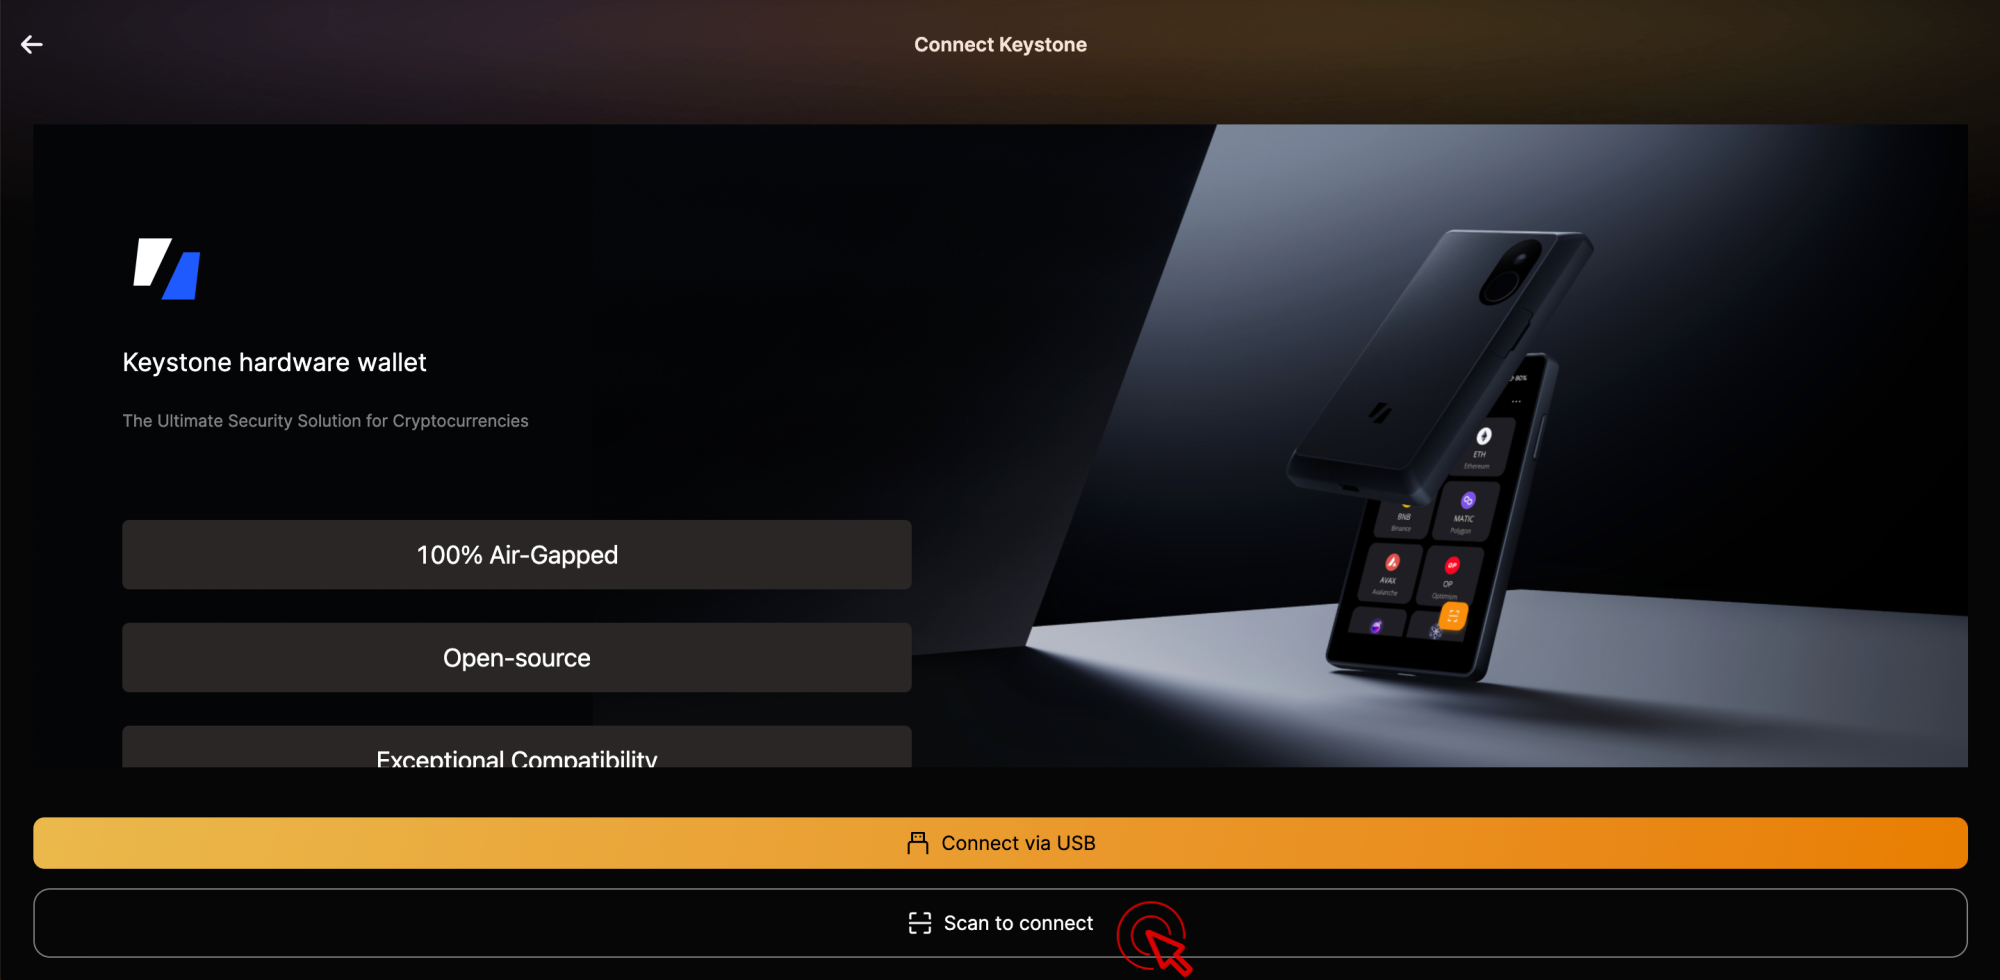
Click [Scan to connect].
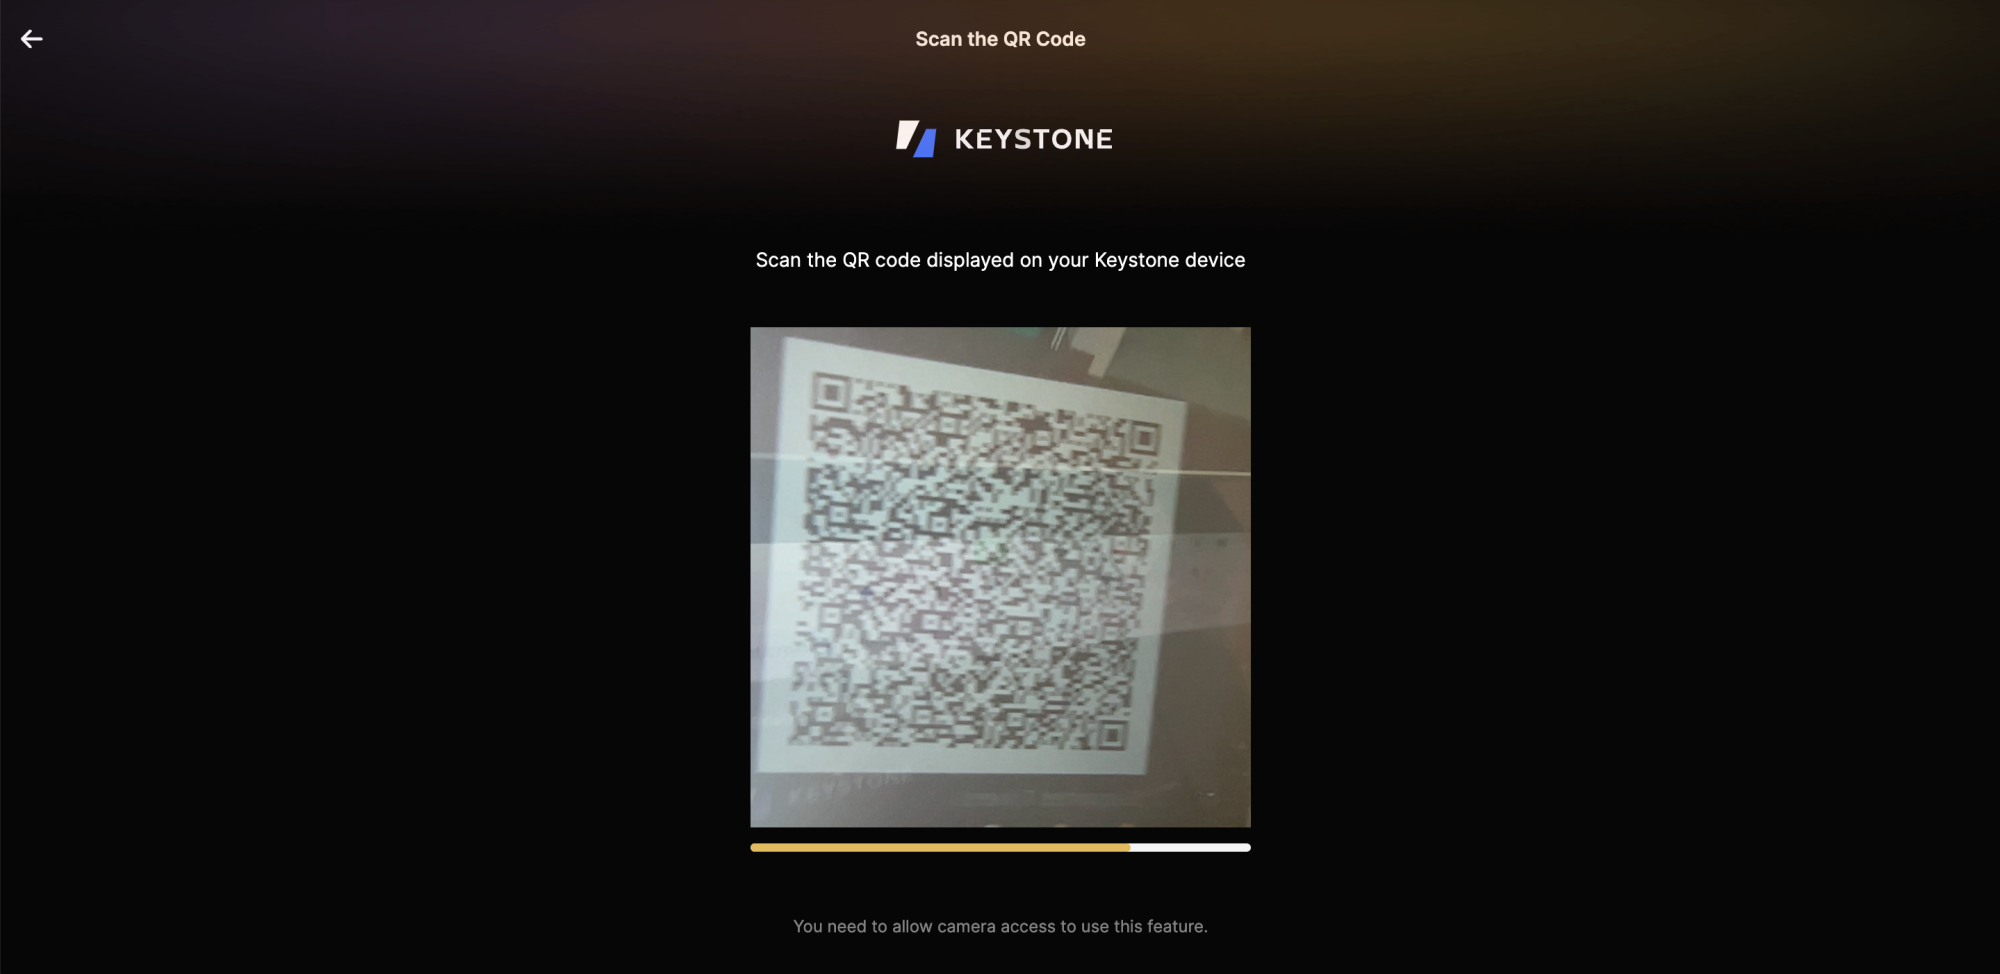
Scan the QR code generated by Keystone using your computer's camera.
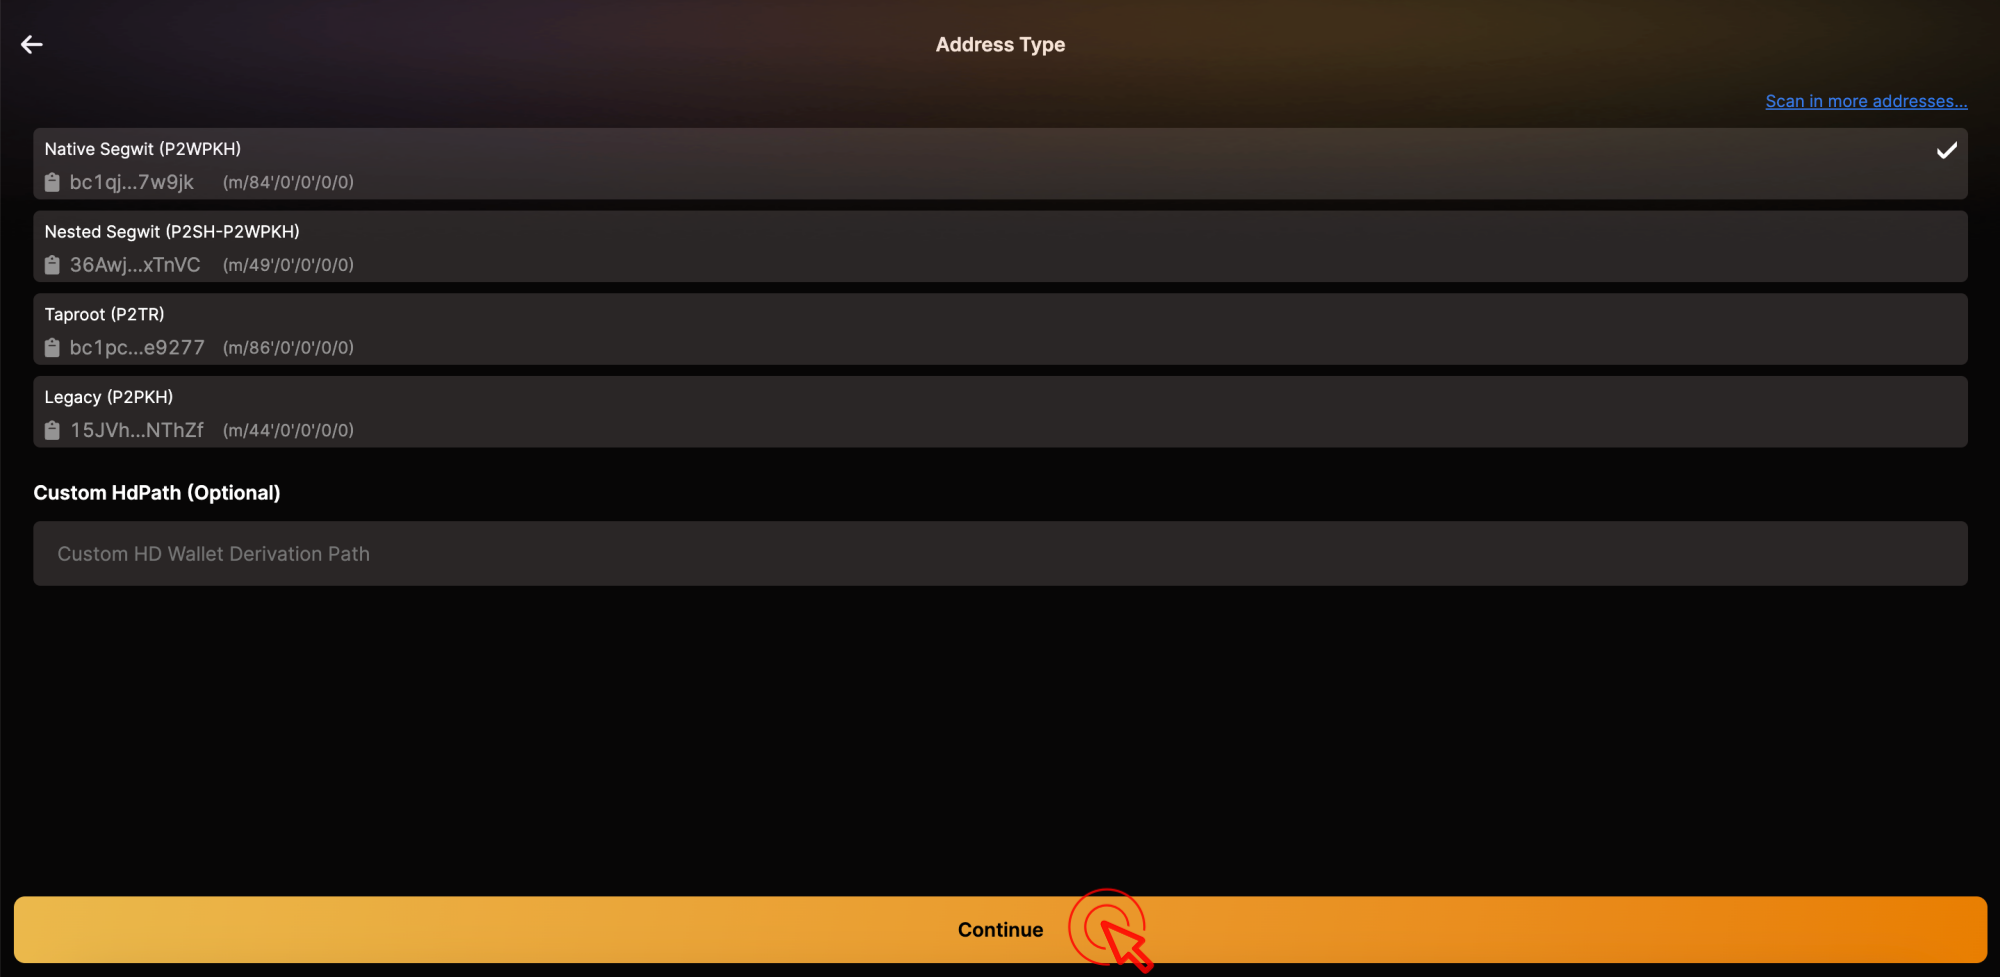
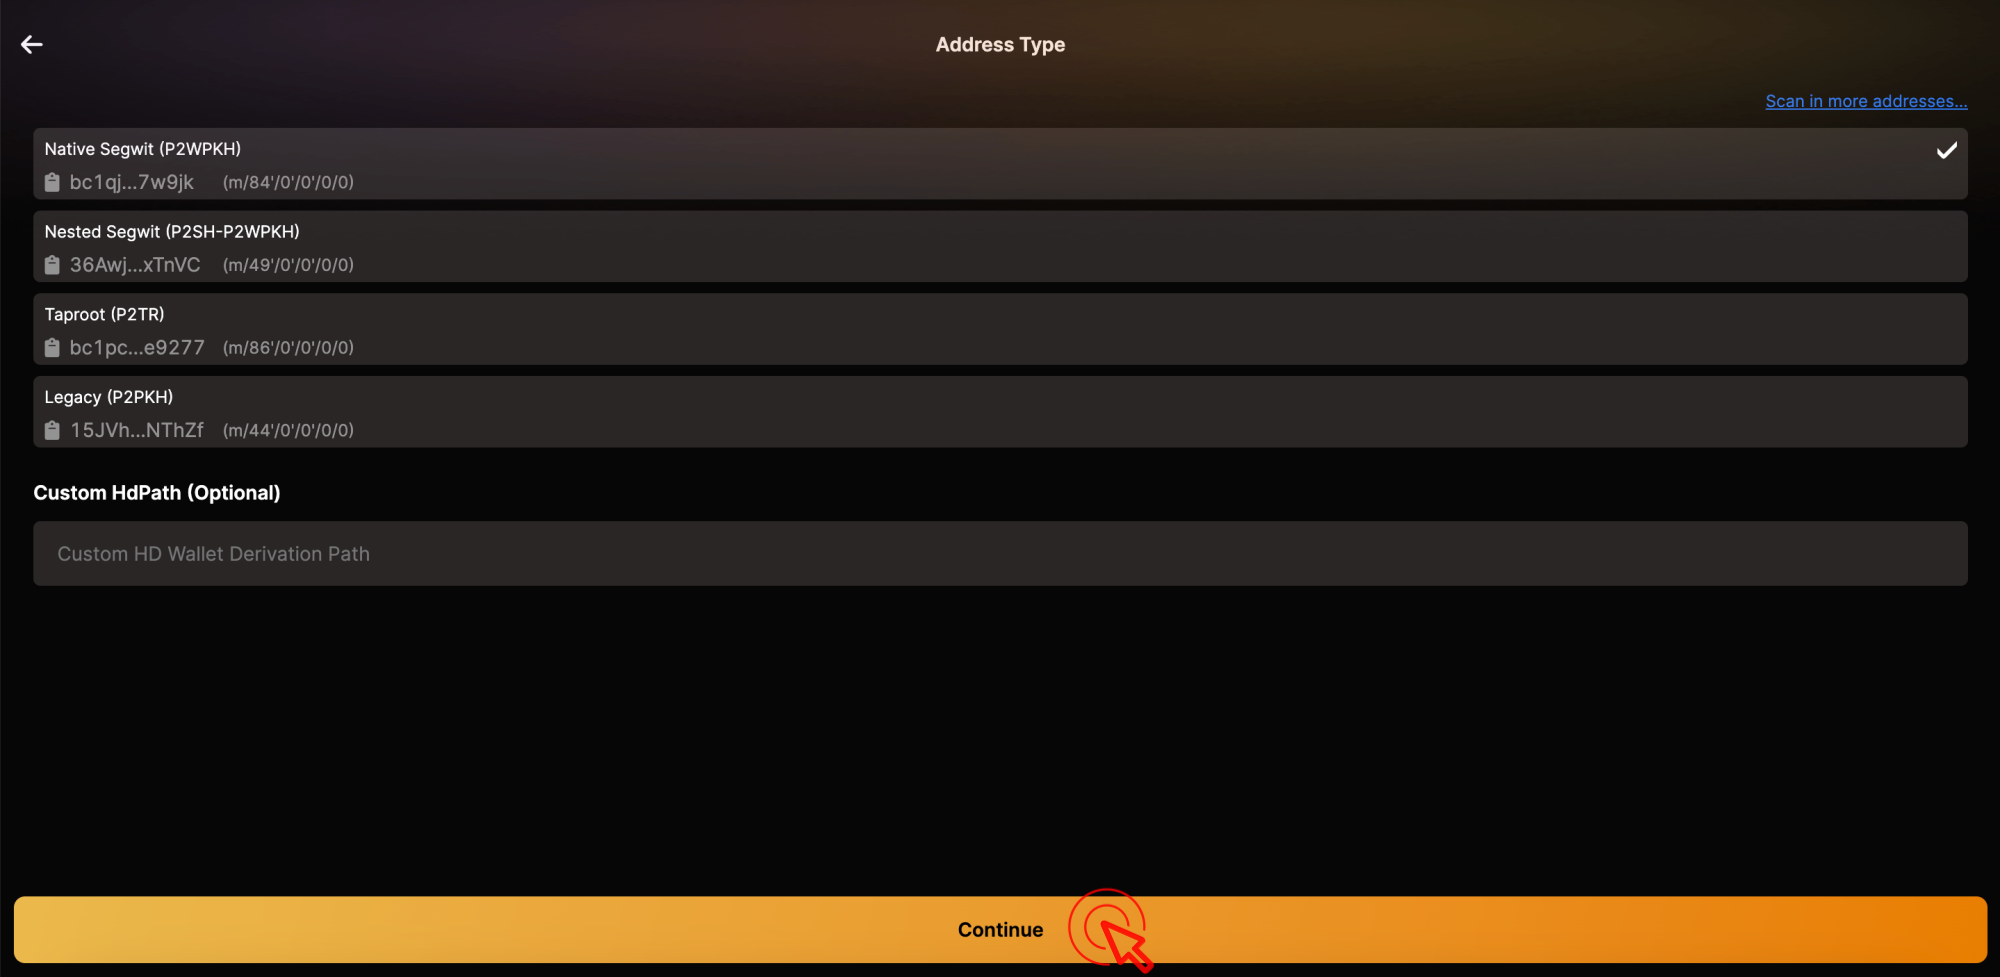
Choose address type and click [Continue].
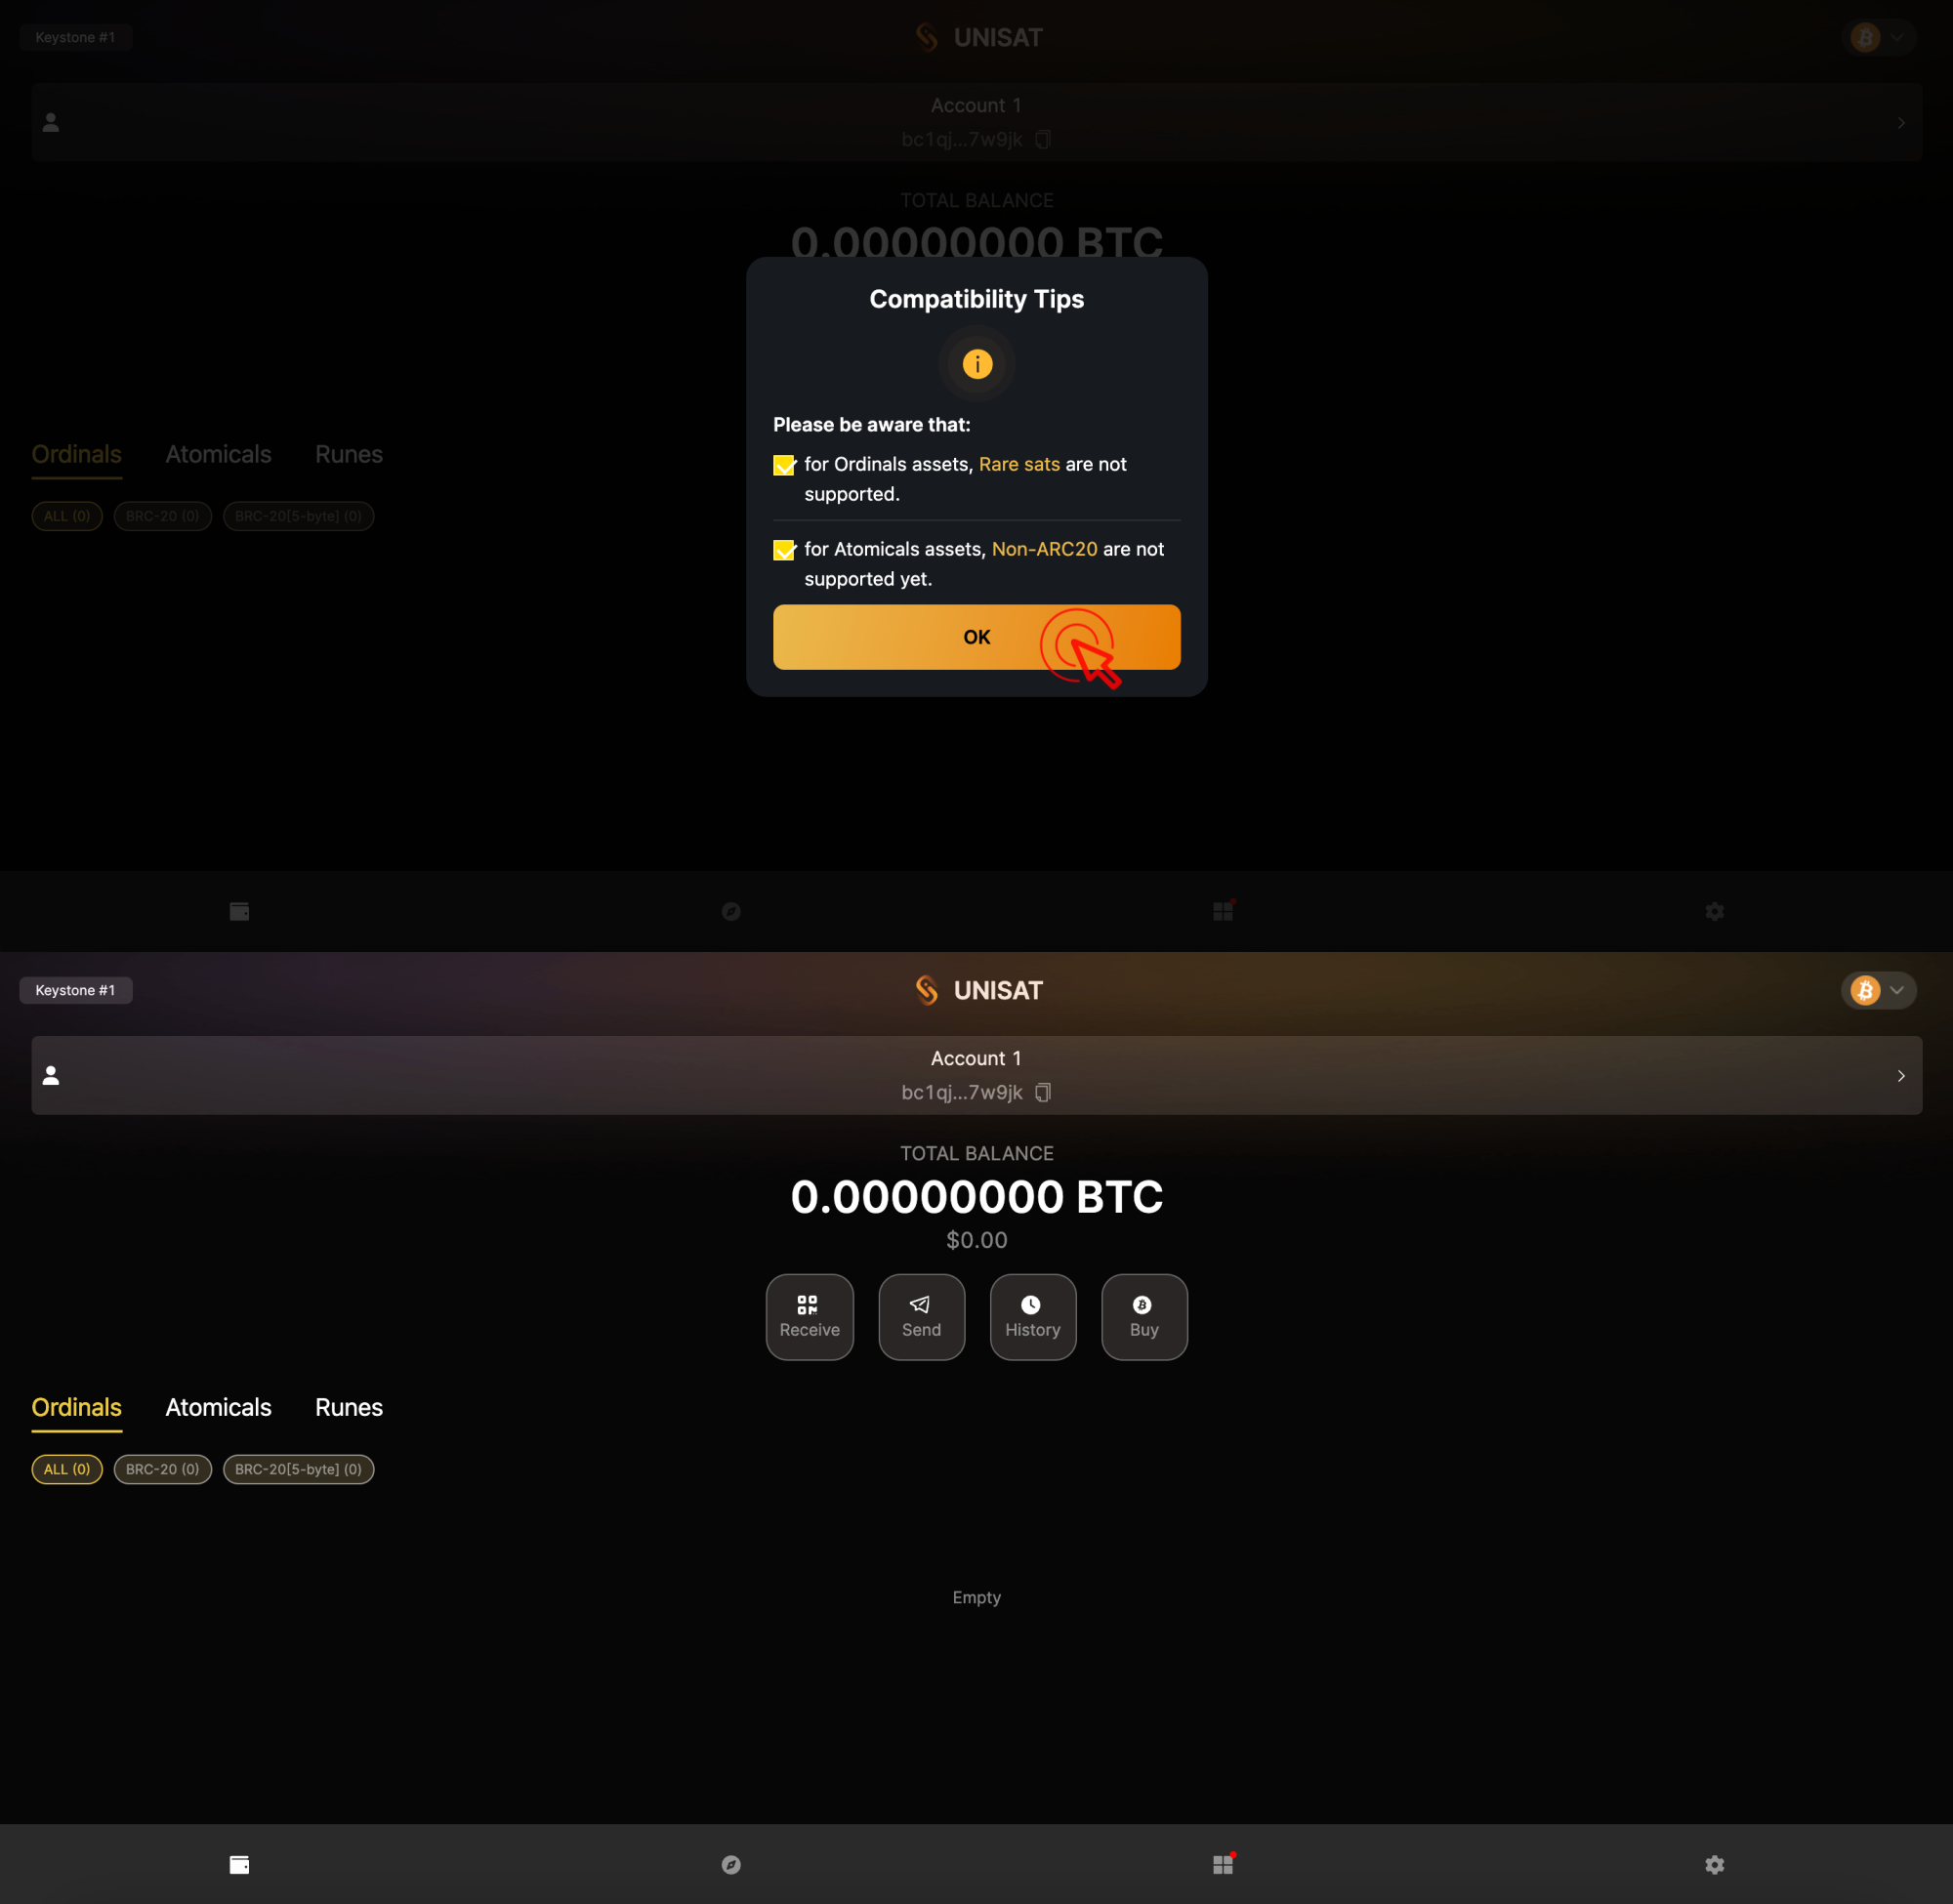
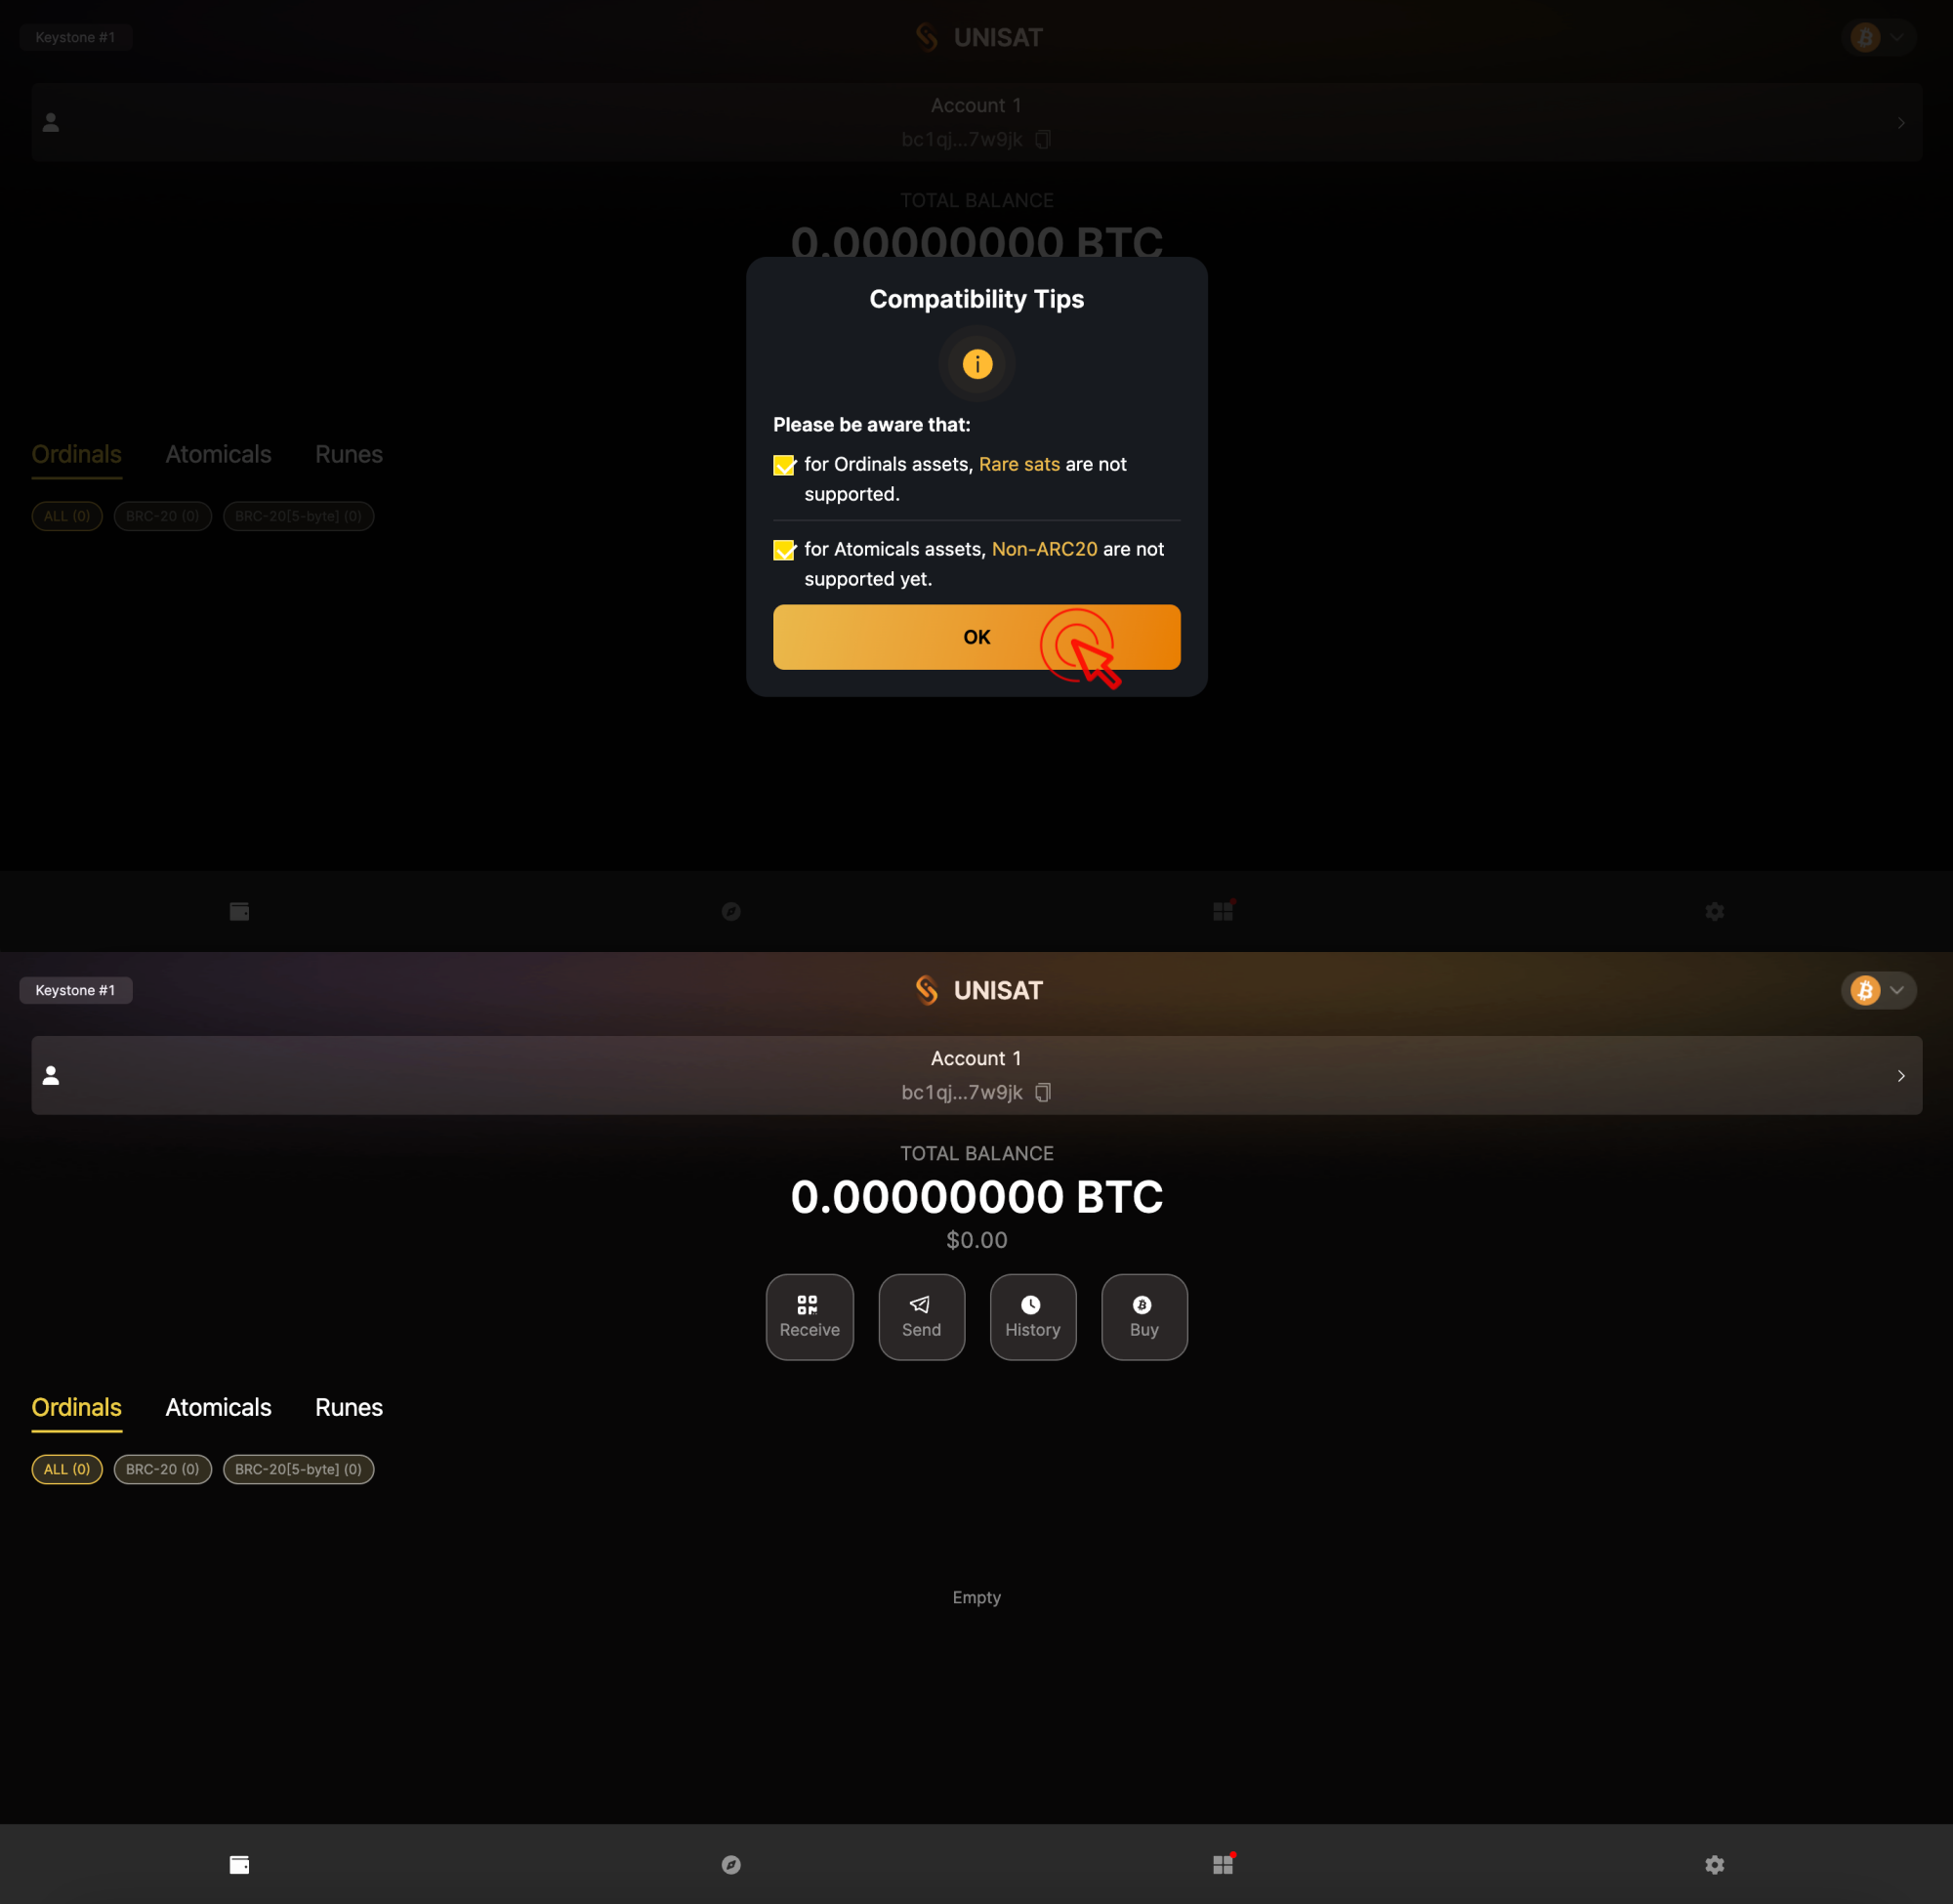
Read and check the compatbility tips, and click [OK]. Connect Keystone with Unisat successfully!
Connecting Keystone with UniSat
On UniSat Extension:
Click [Connnect to Hardware Wallet] > [Keystone]. Create password and click [Continue].
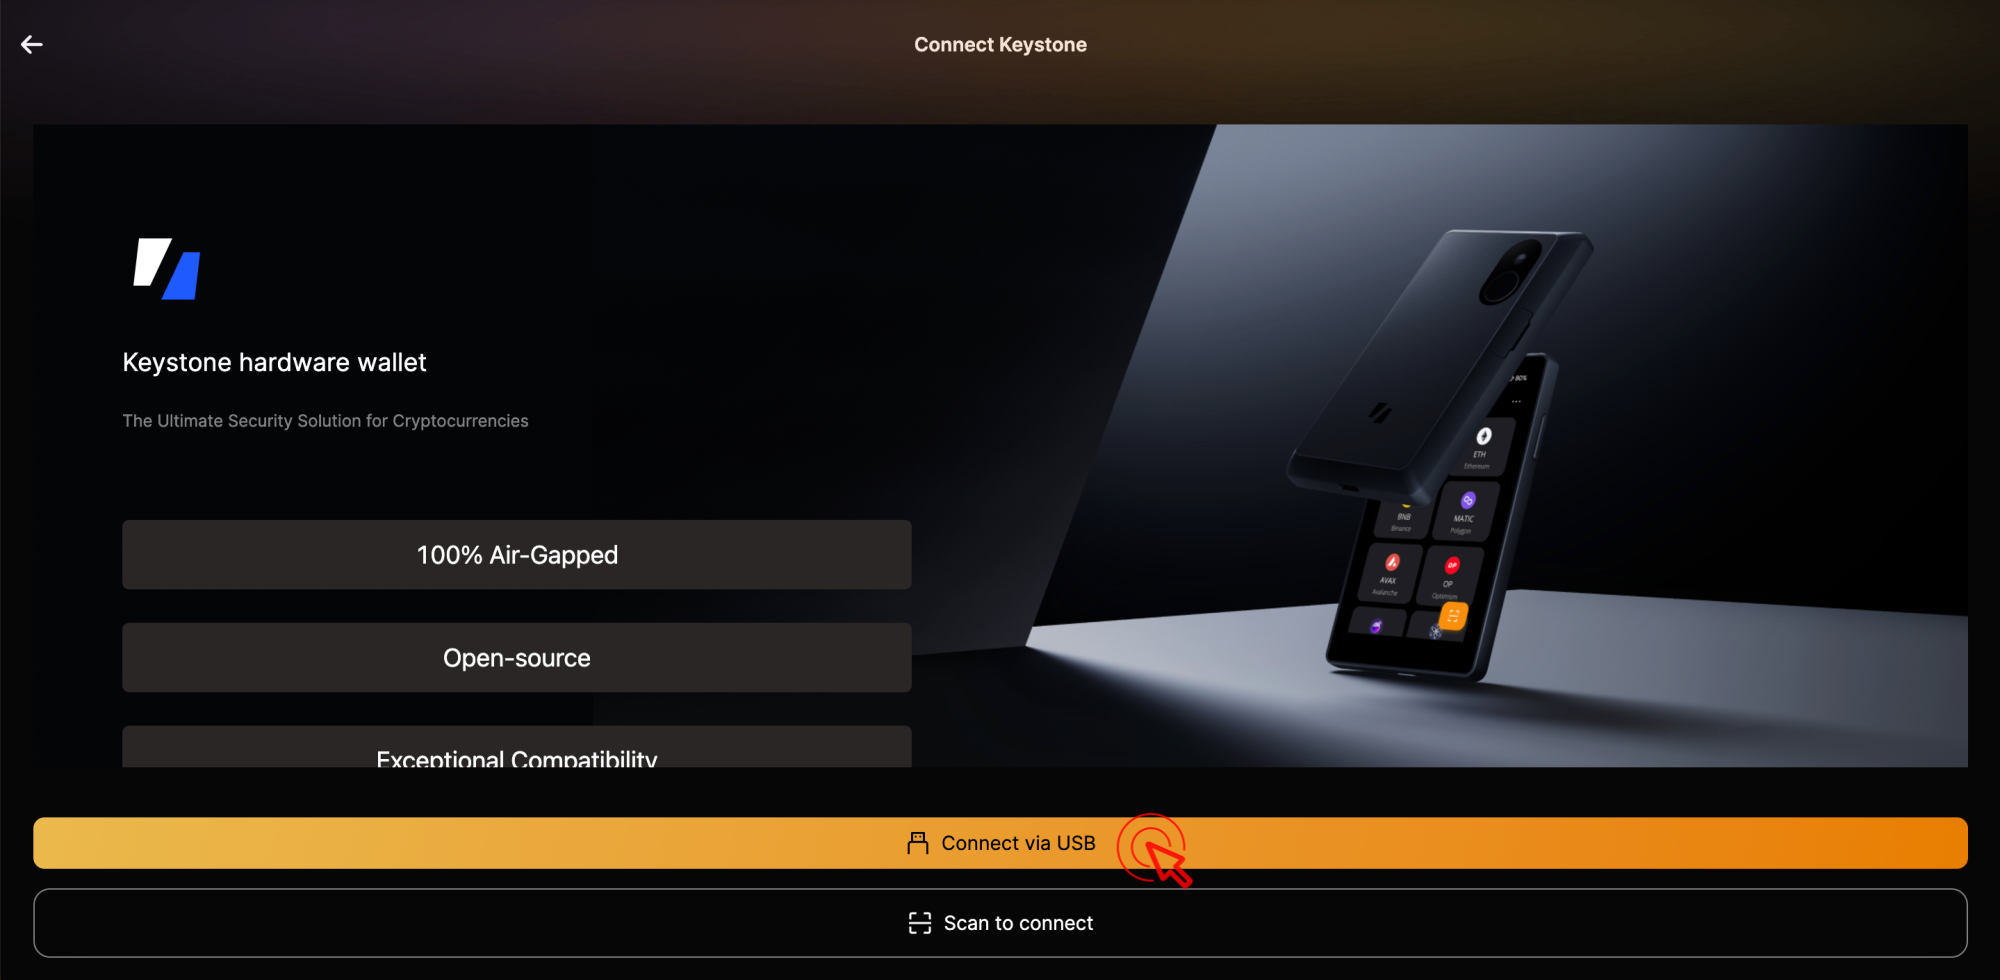
Click [Connect via USB].
On Keystone 3 Pro:
Connect Keystone and computer with a USB cable.
Unlock the Keystone device and press [Approve] to allow the permission.
On the UniSat Extension, click [Connect], select the detected Keystone 3 Pro and click [Connect] to establish the connection.
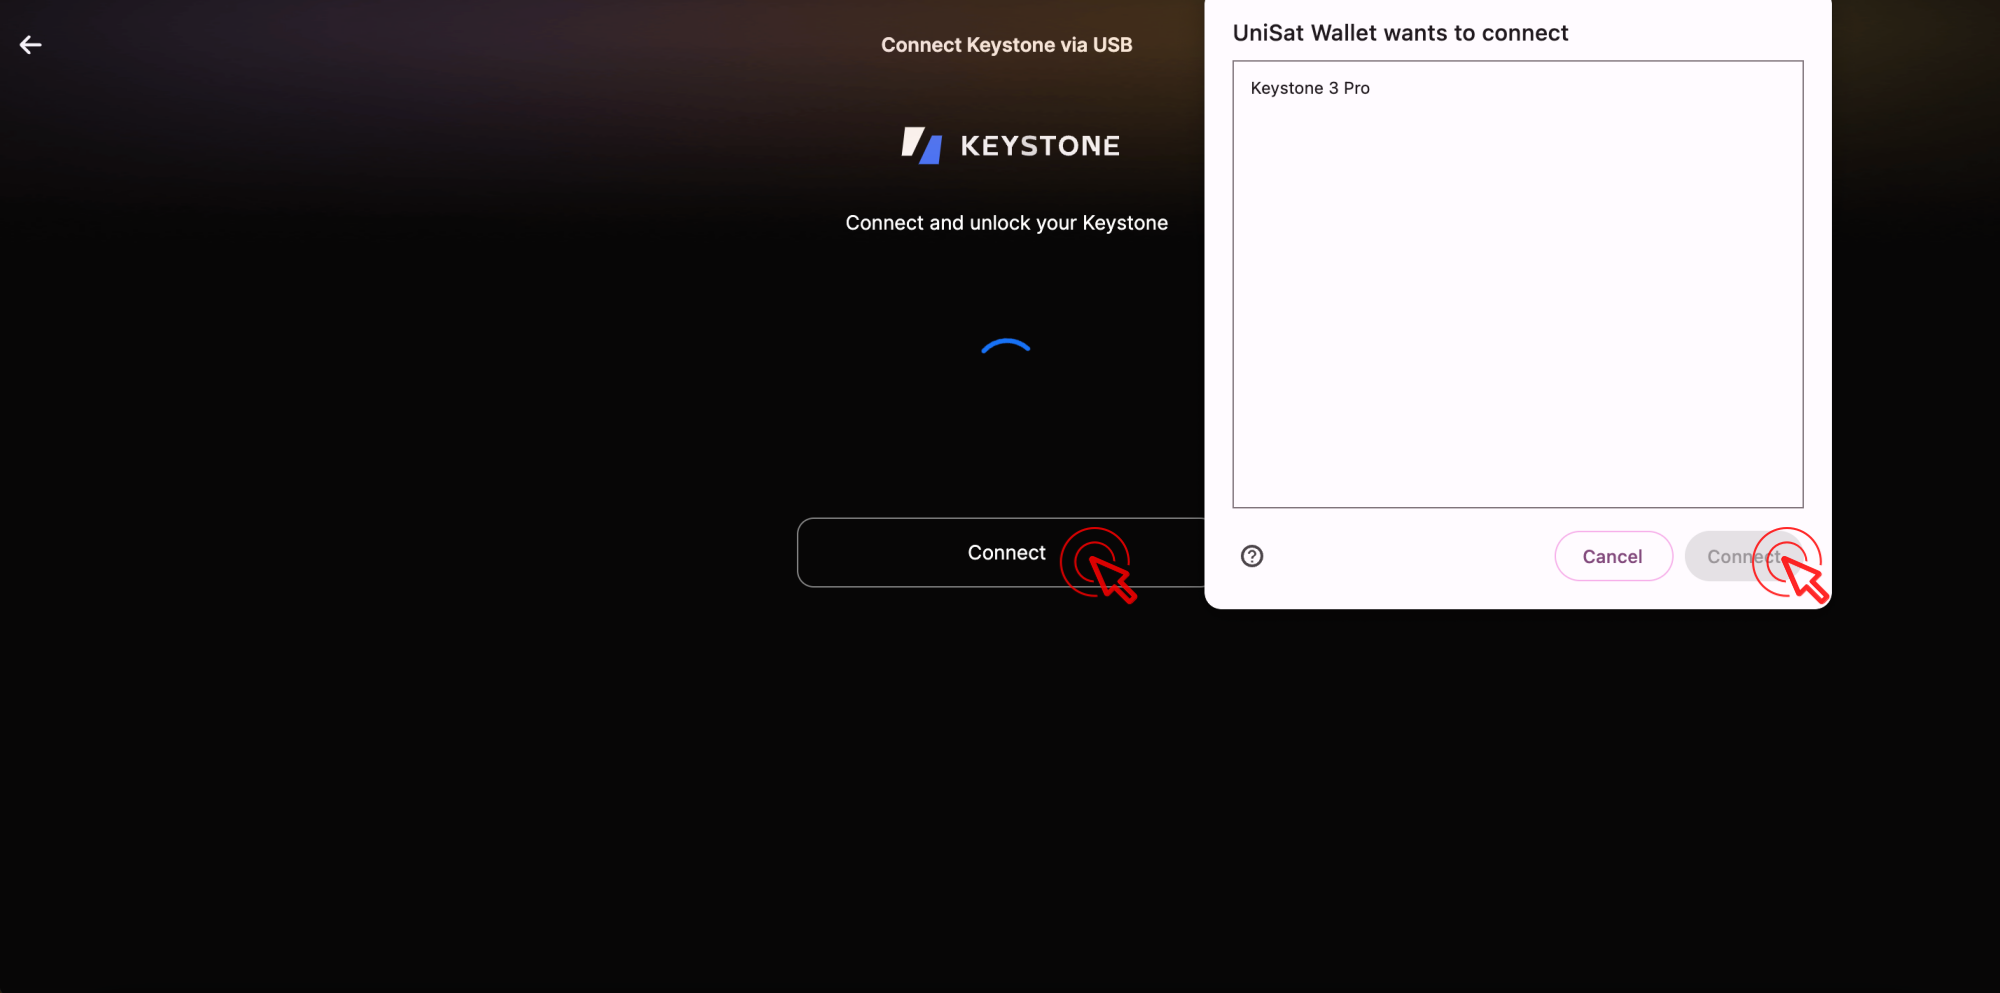
On the Keystone 3 Pro, press [Approve] to authorize the connection request of Unisat, then enter the PIN code/password to authorize. Kindly wait patiently for the connection to finish.
On UniSat Extension:
Choose address type and click [Continue].
Read and check the compatbility tips, and click [OK]. Connect Keystone with Unisat successfully!
