Wander (Extension)
Welcome to the tutorial that will guide you through the process of connecting your Keystone hardware wallet with the Wander Extension. In this tutorial, you'll learn how to establish the connection of Wander Extension. Let's dive in!
1. Preparation
Before you begin, make sure you have the following:
Firmware version V2.0 or higher( Before V2.0,Wander was named as ArConnect.For firmware upgrade instructions, please refer to this guide).
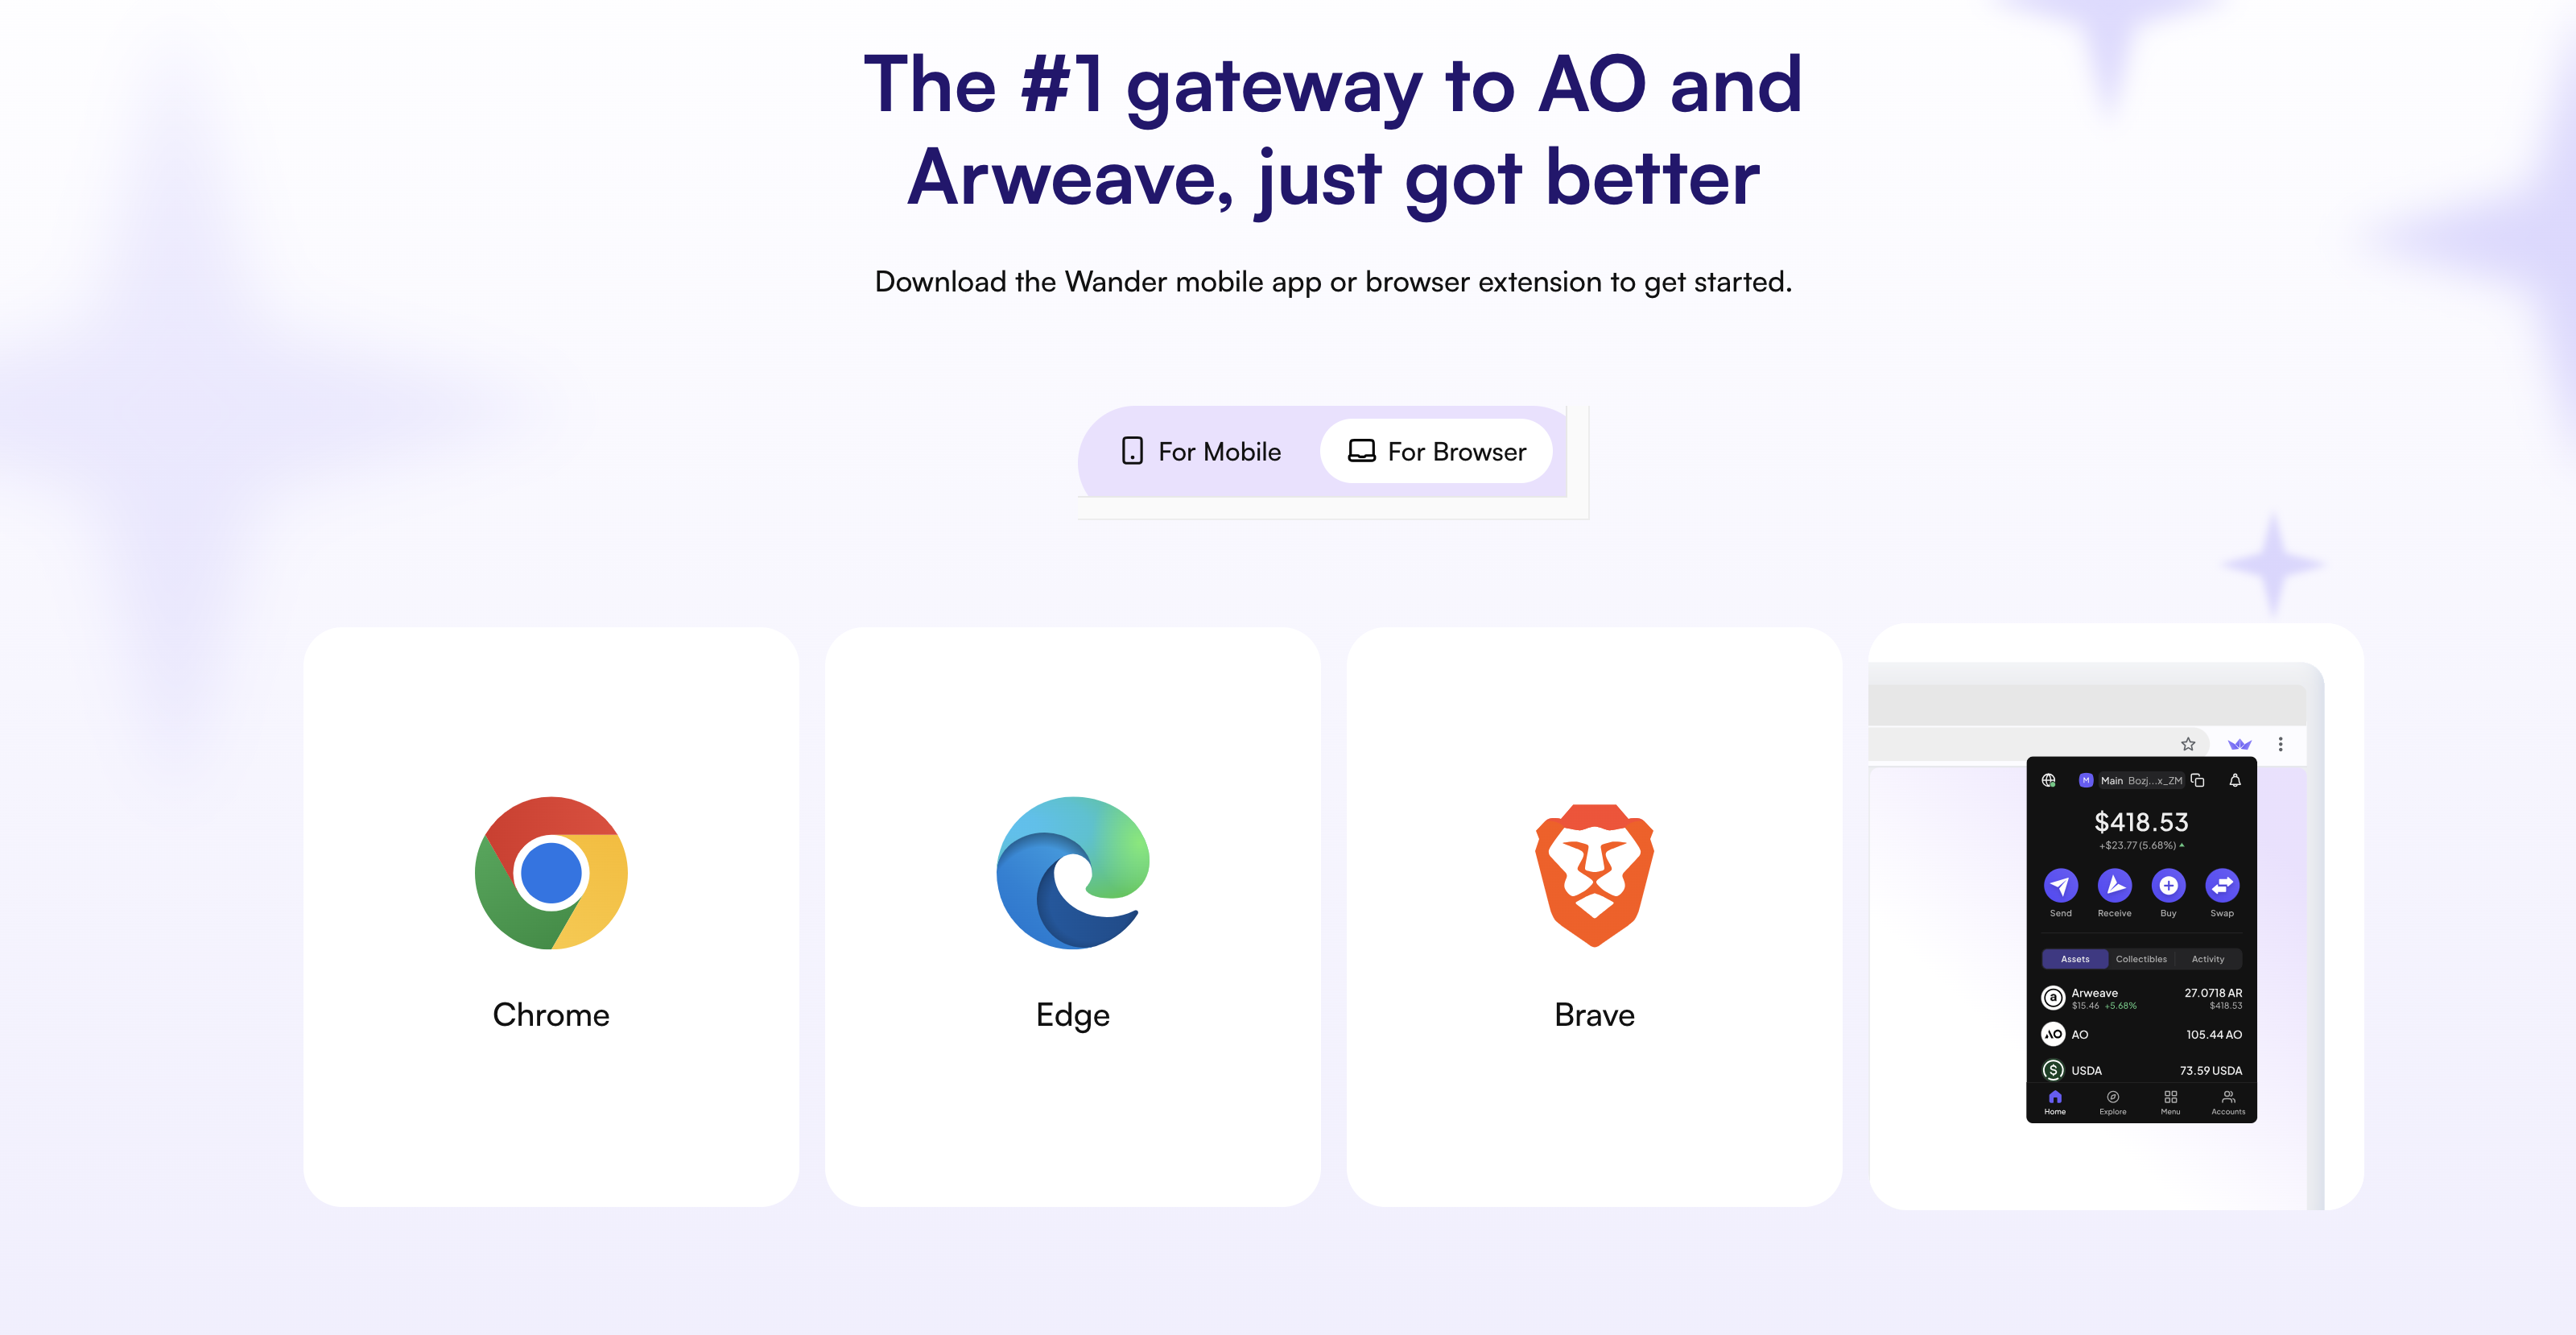
Download the latest version of the Wander Extension.
2. Connecting Keystone Hardware Wallet with Wander Wallet
Note:Please ensur your device is at least 80% charged and connected to USB power because the ARWEAVE blockchain setup will take about 10 minutes.
a. On your Keystone Hardware Wallet
- Tap the “…” icon and select “Connect Software Wallet”.
- Select “Wander”,and a QR code for linking will be displayed.
b. On your Wander Extension
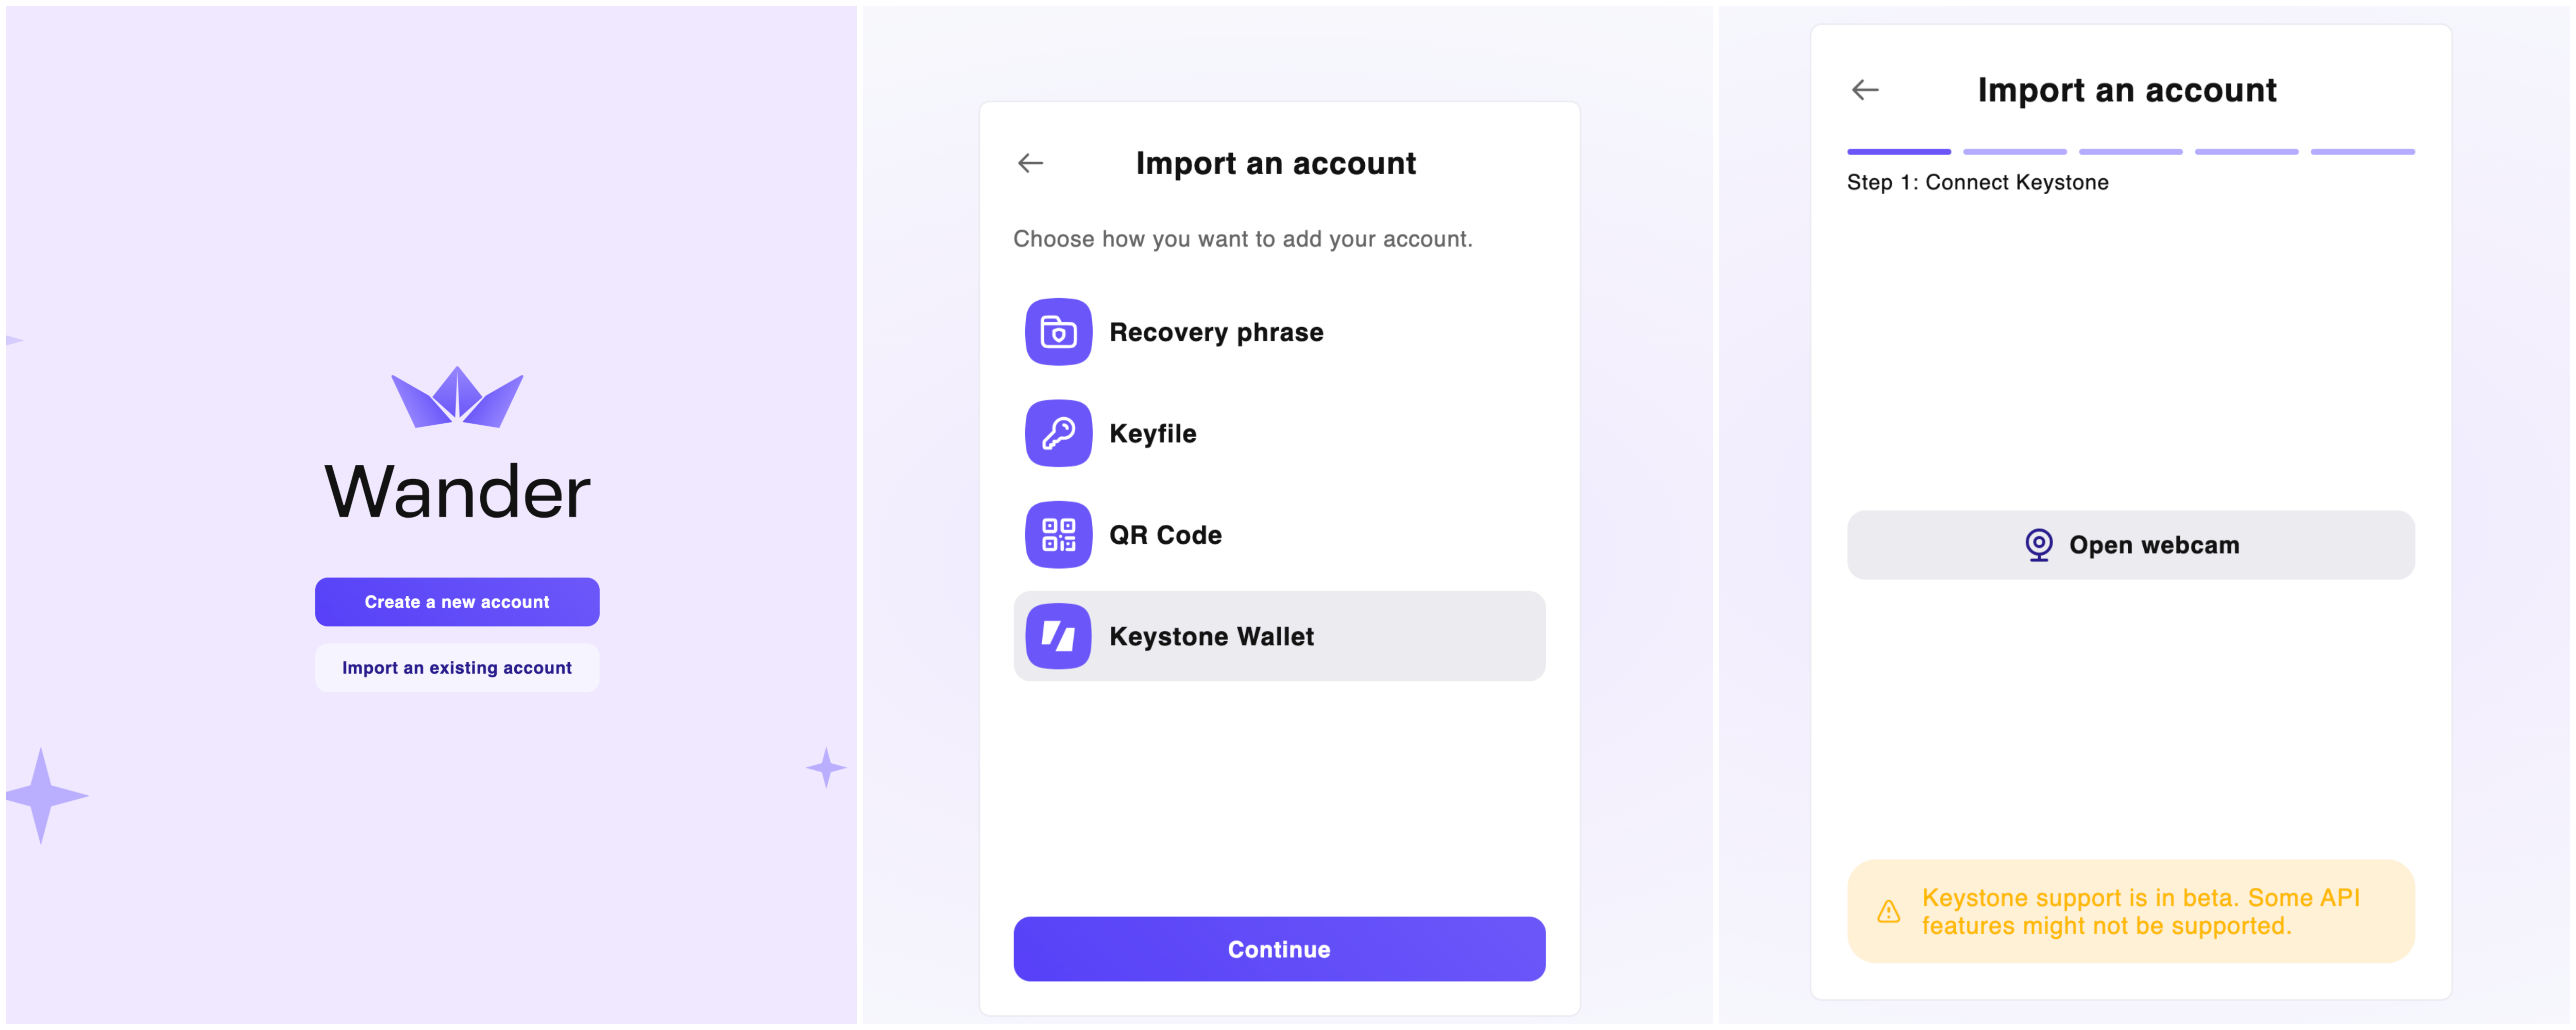
Launch the Wander Extension and select “Import an existing wallet”,then choose “Keystone Wallet”. and continue.
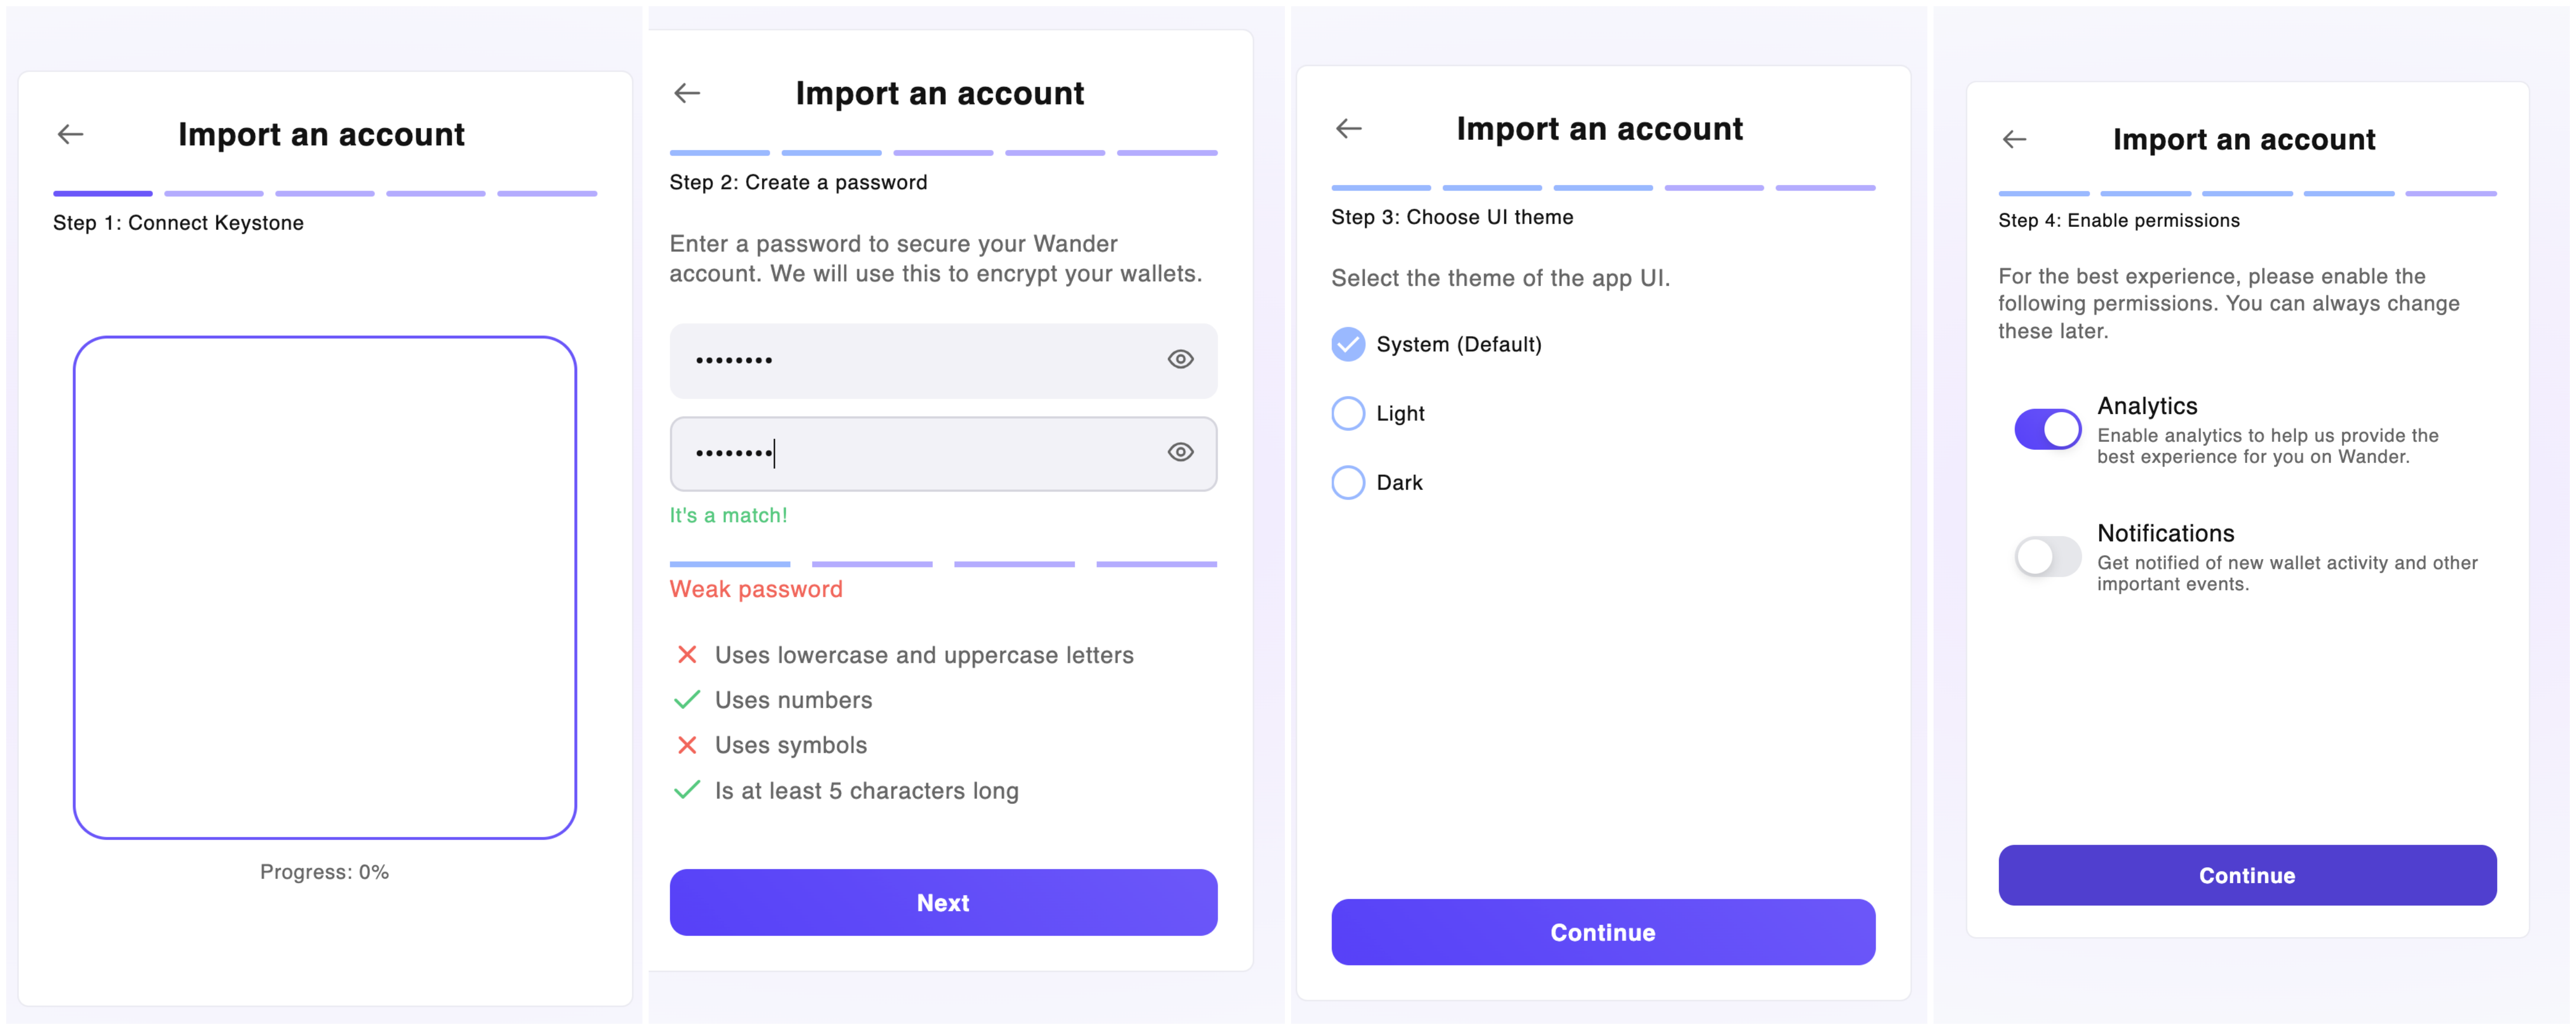
Tap “Open webcam” to grant camera permission,then use the webcam to scan the QR code on the Keystone device.
Create a password for the wallet,and then finish basic settings such as the UI theme,and tap “Continue”.
Once the “Congratulations”message appears on. the Wander Extension page, your connection is complete. You can now click “Take a Tour”and explore all the features Wander offers!
3. Sending
a. On Wander Wallet
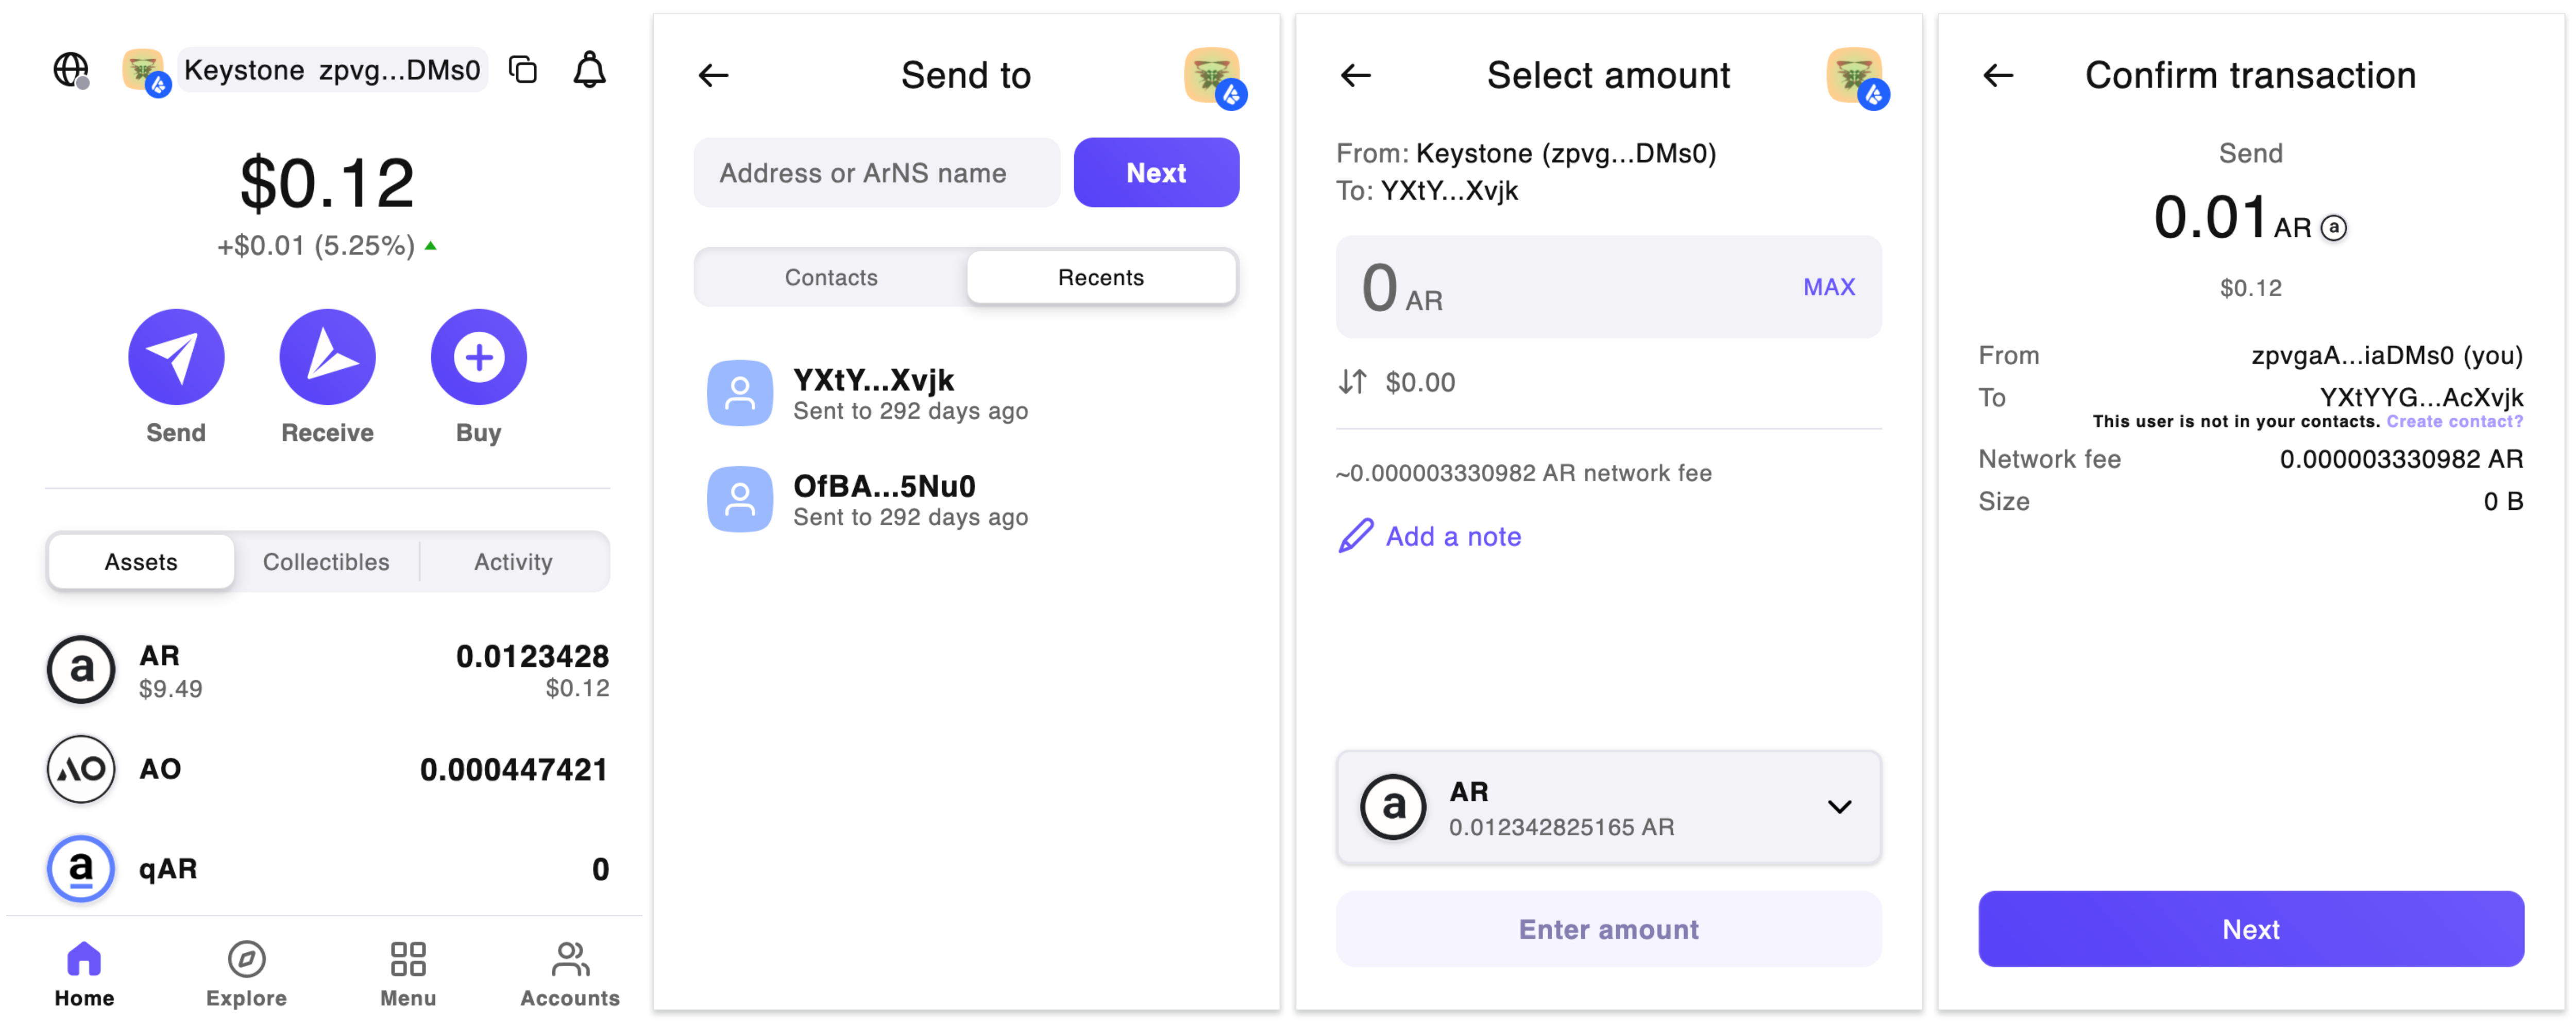
On the home page,select “Send” to enter the send page.
Enter the recipient’s address or the ArNS name.After verifying the address,tap ”Next”.
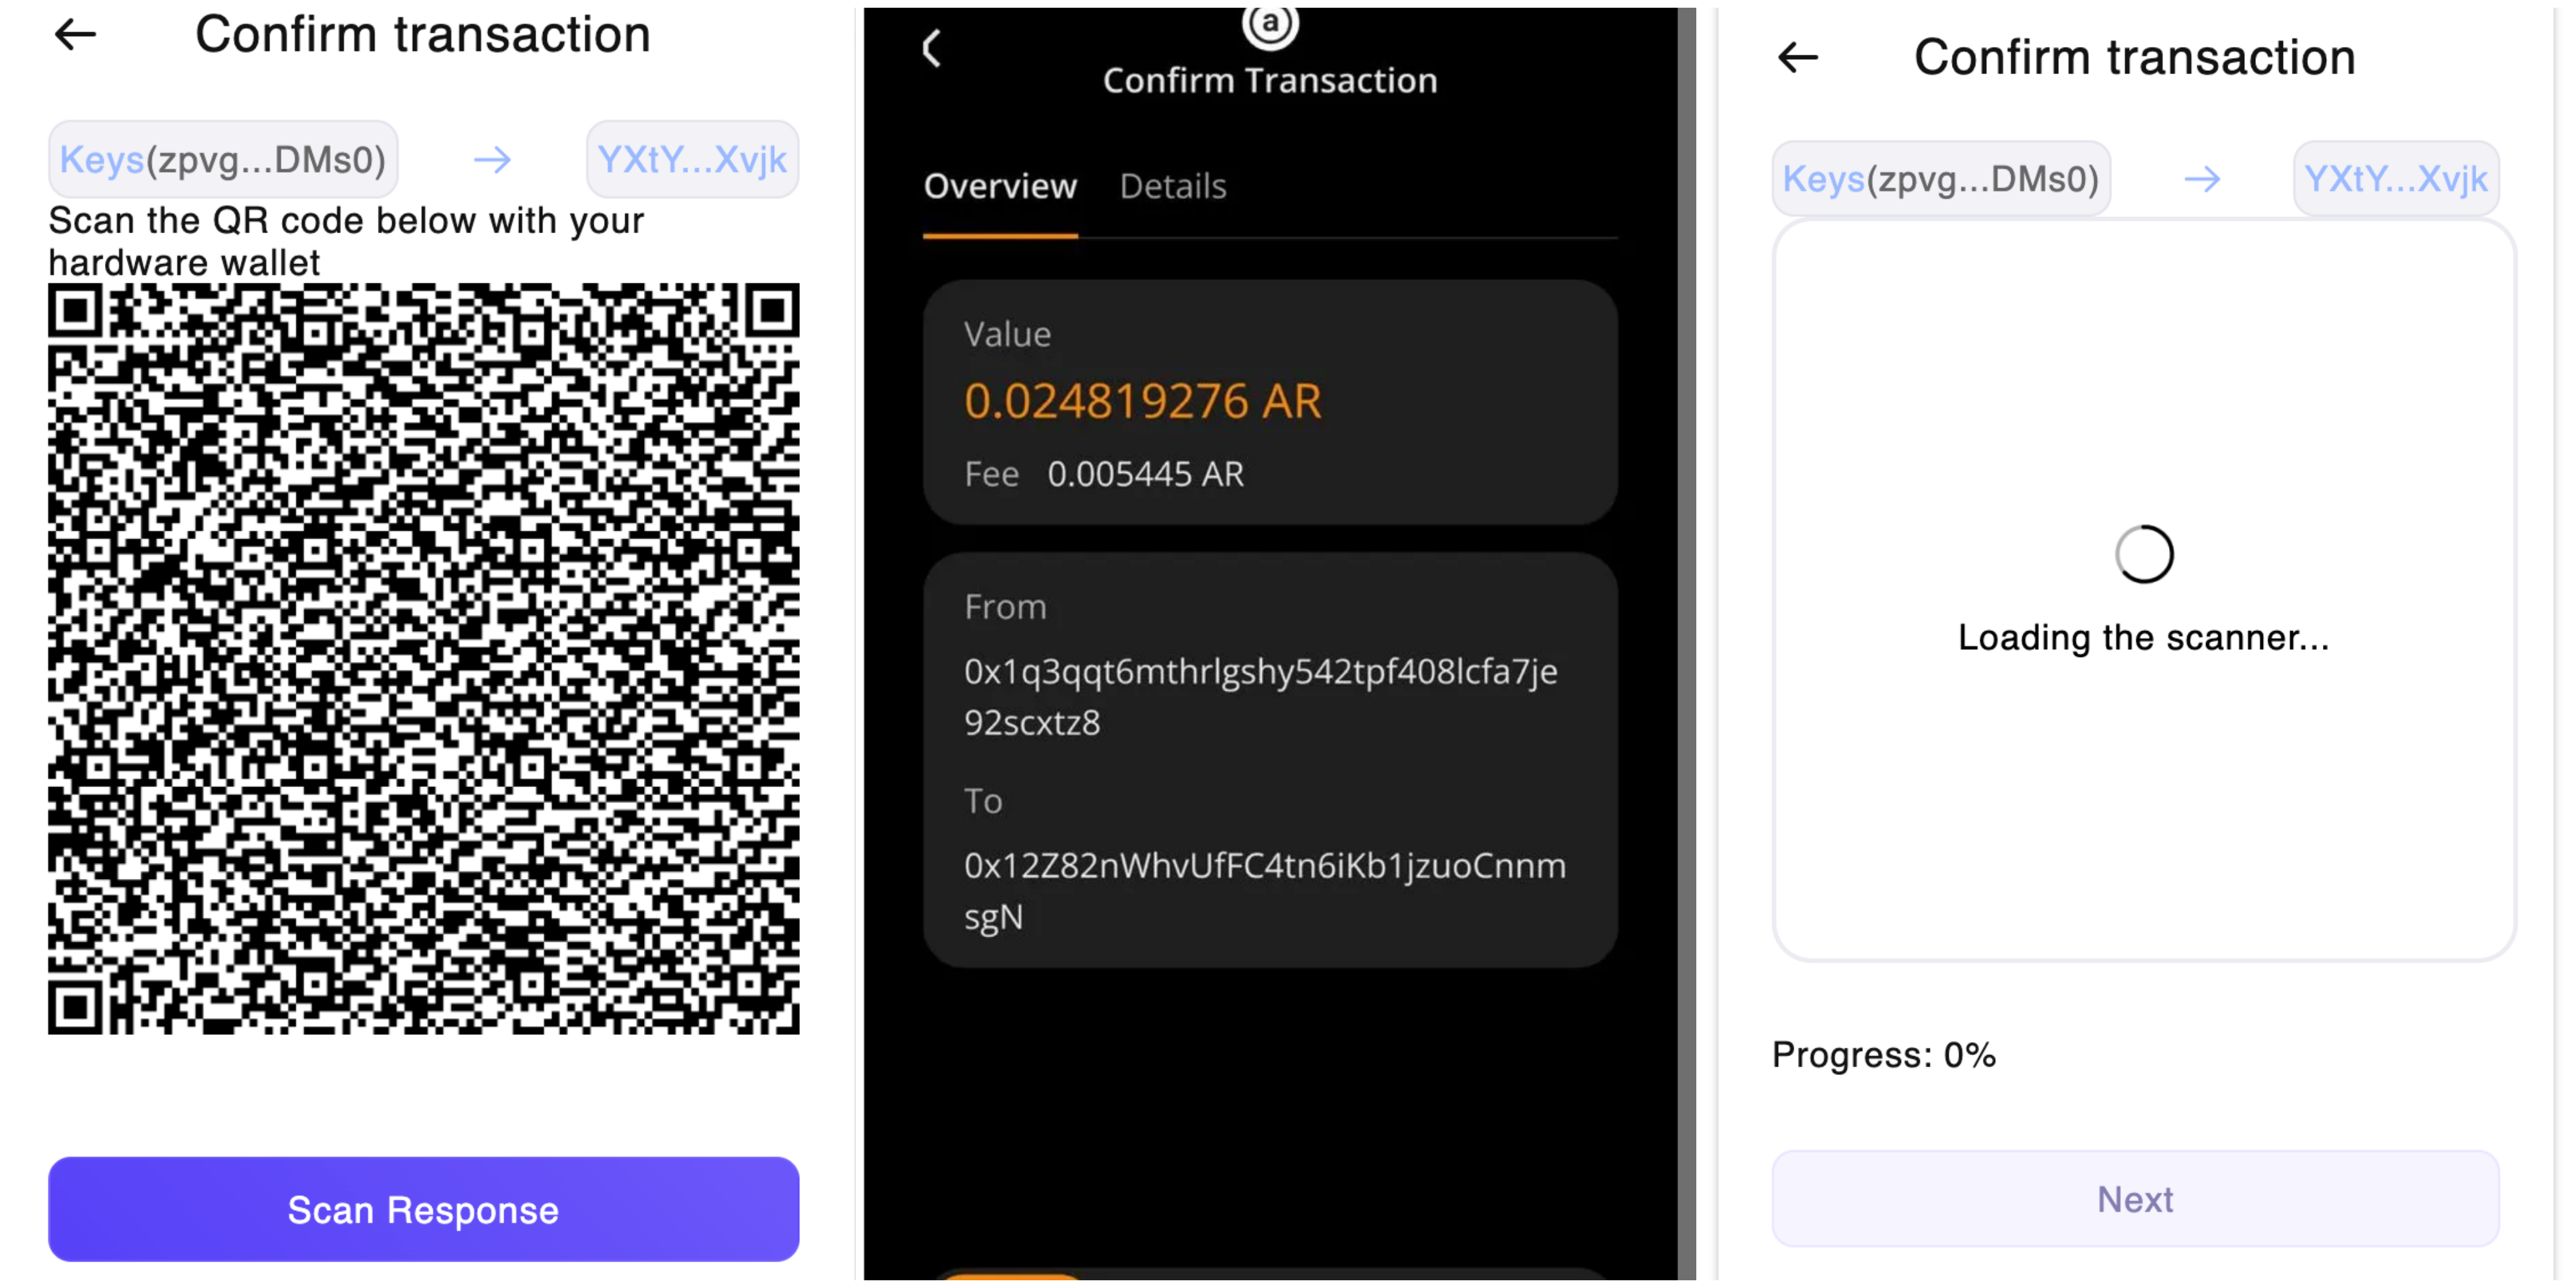
Enter the amount,tap “Next” and confirm the information,then a QR code for signing will be displayed.
b. Sign the Transaction
Tap the scan icon at the bottom right of the Keystone homepage and scan the QR code on the Wander Wallet > Confirm the transaction details > Slide “Swipe to Confirm” > Keystone will generate a QR code for confirming.
Return to Wander Wallet, click "Scan Response," and scan the QR code generated by the Keystone page to complete the transaction.
